Norms Restoration - 31 Seater Projects |
1952 AEC Regal III [2547]
2017
February Mechanical
- 1 Feb 2017
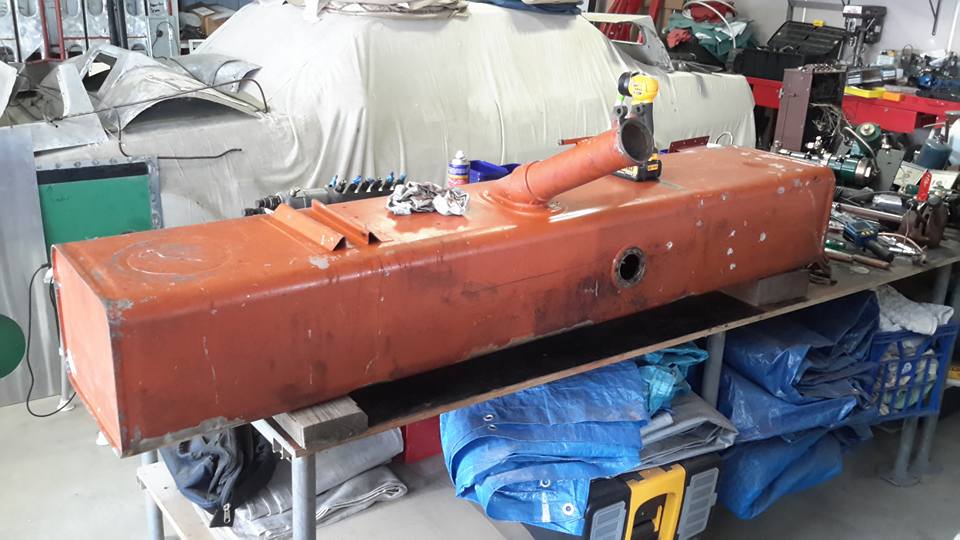
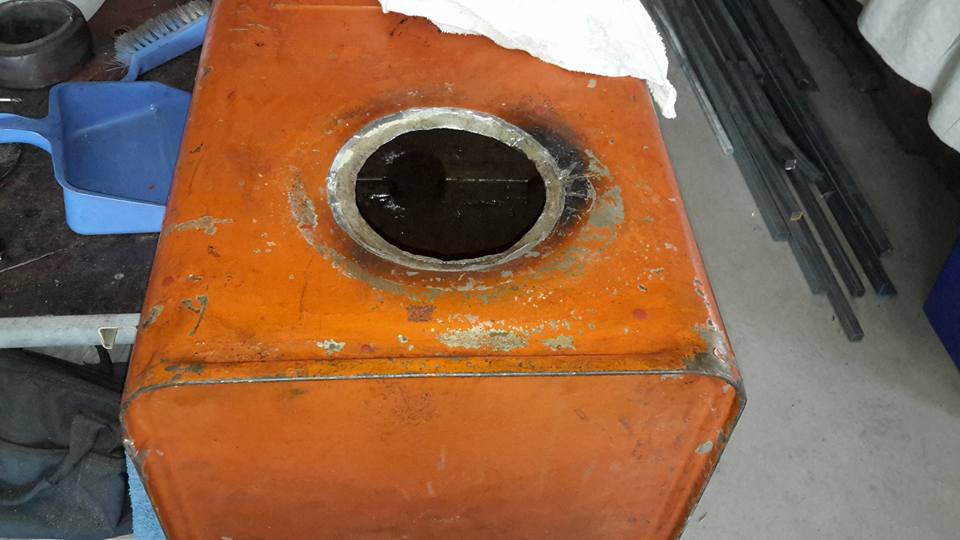
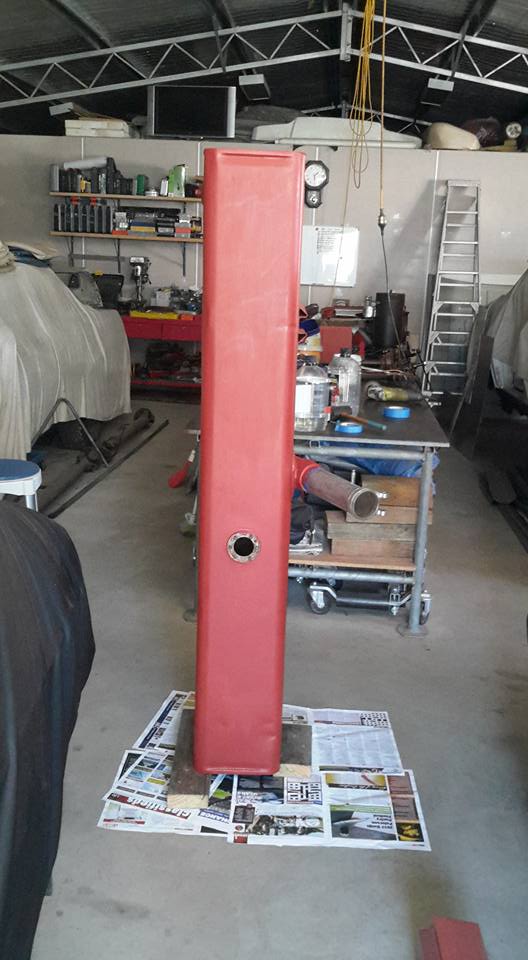
- Late today I started on the fuel tank. When the bus was parked I knew it had a leak somewhere because diesel leaves an oily residue.
- On the blue metal gravel I have here the stain was obvious.
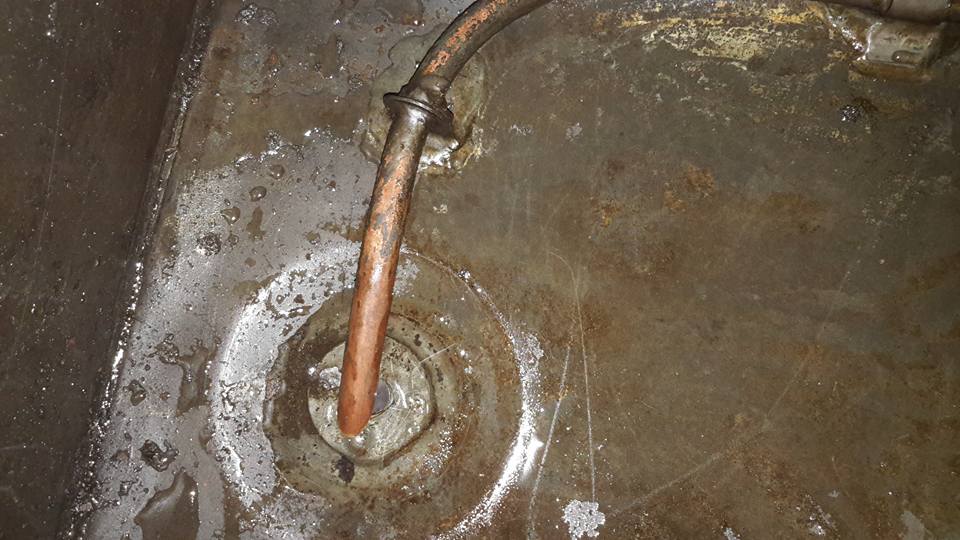
- It didn't take long to find the leak after I drained what was left of the old smelly diesel and put water in it the water told me where it was.
- If I hadn't taken the tank out I would never have found it.
- It was under the front bracket.
- It had rubbed through.
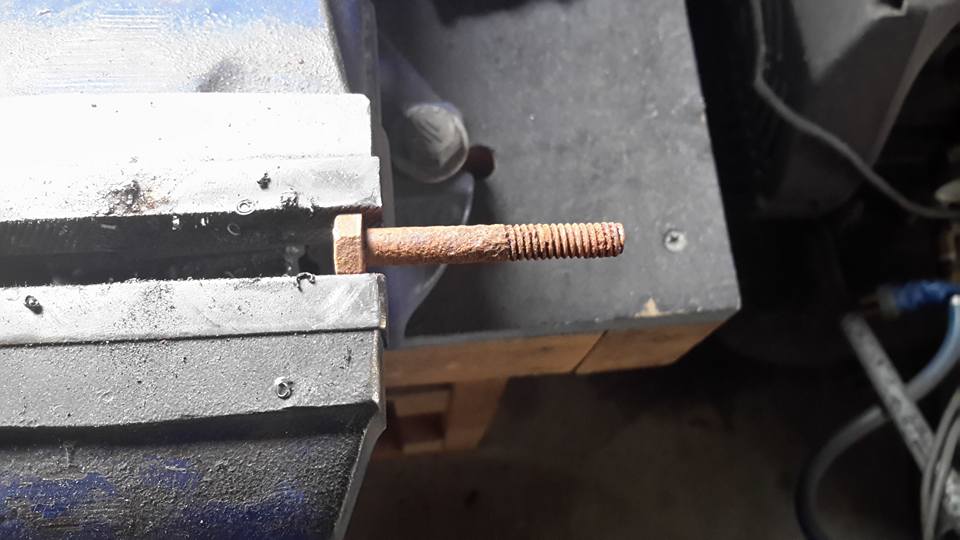
- I thought it was this bung to start with but the threads on this bung is as close to a perfect thread.
- I screwed it on while water was coming out and after 2 turns there was nothing coming out.
- Now that's precision thread cutting.
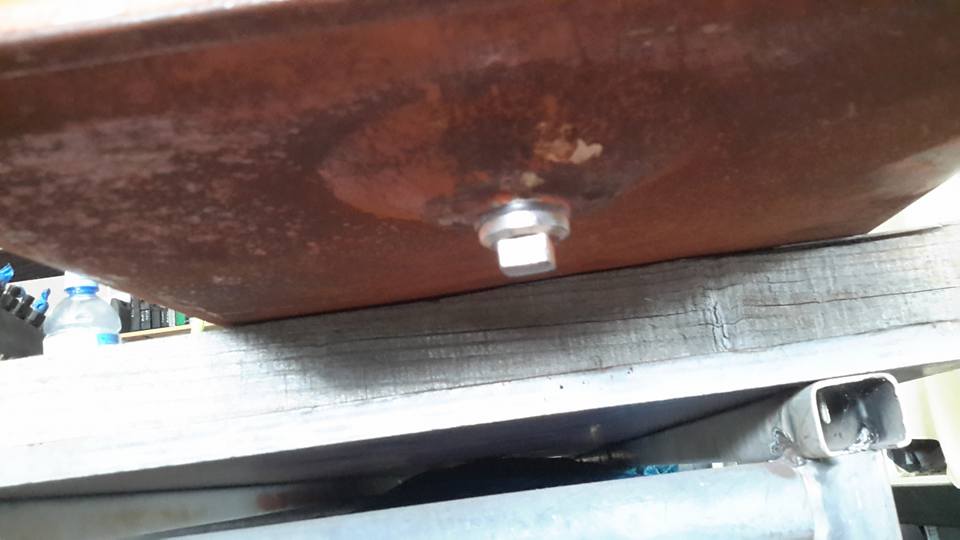
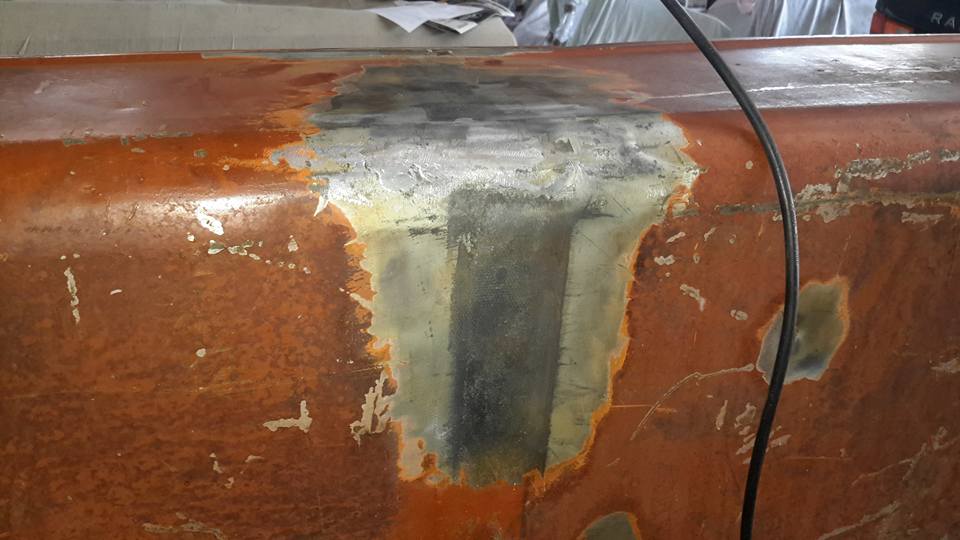
- You can see where the bracket sits.
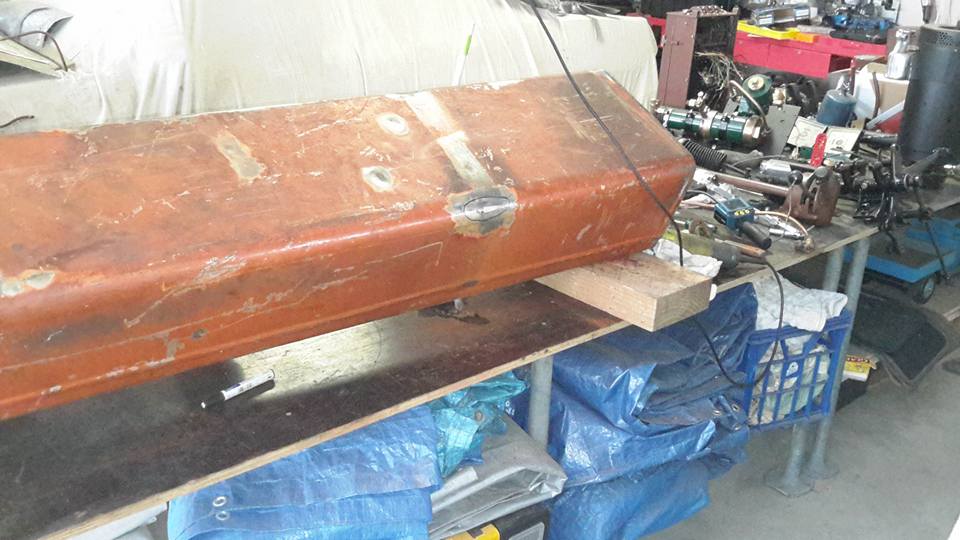
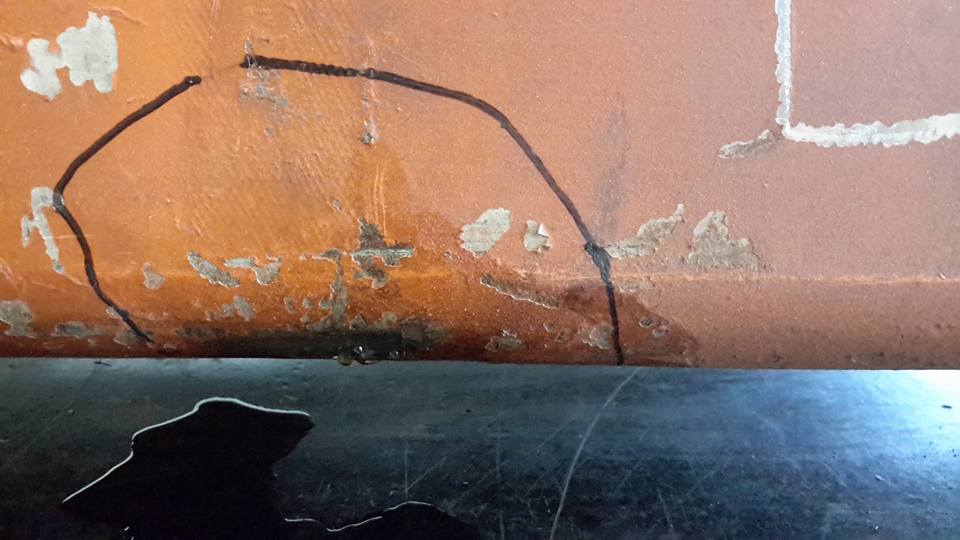
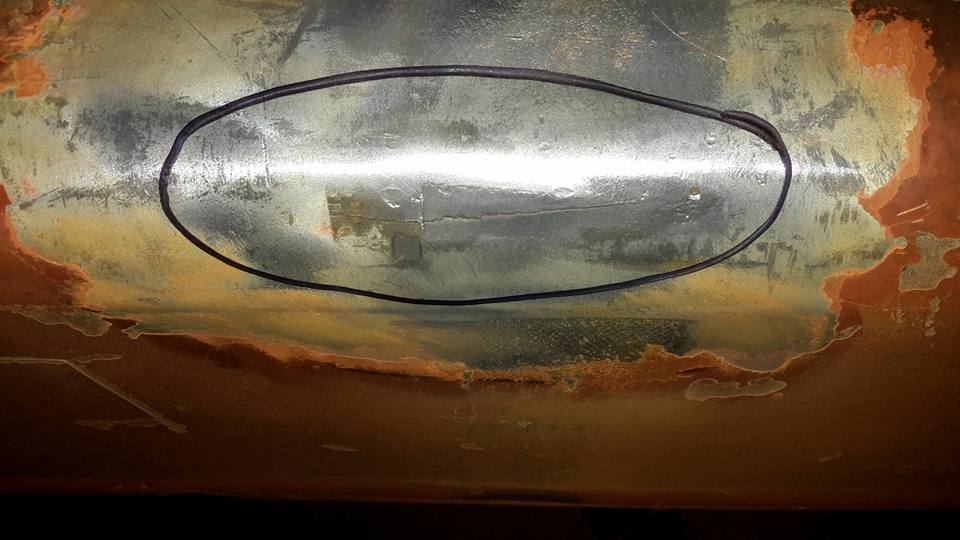
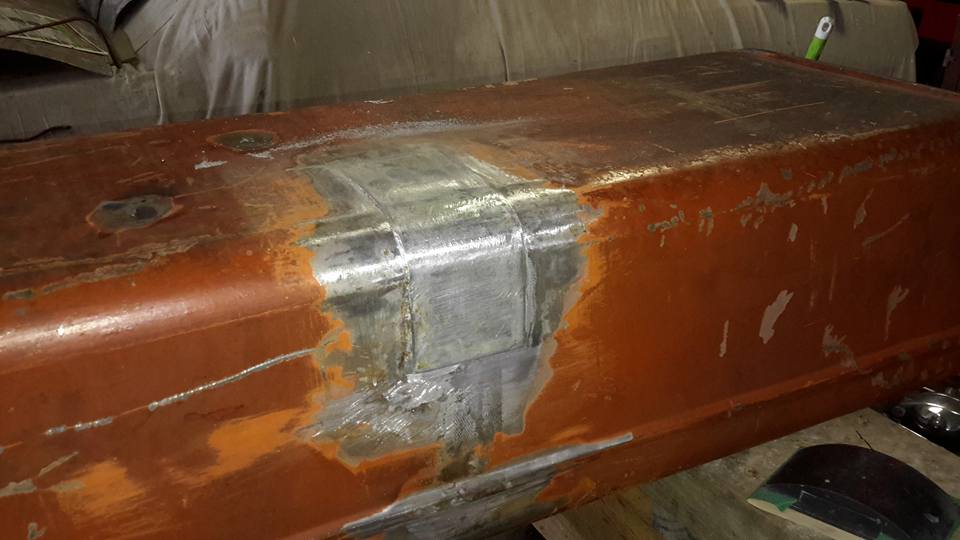
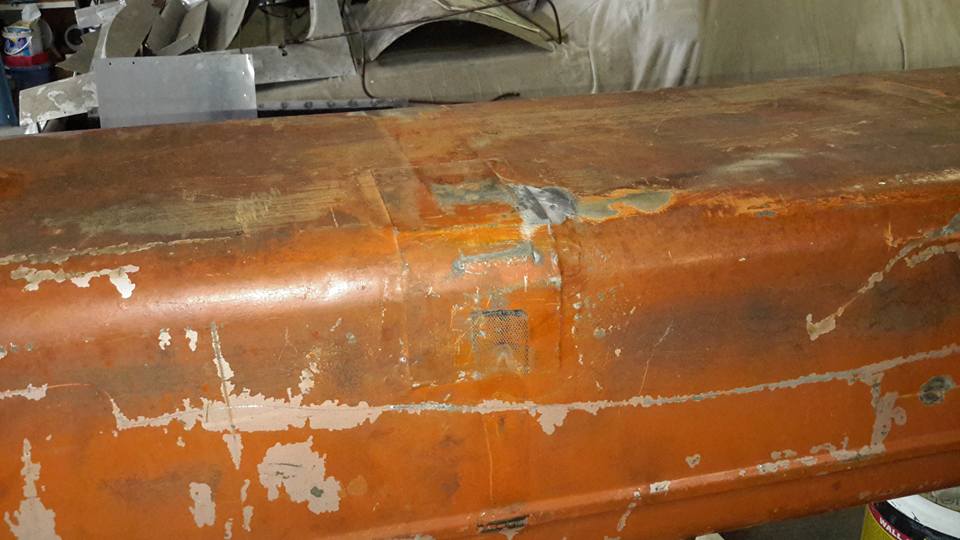
- I fixed this fracture and then put a reinforcing patch over the top like the other end.
- I tested it and it doesn't leak.
- Carle Gregory
- did you do the other areas as well where the straps rub?
- Norman Julian
- Not necessary Carl.
- It is just at the back.
- The front is fine on both.
- They sit on metal brackets with a hessian strapping that is on top.
- I'm replacing it with rubber.
- 2 Feb 2017
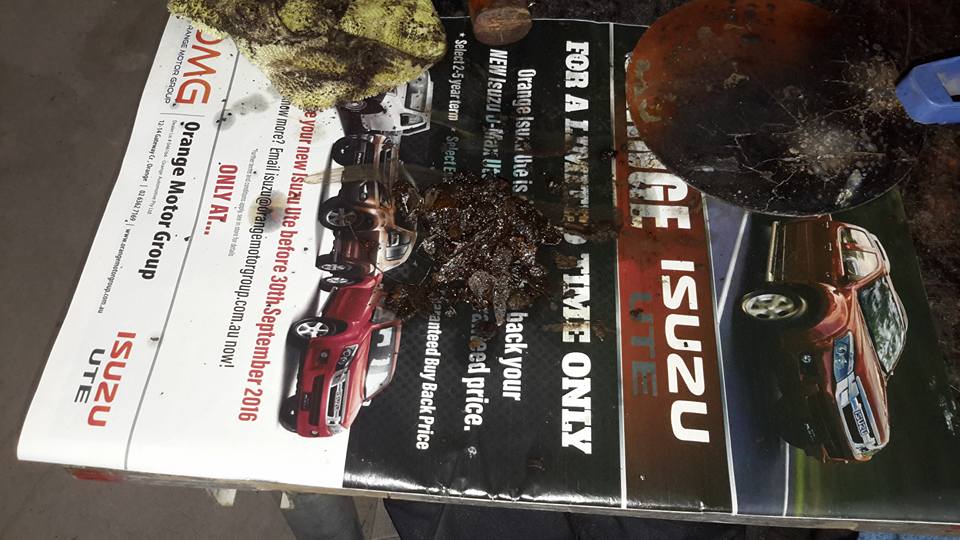
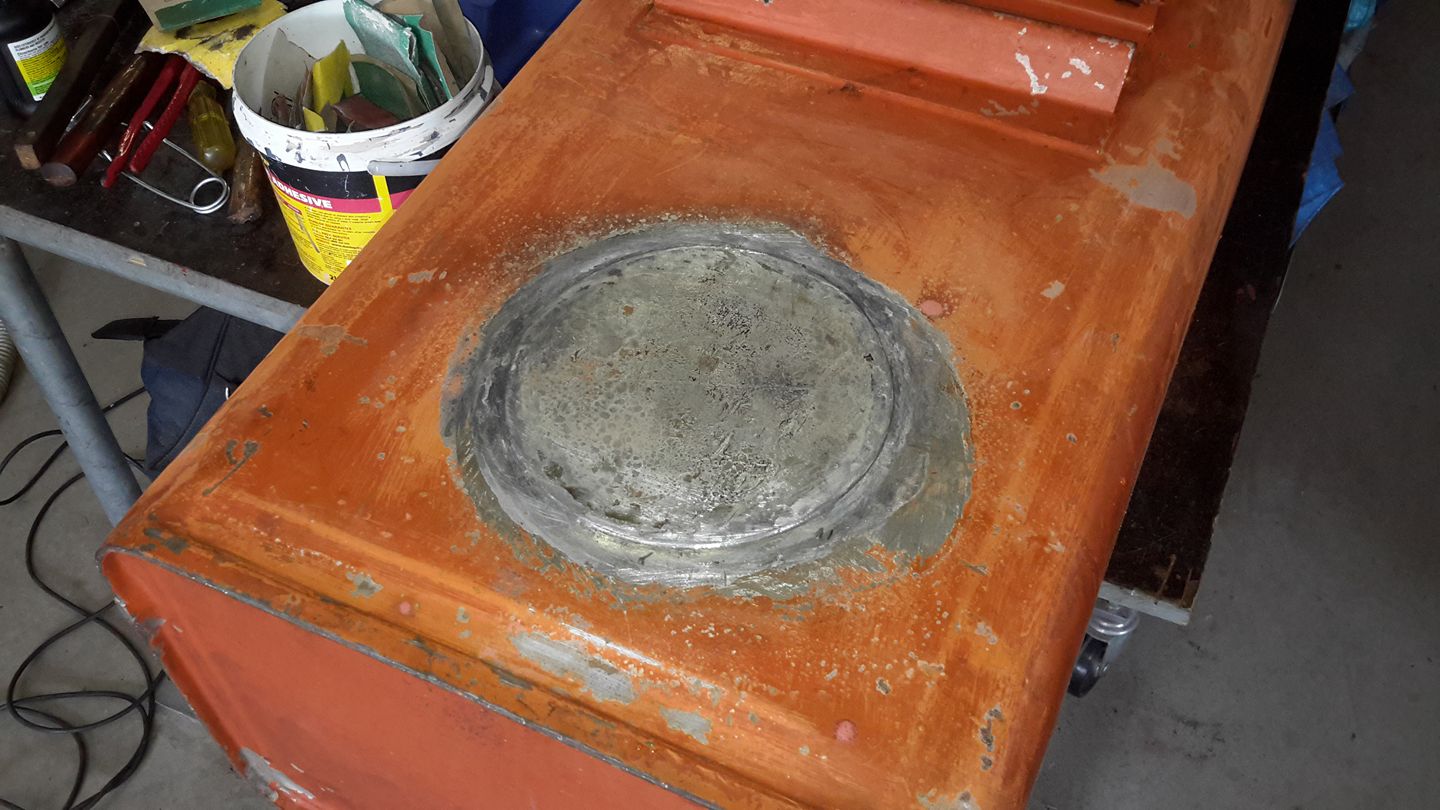
- I managed to get this inspection lid off and have a good look inside to find very little rubbish.
- In fact most of the rubbish came from when it was manufactured.
- Norman Julian
- I did find a booby trap though.
- Adrian Spencer
- What did you find that was troubling?
- Norman Julian
- That circle was cut with a pair of tin snips and there was sharp edges and jagged edges.
- I have the battle scarrs to prove it.
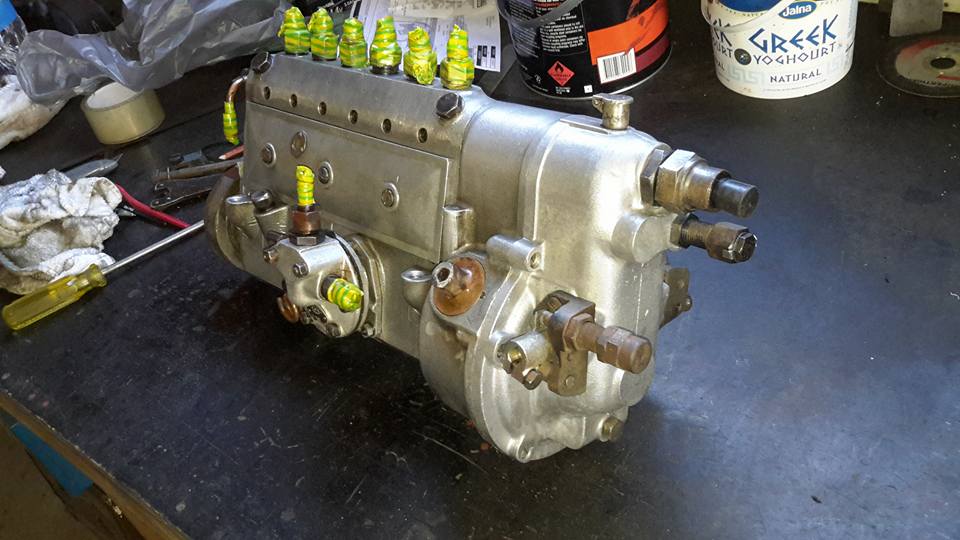
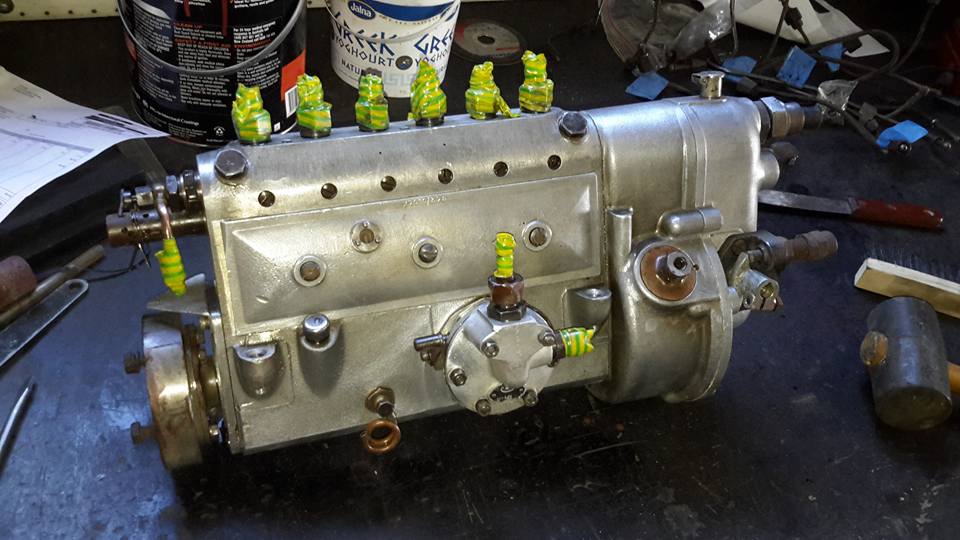
- I cleaned the injector pump and it came up great.
- I took the cover off to expose the elements and couldn't believe how meticulously clean it was inside.
- 3rd Feb 2017
- I soldered the cover back on and did the water and pressure test and to my delight it didn't leak.
- The tank is nice and clean inside and looks good.
- It will last a few more years.
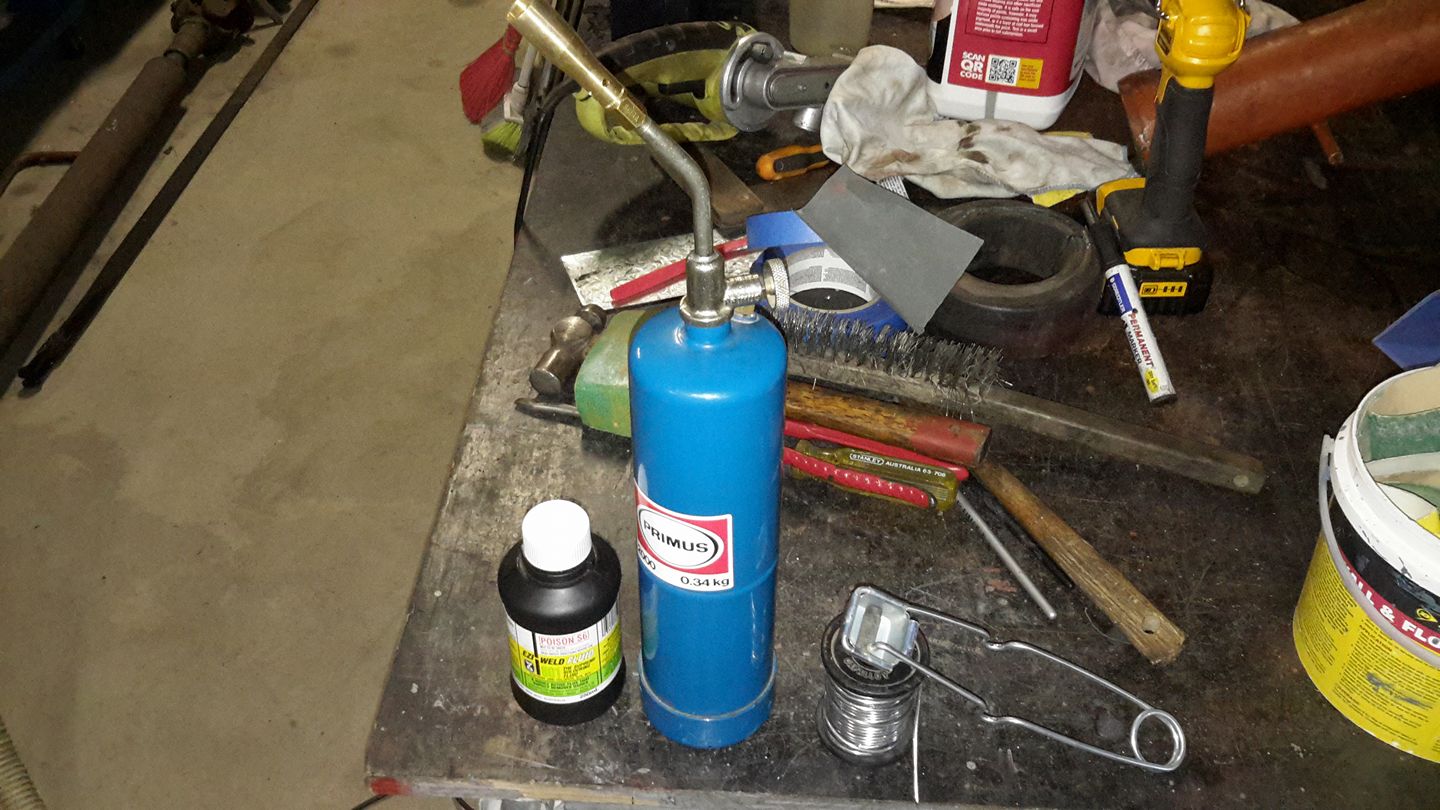
- Essential ingredients for this type of soldering.
- The fluid is important.
- 4th February 2017
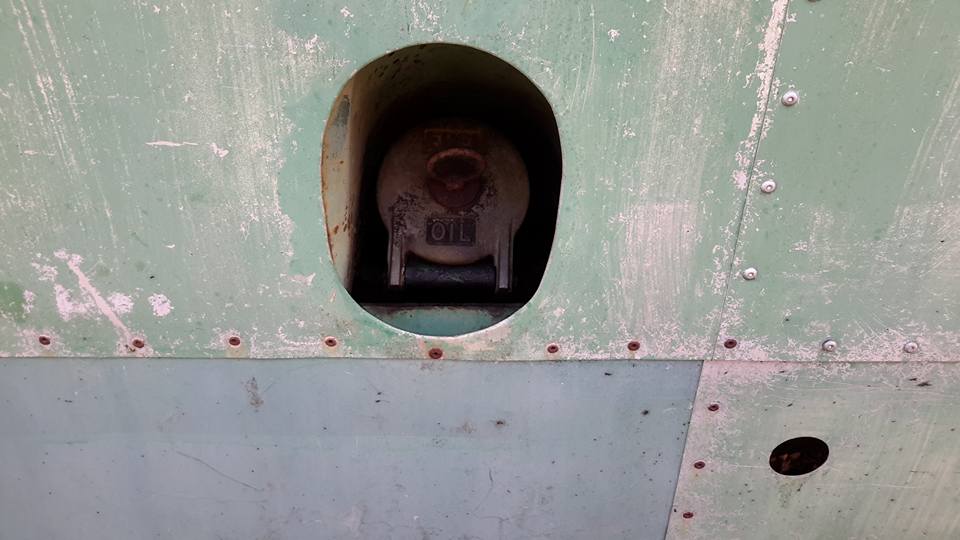
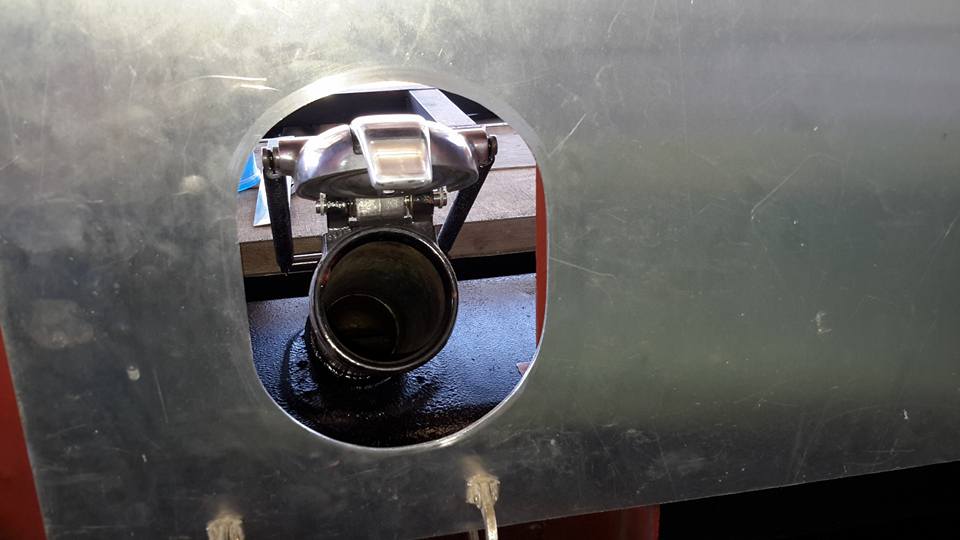
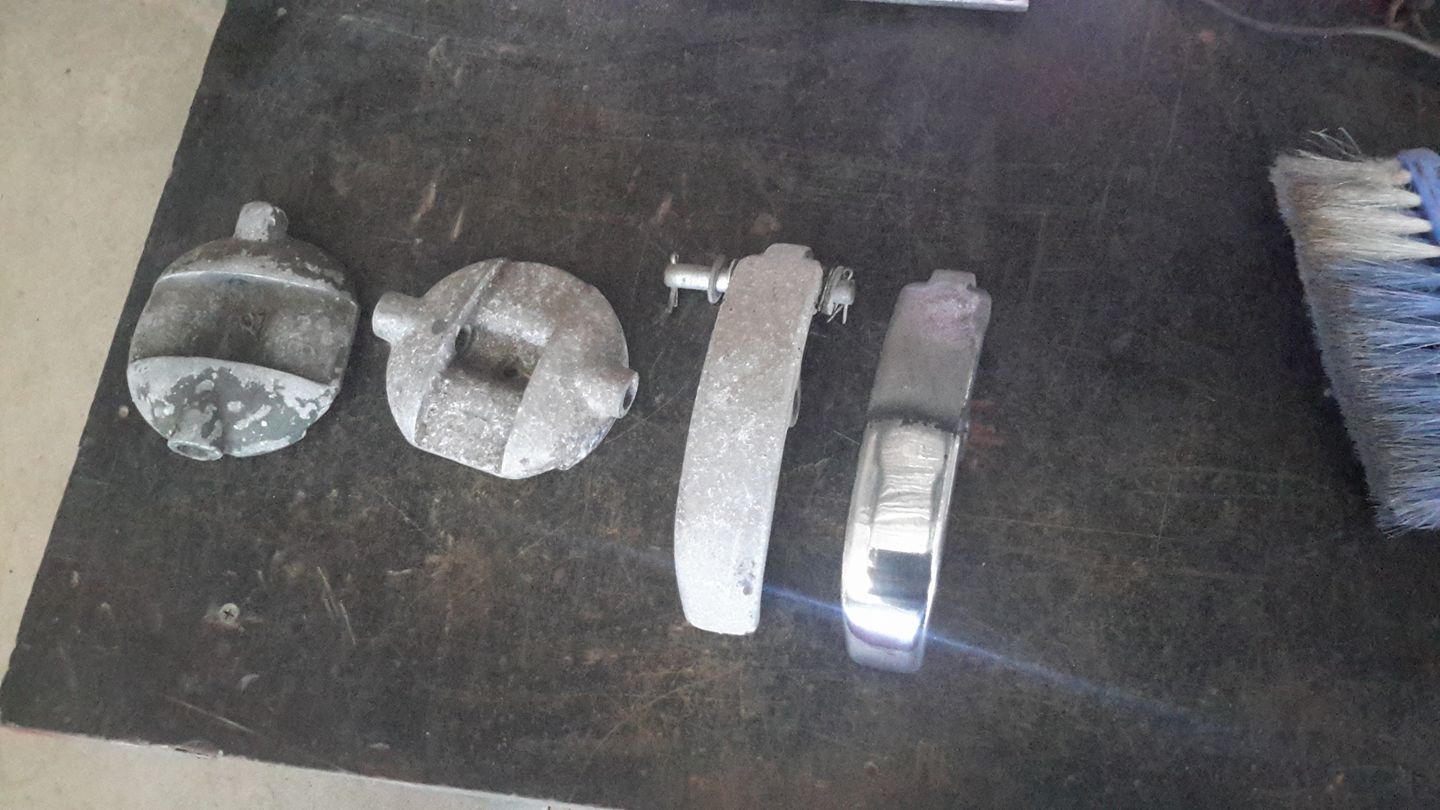
- I need your help. This is the fuel tank gauge.
- It doesn't go on the dash, it goes directly onto the tank. To view how much fuel you have left you look in a small hole below the fuel filler.
- Anyway, I cleaned it up and got the simple thing working again but the face has gone.
- I just would like to know is there a catologue out there with fuel gauge faces, speedo faces etc.
- that I can scan the picture and get a transfer reproduced to the right size.
- All I need is a picture of a period gauge. Thanks everyone.
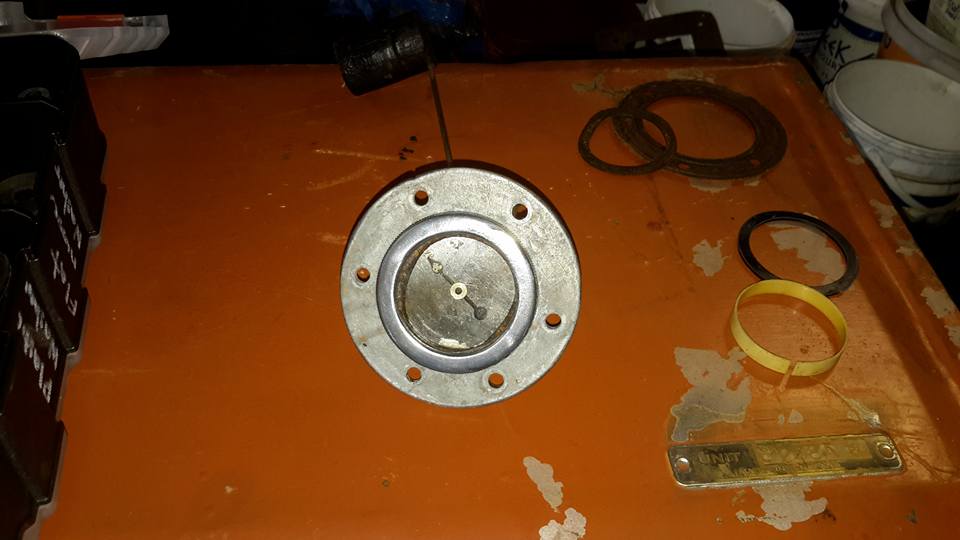
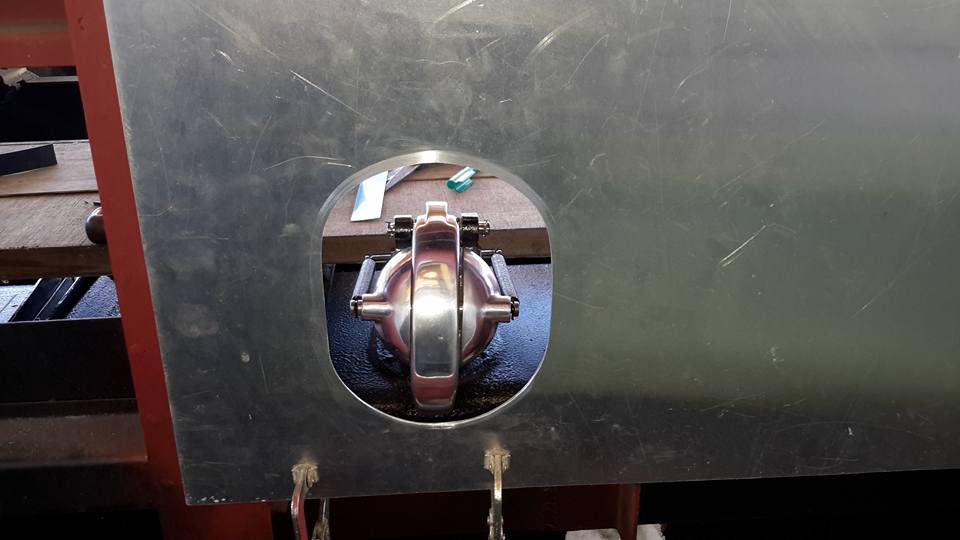
- The steel disc sits in the centre with that needle and the magnet on the other side moves the needle according to how much fuel is left.
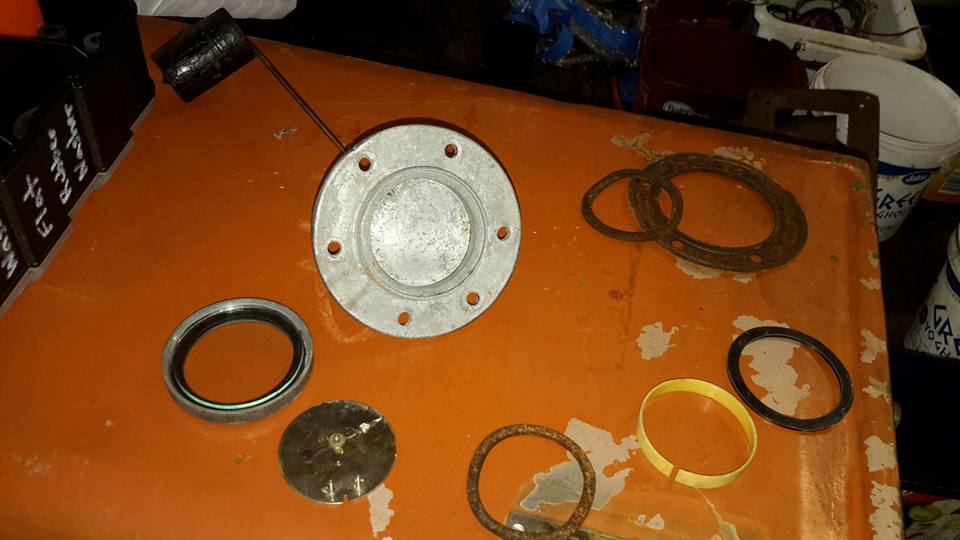
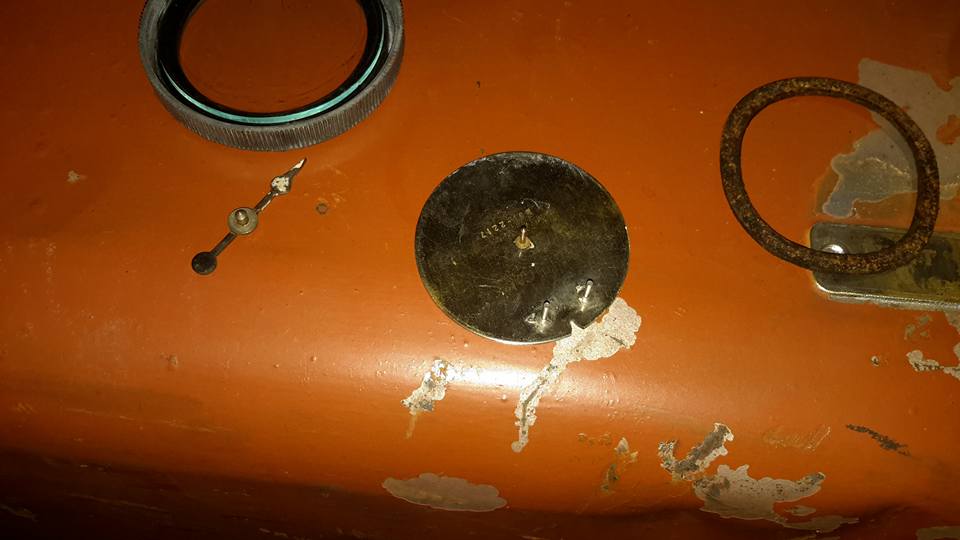
- This disc is where the transfer would sit.
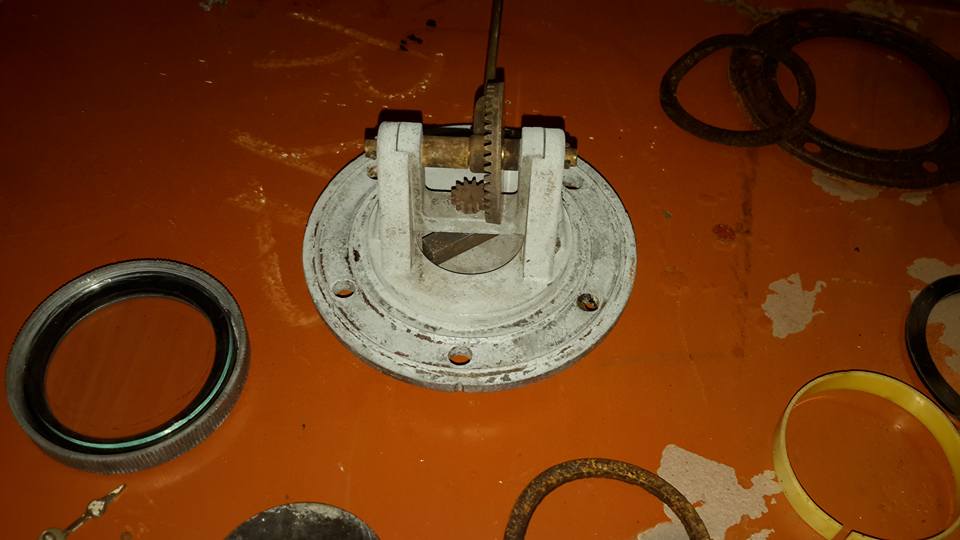
- That retangular thing in the centre rotates with the float.
- It is a magnet and when it moves it moves the needle on the opposite side.
- I did say it was simple.
- Scott Wilson
- Might have one.
- Will look at Moores today.
- Adam Draper
- I'll photograph the one on my tank on the weekend if you like
- Sam Hawkins
- Talk to Namiss at Newcastle. They're the gauge gurus.
- Carle Gregory
- there is a bloke in Salisbury Brisbane that might be of help, he other wise can refurb instruments, Otto Instruments on Evens Rd Salisbury, i think he advertises in BMC experience (07) 3277 3888
- Brian Blunt
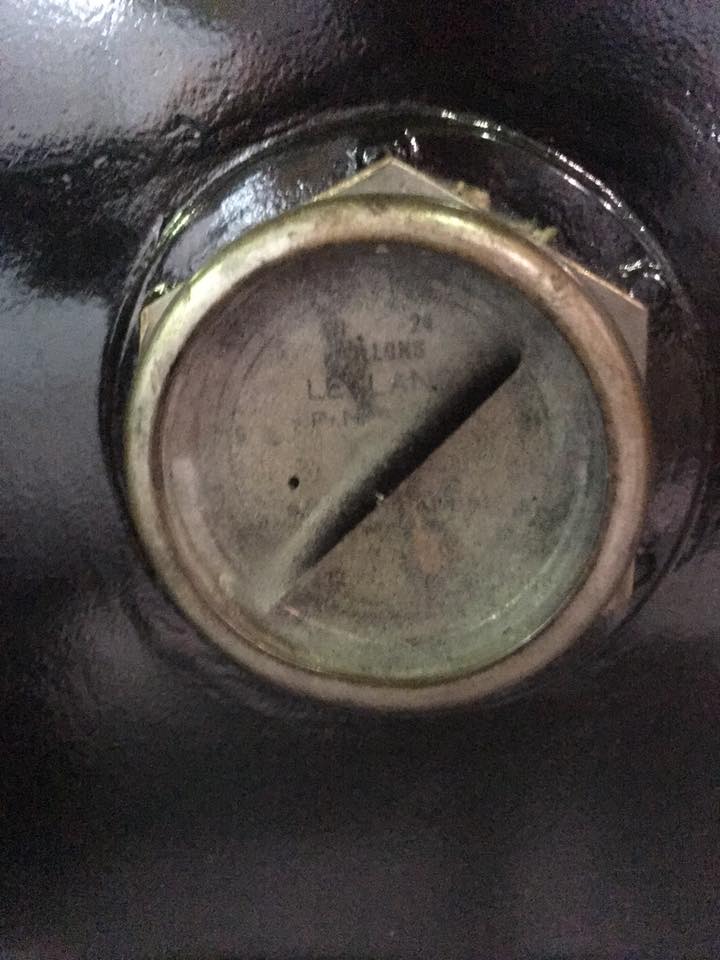
- This is the gauge on our 1938 Leyland, but not much better than yours.
- I'll keep looking
- Norman Julian
- Ha ha.
- Thanks Brian.
- My Leyland is in good condition as well.
- Norman Julian
- Found this.
- Around the wrong way but on the right track
- Norman Julian
- Same with this
- Norman Julian
- This is the way it has to be on the tank
- Brian Blunt
- Attspeed Auto Instruments at ST Marys might be closer to home; has done a couple of jobs for us.
- Norman Julian
- Thanks Brian.


- 6 February
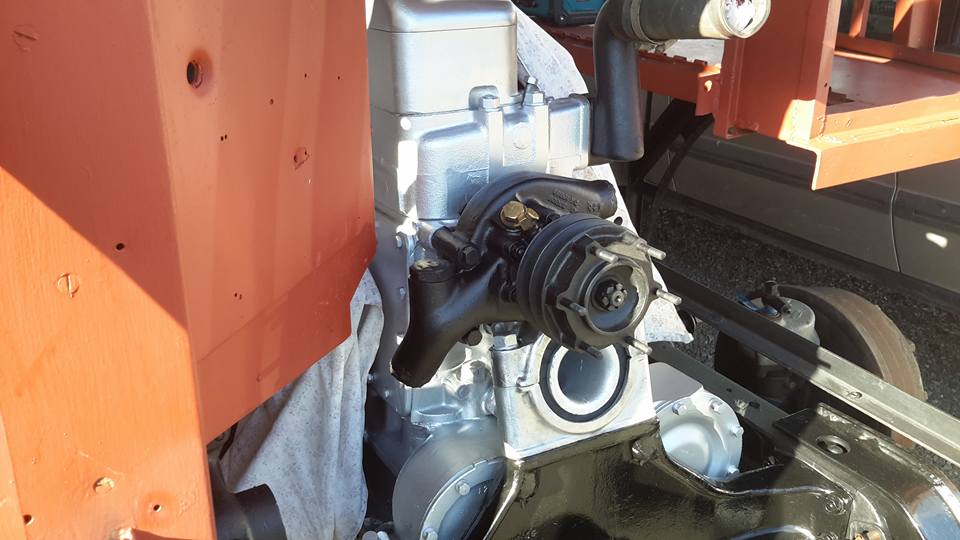
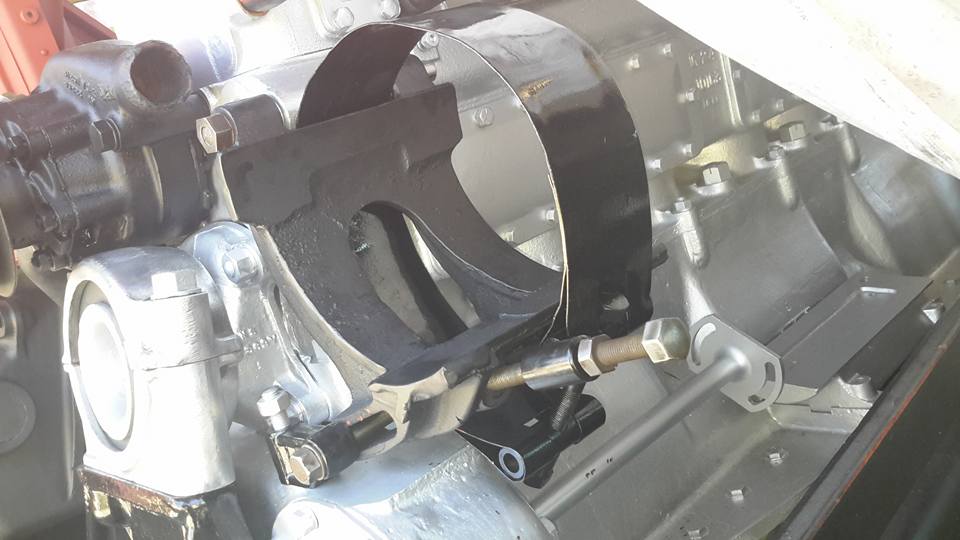
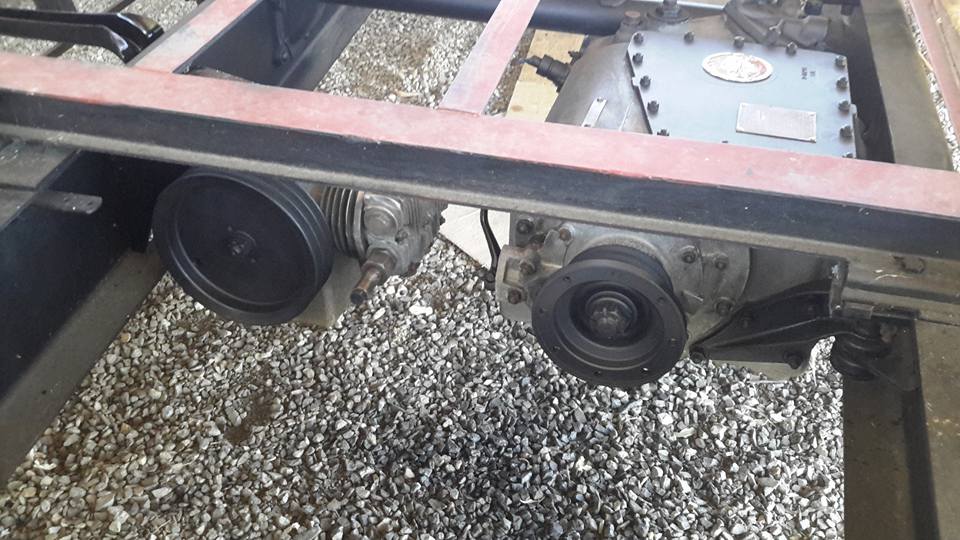
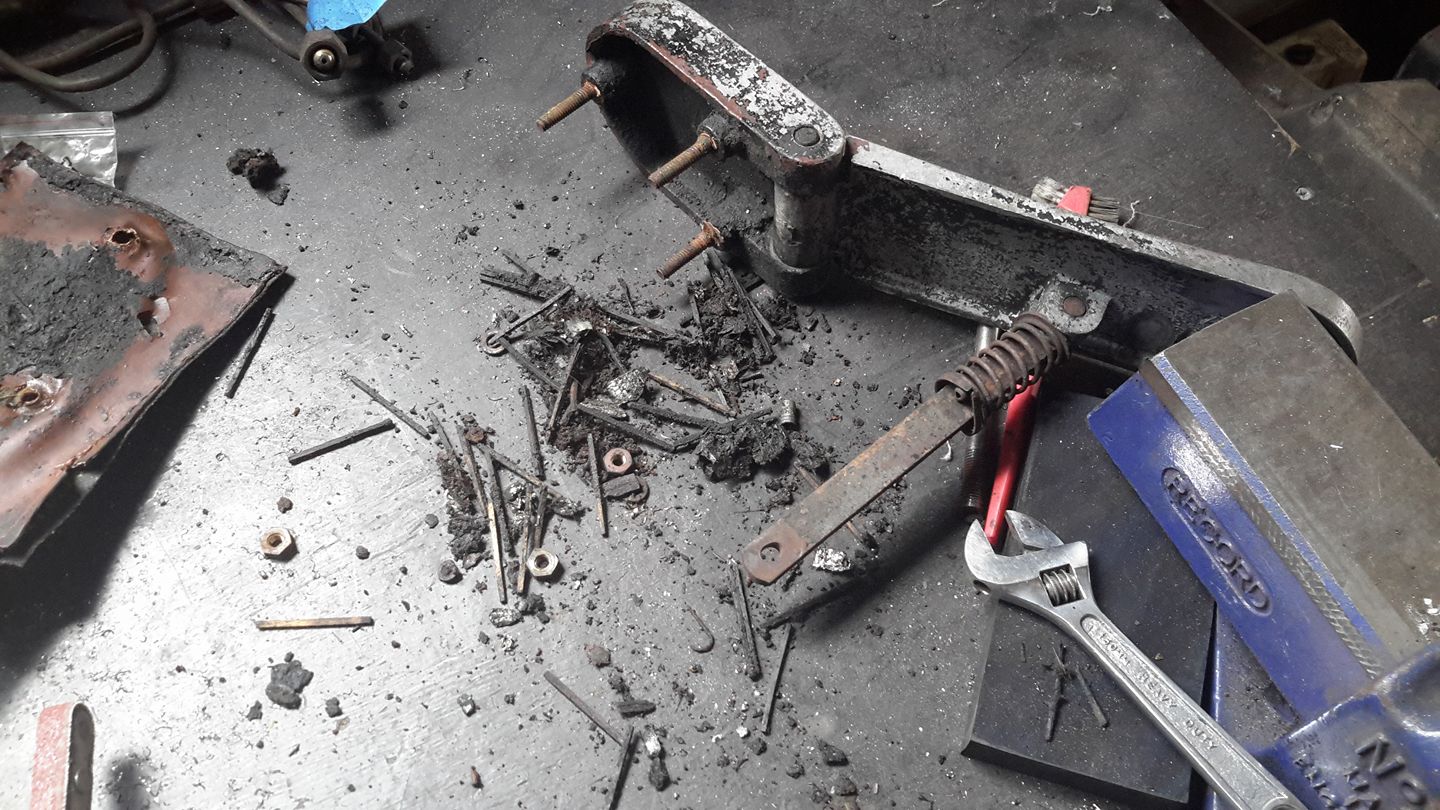
- This piece on the right is the generator carrier.
- There are quite a few bits involved in the assembly of this.
- I am really glad I took plenty of photos when I dissasembled this.
- Here I have reassembled it to find out what bolts I still have to paint and touch-up.

- 9th Feb 2017
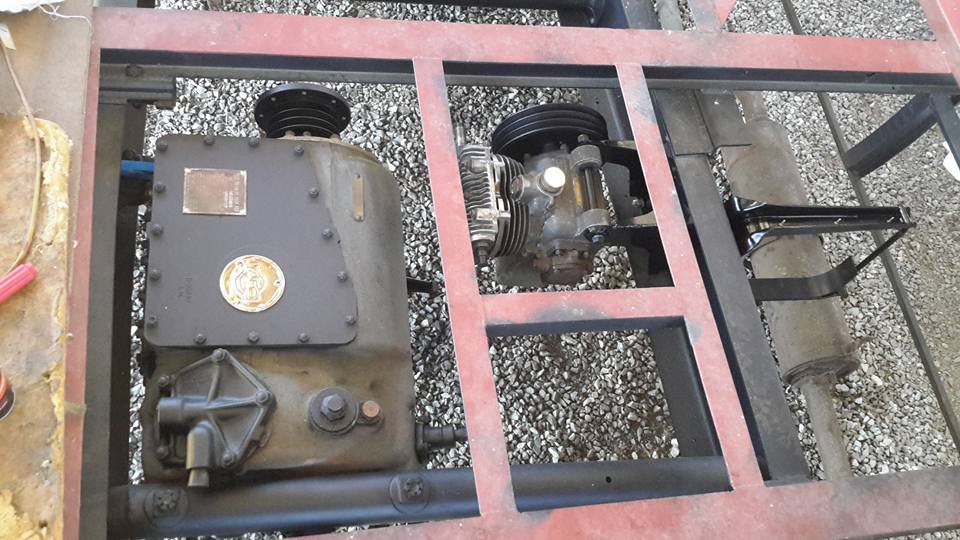
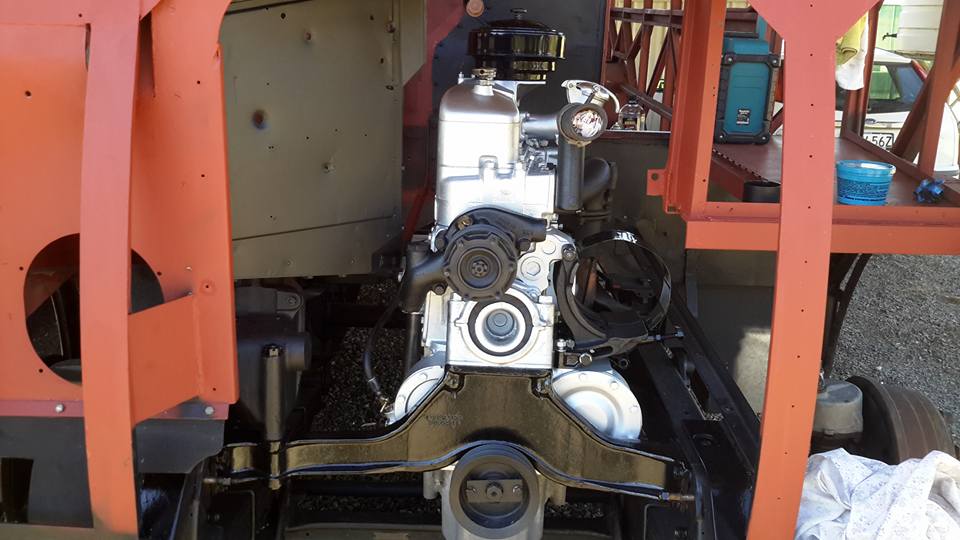
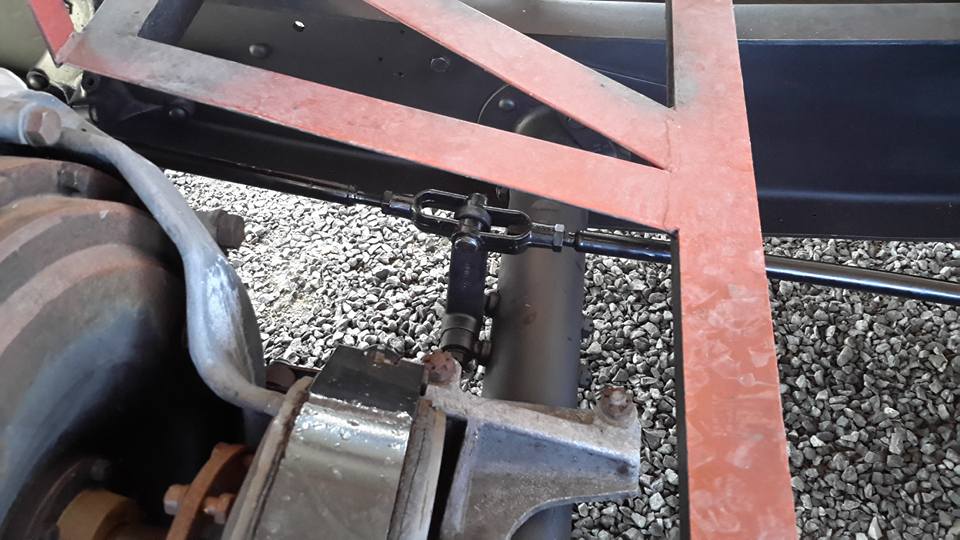
- Put a few more things back on today.
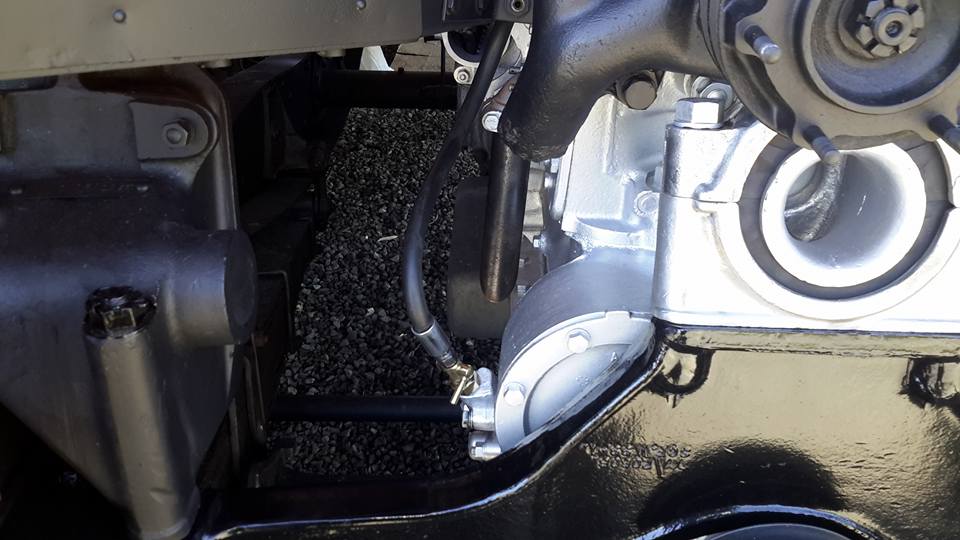
- I painted the front section of the fire wall and put the oil pressure switch line from the engine with the tap on.
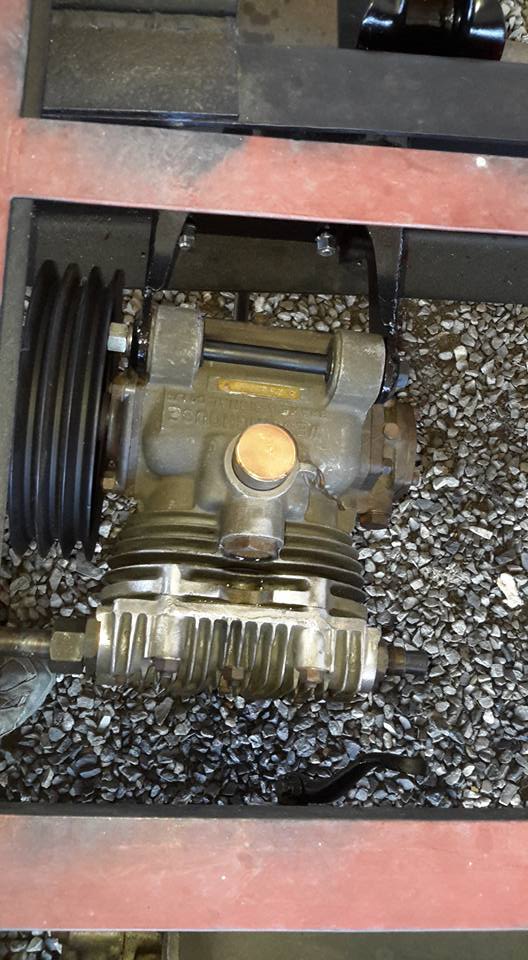
- The air compressor that controls the brakes/transmission etc.
- I touched up the gearbox in a few areas.
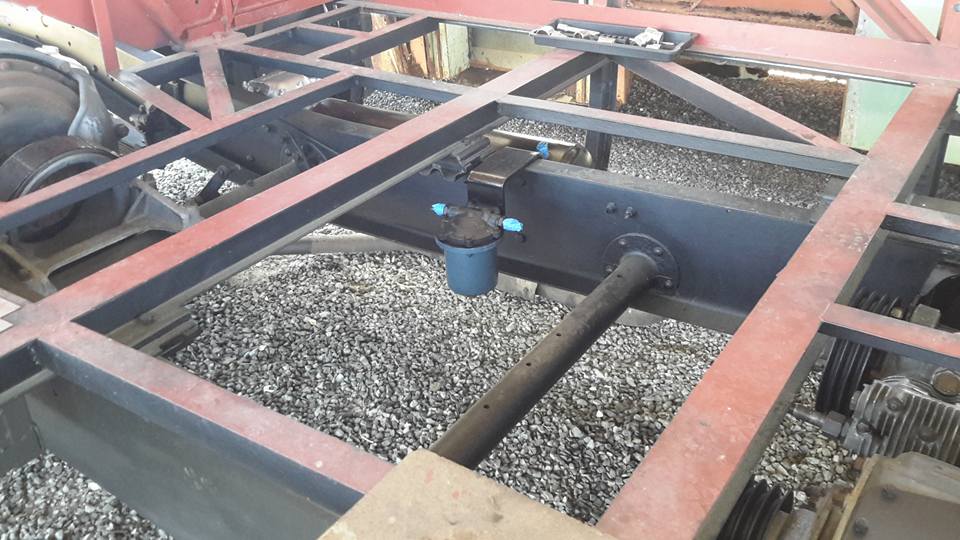
- Put the fuel cell brackets on and finally the filter cartridge for the air brakes.
- Carle Gregory
- wow 7 photos you must have had a good run then Norm
- Norman Julian
- Most of the hard work is behind me now, Carl. Just a few small things need attention.
- All the heavy stuff is back in now.
- I can start to put the pipe work back in.
- Norman Julian
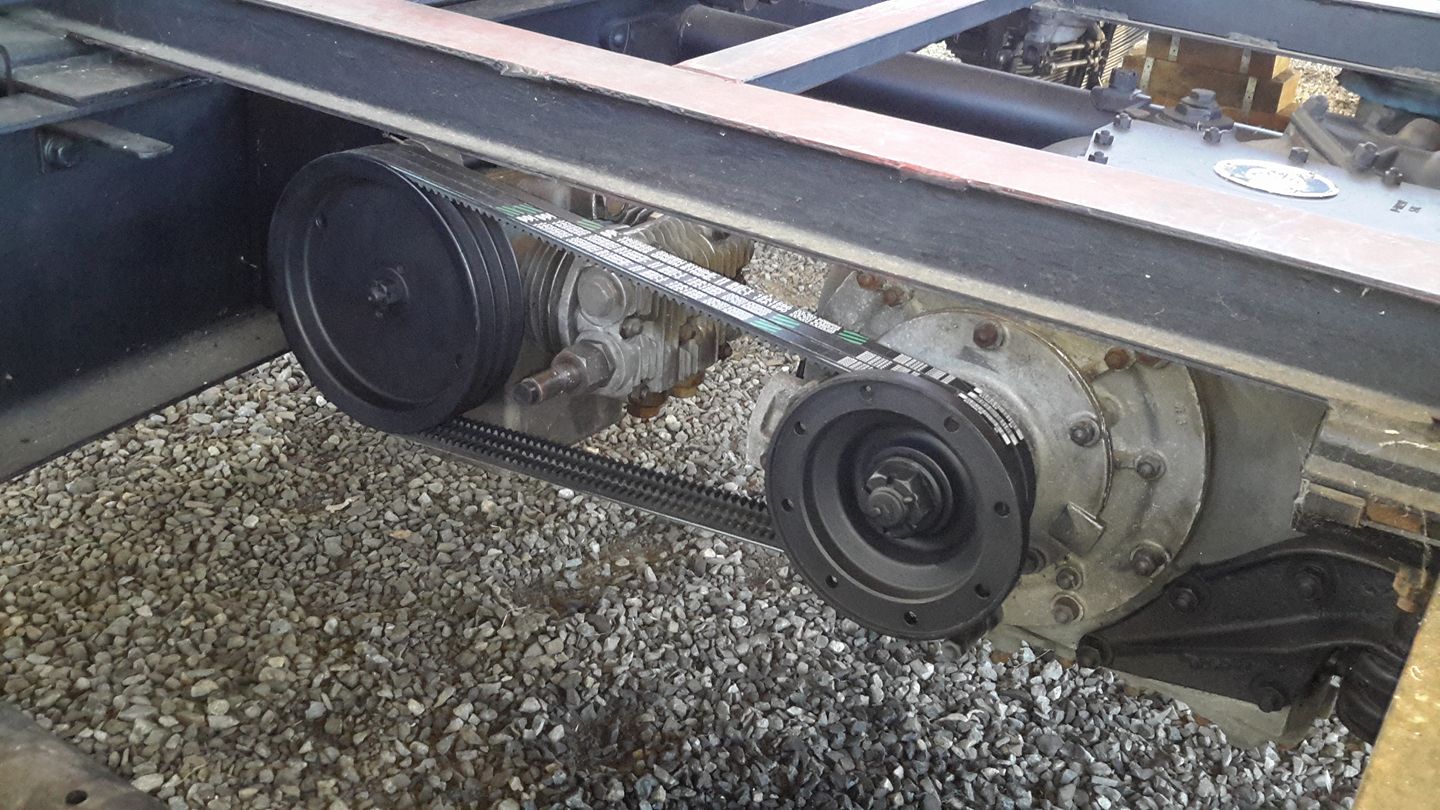
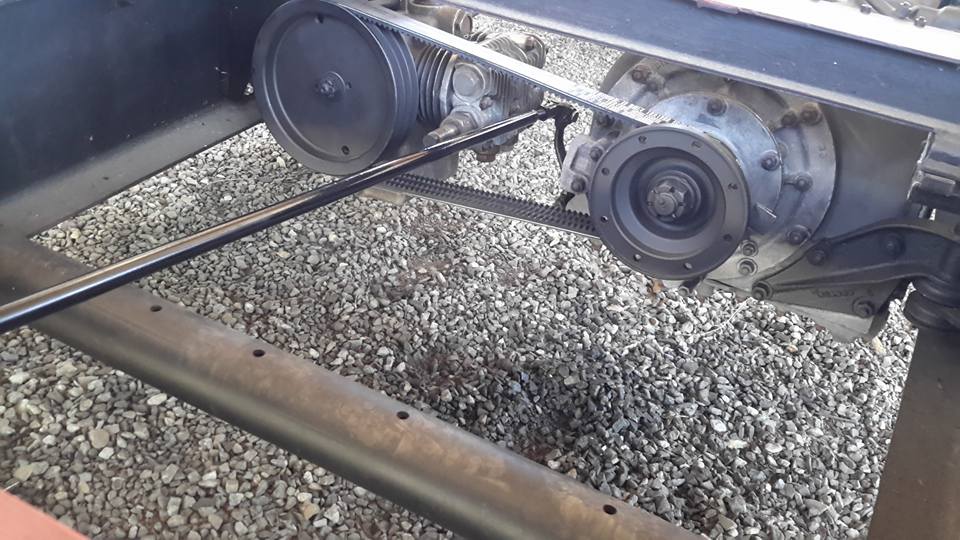
- Thanks to Craig Parkinson I ordered 3 drive belts coming to go on the gearbox and compressor.
- I'm really not sure why this set up requires 3 belts and the engine only has 2.
- 11th Feb 2017
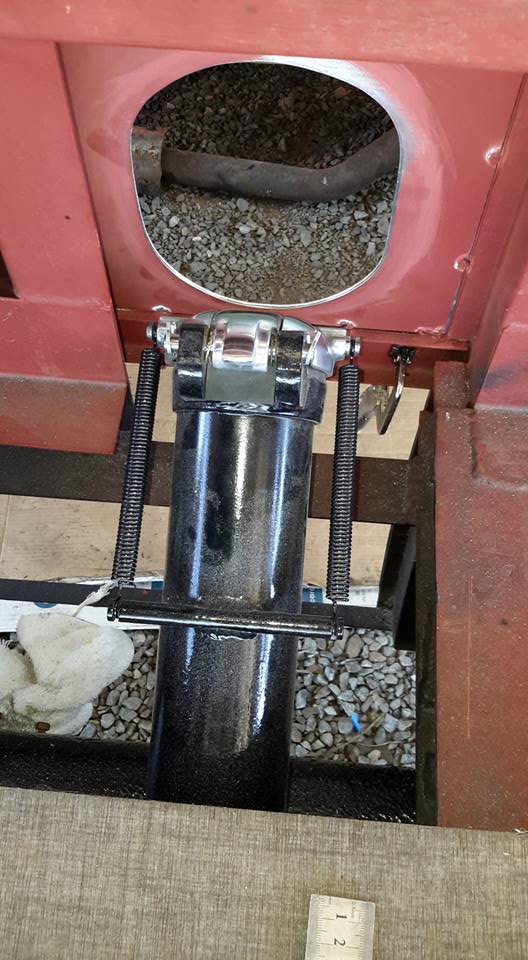
- I finished this today.
- Made the hole a little bigger so as to get your hand in without jambing it, and more comfortable for the user.
- It is still smaller than the Leyland as pictured.
- I also placed a piece of rubber to stop the spring loaded cap going all the way and jambing your fingers.
- Just have to make a security door that can be latched to stop people from putting stuff in the tank.
- Stuart Gale
- looking good norm... nothing worse than fighting with a fuel hose and small access hole and oversized nozzle just for that extra but adventure !
- Norman Julian
- That fuel filter unless you are used to it, it can get the uninformed. It has very strong springs and when it goes up it can catch you and jamb your fingers. Not this one .
- John Lidstone
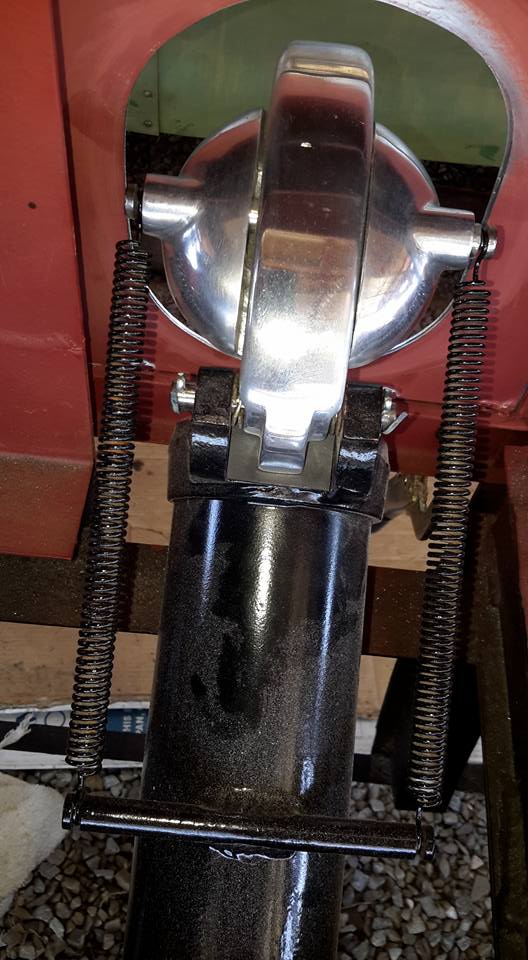
- I've never seen such a lovely AEC fuel filler...
- Norman Julian
- I just filed and sanded all the scratches out and buffed it up, John.
- Norman Julian
- This is what it looked like originally
- Norm
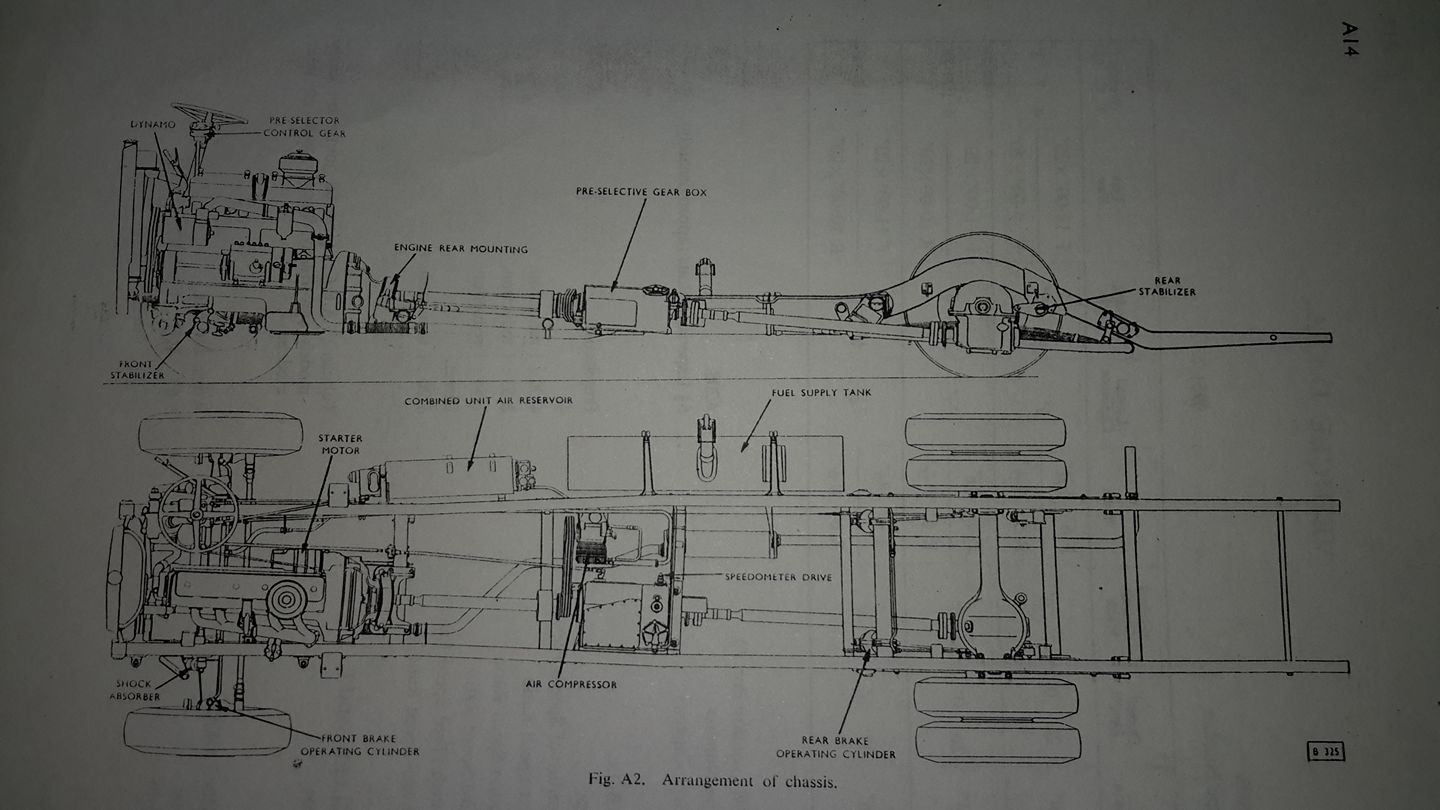
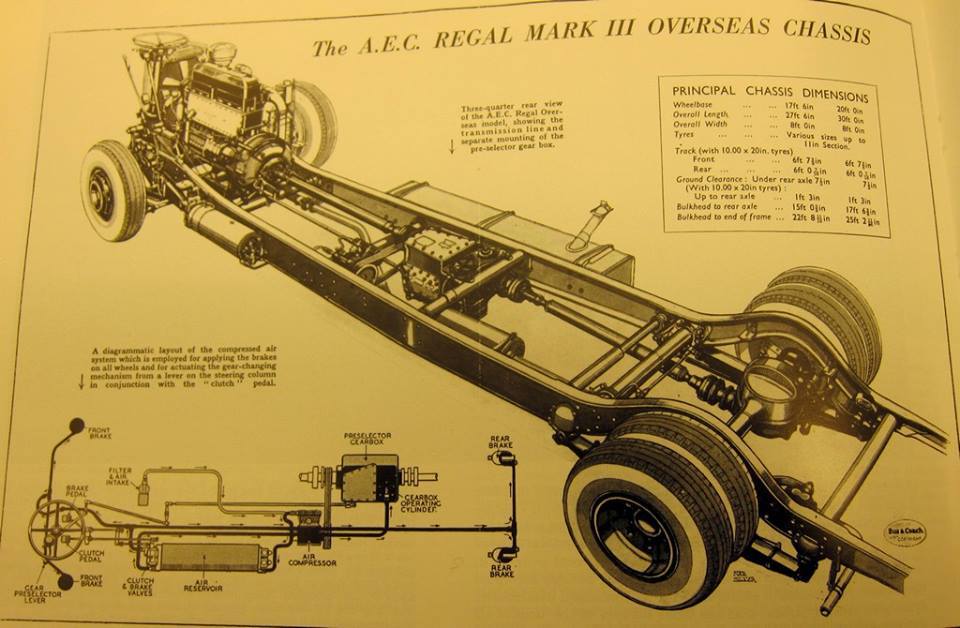
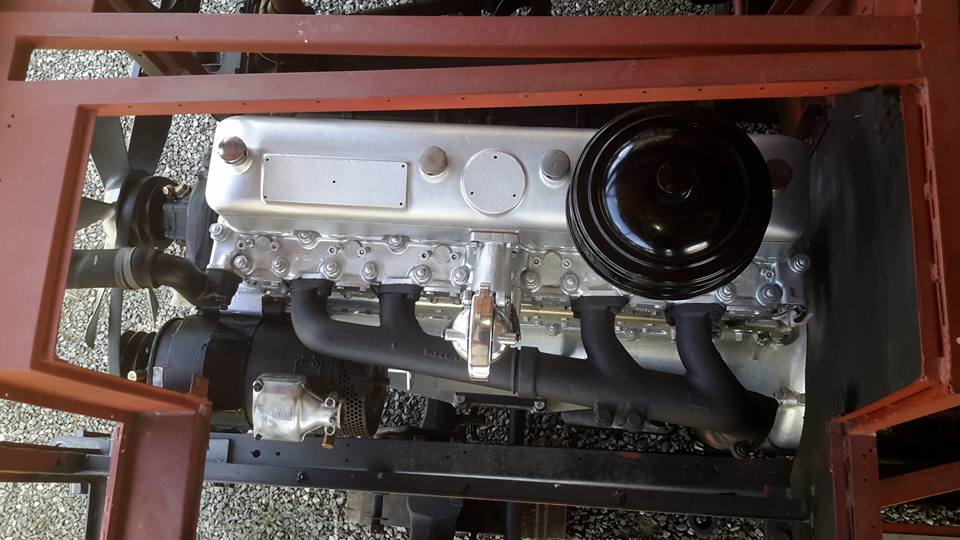
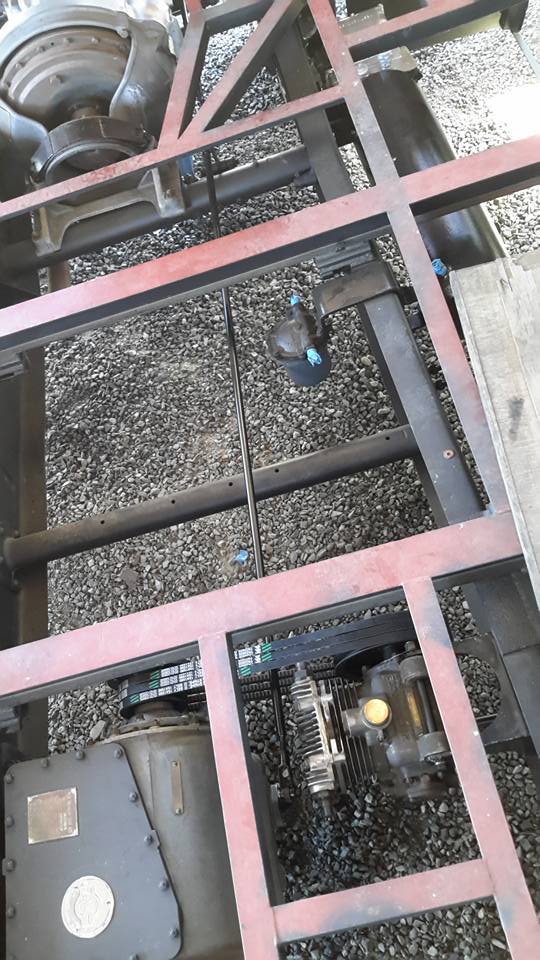
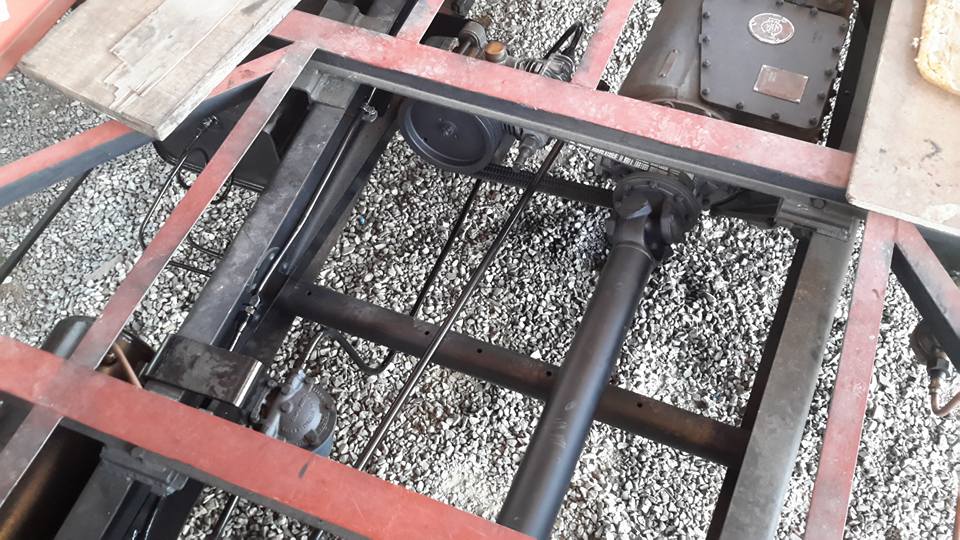
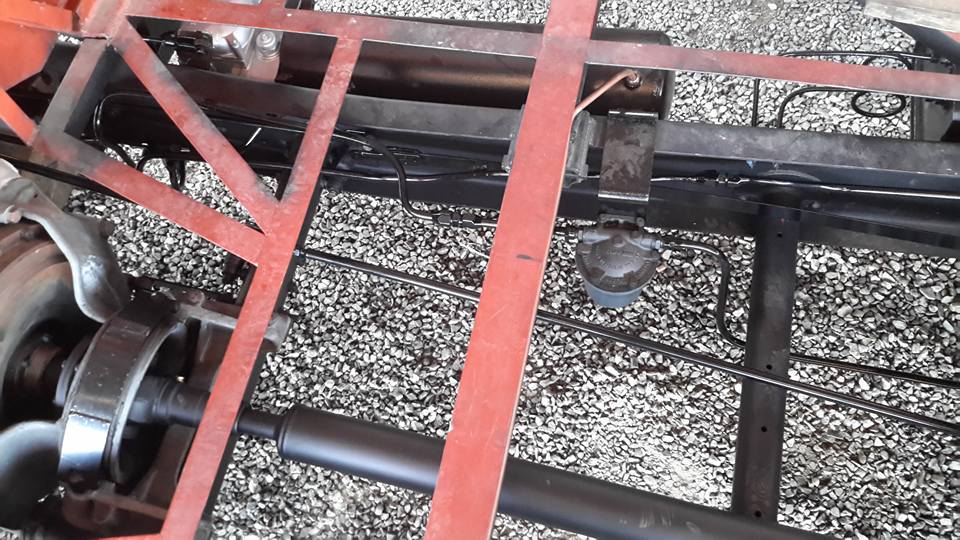
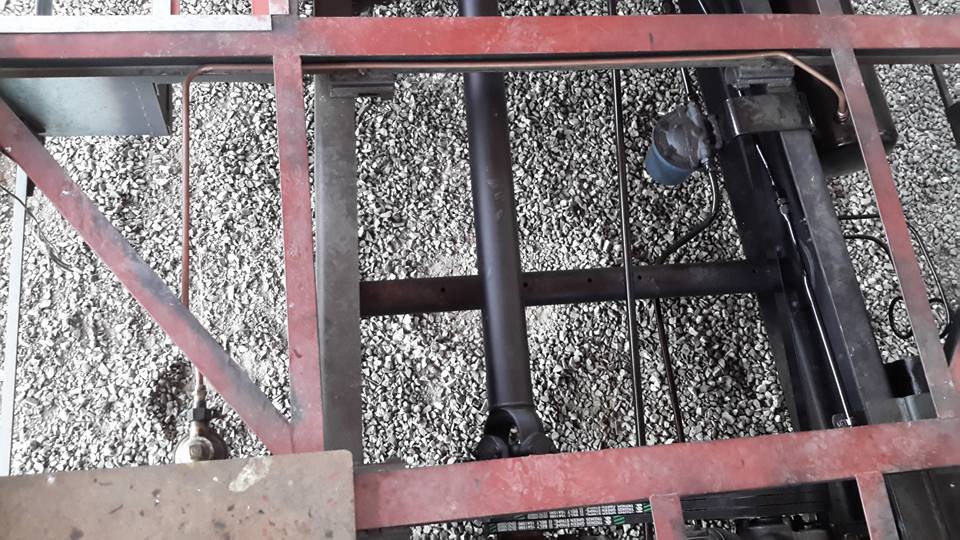
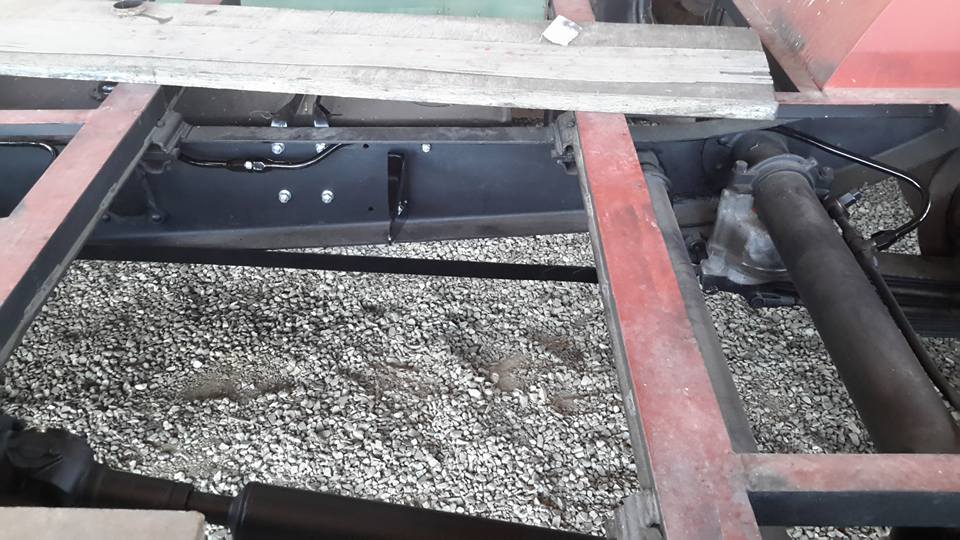
- For those that are not familiar with how this system works and are not sure where any of these things I'm putting back in go, here is an outline of this bus.
- Stuart Gale
- possibly to cater for dd chassis to enable flat floor aisle in lower saloon hence the high seats at the rear over the diff and to assist with the low Centre of gravity needed for dds to also allow for overall height restrictions for body height and for mass production / standardisation in product line.
- Pedro Mendes Regal MK III LHD
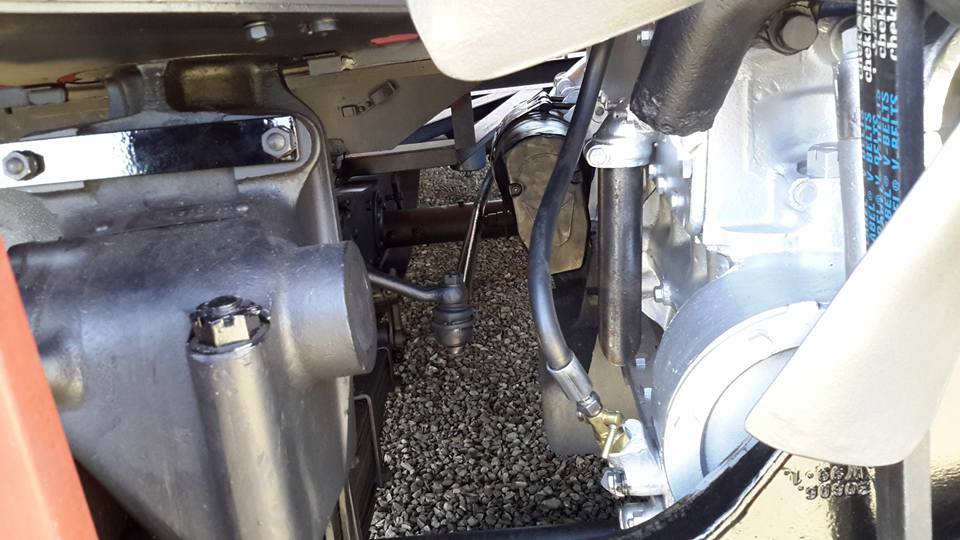
- 12th Feb 2017
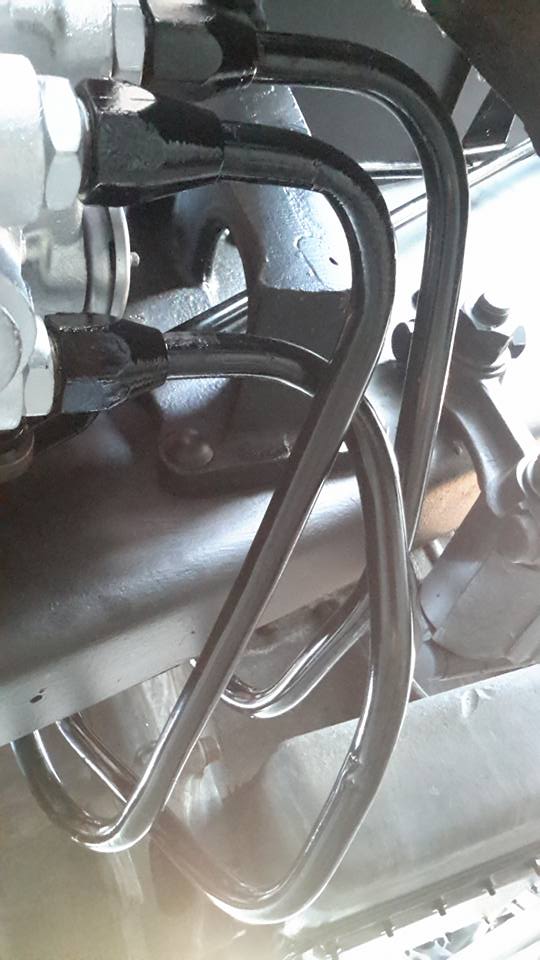
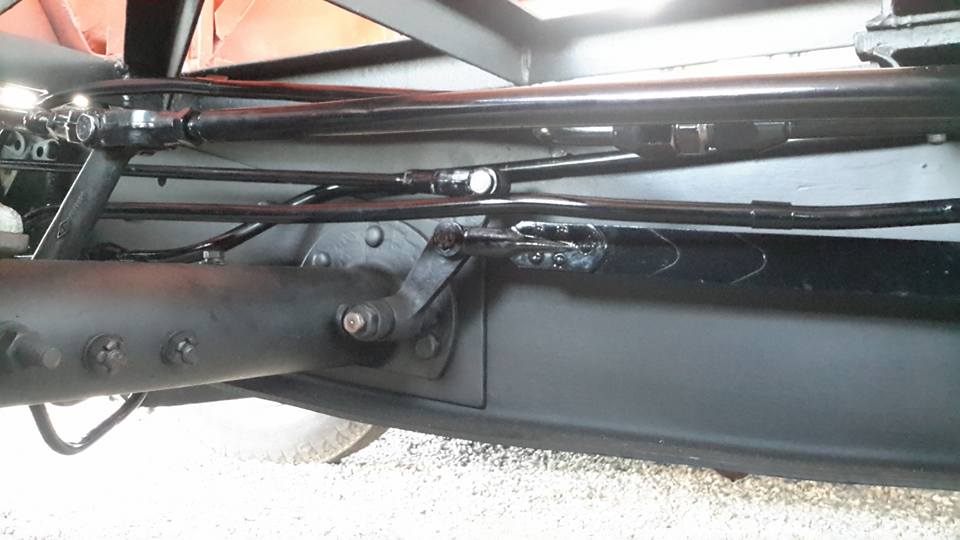
- Bit of a lazy day today but progress made.
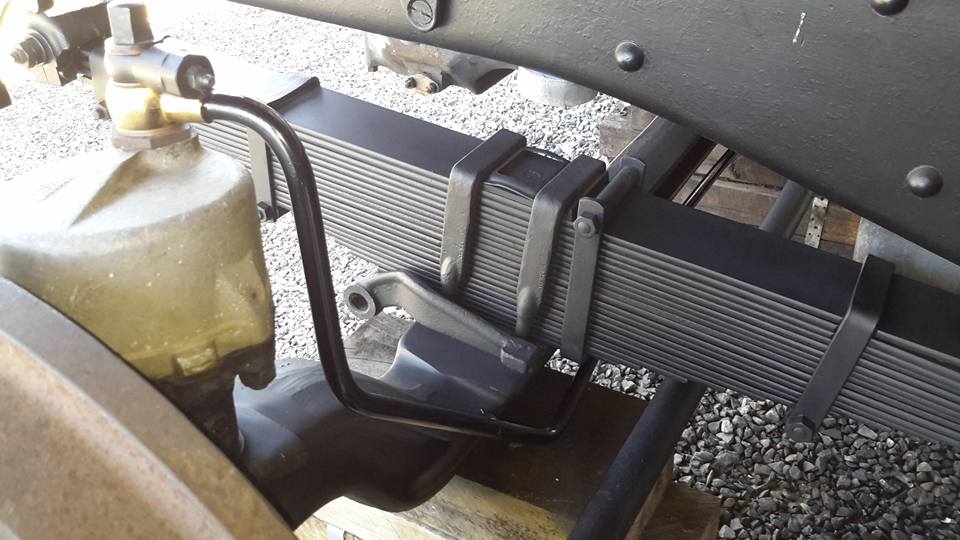
- The front brake air hoses went back on as well as the fuel tank lines to the chassis.
- It is a welcome change not to get your hands covered with oil and grease.
- Brian Musgrove
- Looks better than new
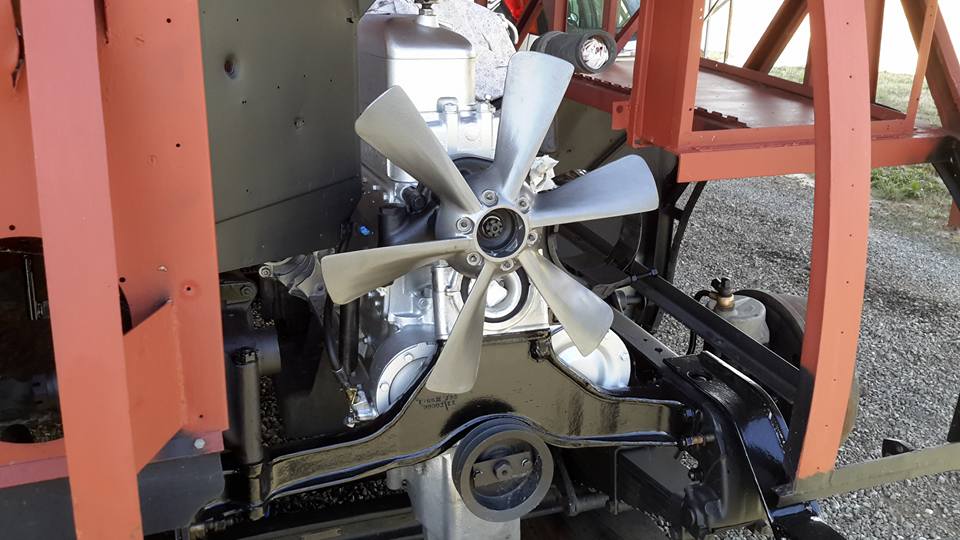
- 12th Feb 2017
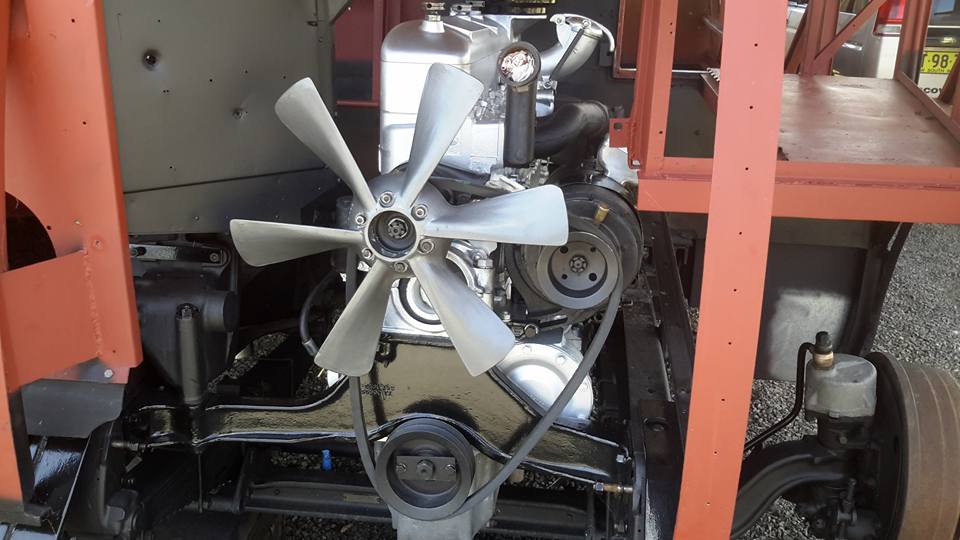
- Fan on and starter to go back on tomorrow.
- Just had to paint a few more bits.
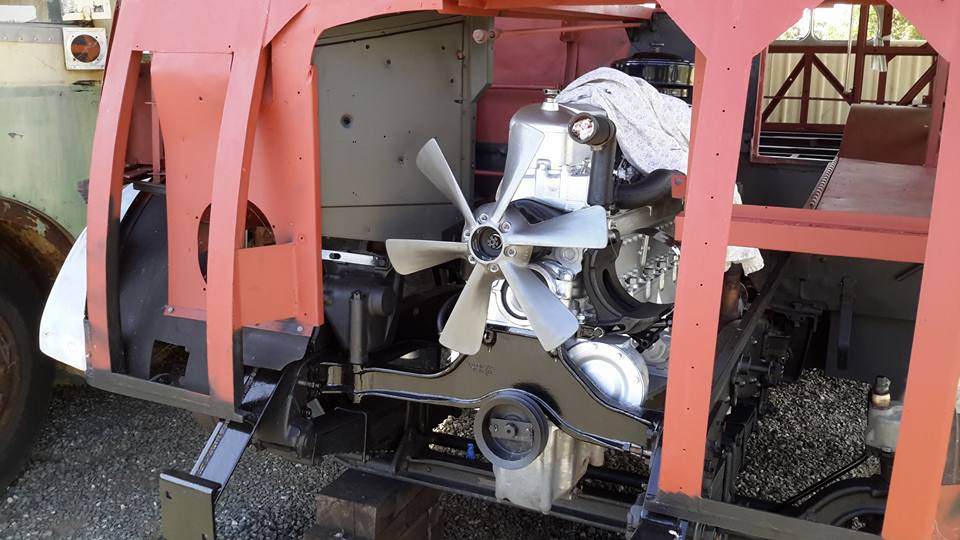
- David Oaten
- Norman your standard of restoration has reached a level of excellence that I have never seen in this country.
- Every single item removed restored or repaired.
- I cannot wait to see the finished job.
- It probably drives you crazy how much work you've let yourself into, however I'm sure that I speak for everyone who is following your restoration story.
- I doubt that you will want to start another one when you have finished but who knows!!
- Norman Julian
- Gees David I'm not normally lost for words but thanks for those kind words.
- I really didn't know how I was going to treat this resto but when I saw the amount of rust I just kept pulling stuff off.
- I can't see me doing the Leyland the same way though the rust looks worse.
- I will just see how it goes.
- 13th Feb 2017
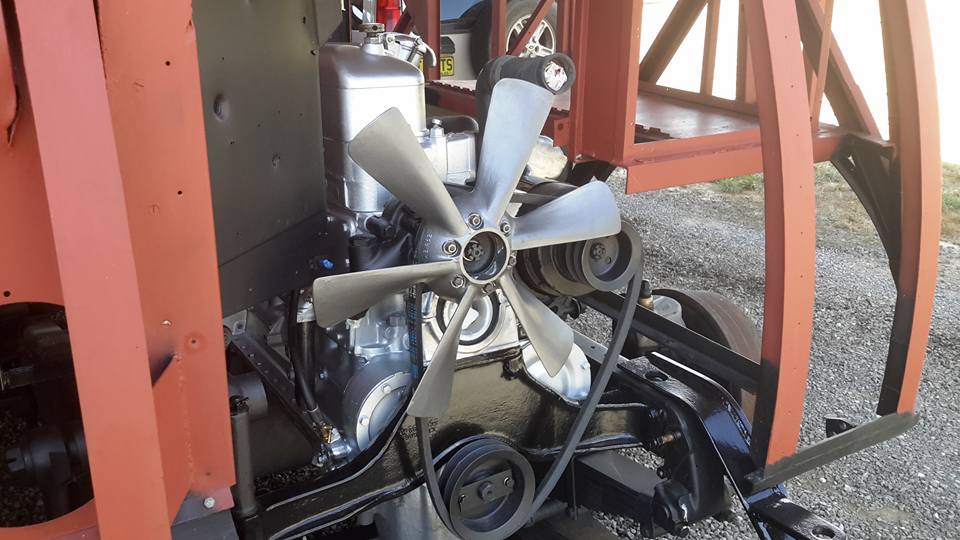
- New belts arrived today.
- These fit really well.
- Plenty of adjustment both ways.
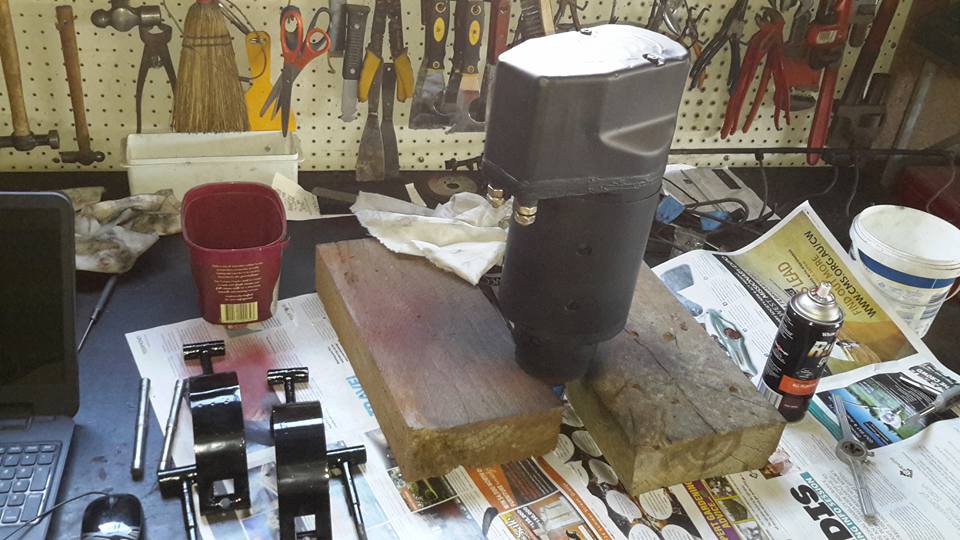
- 14th Feb 2017
- If anyone has replaced one of these before they will relate with what I'm going to say.
- "Shite that was bloody heavy".
- Putting the generator back in without marking the new paint was all that much harder.
- I also put the new belts on but alas they are too big.
- Craig's generator must be further out then this one.
- That's OK.
- The people I bought them from will replace them for smaller.
- Starting to get crowded in the engine bay.

- Norman Julian
- The belts I had were 63 inches in length.
- I replaced them today with 60 inch and they are too small.
- I will take these back tomorrow and get the 61 inch.
- Andrew Blacklock
- A lot of time wasted with Restos chasing parts and materials
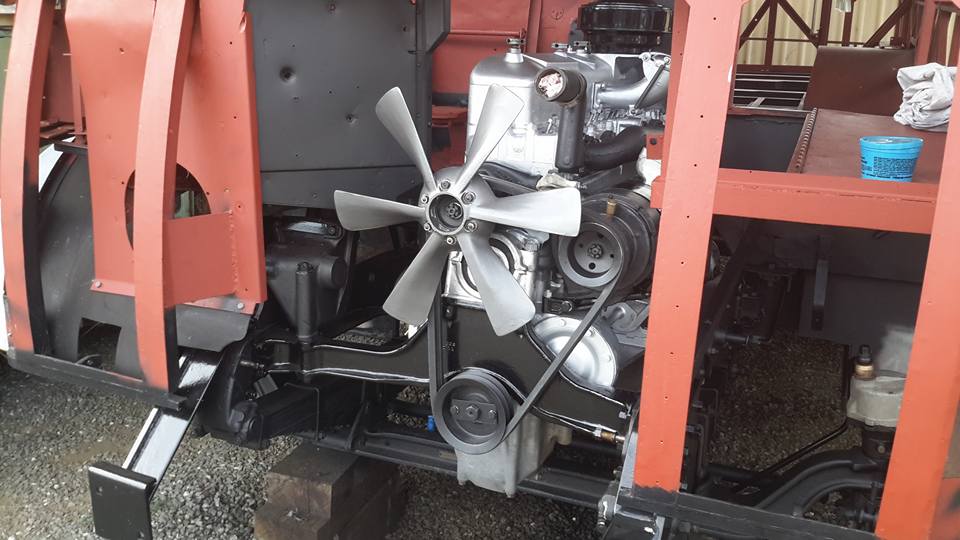
- 16th Feb 2017
- I also finally got the right size engine belts.
- 17th Feb 2017
- No 1930 pennys here.
- Yuk!
- Garth Taylor
- Looks like a lot of 'fun'.
- Norman Julian
- These guys are probably all in heaven now.
- Norman Julian
- I can't see what this spring does.
- Garth Taylor
- Is it the accelerator pedal?
- Norman Julian
- Yes Garth.
- 18th Feb 2017
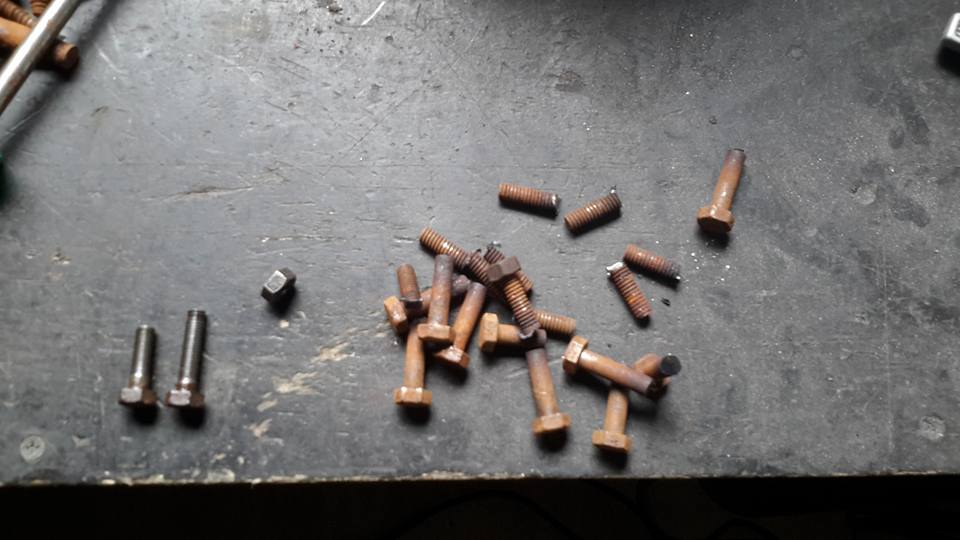
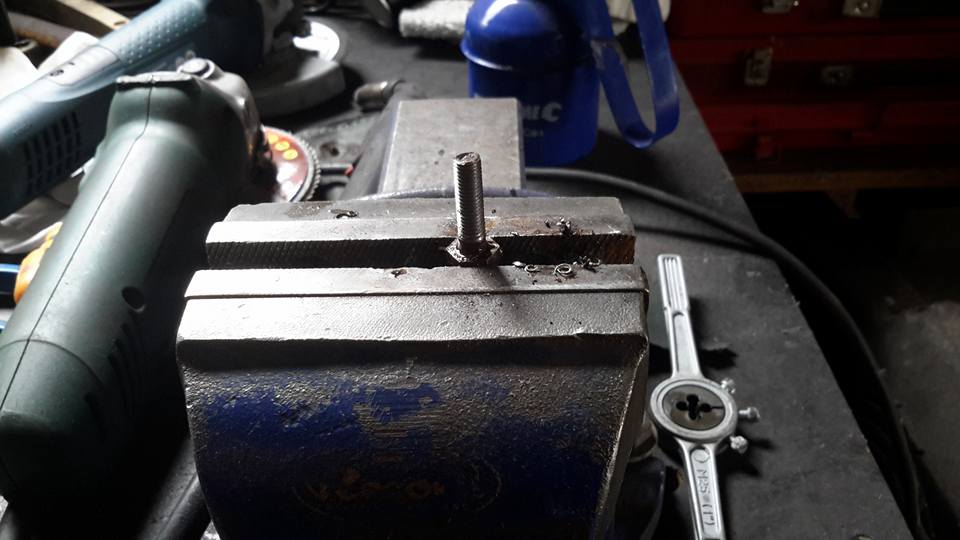
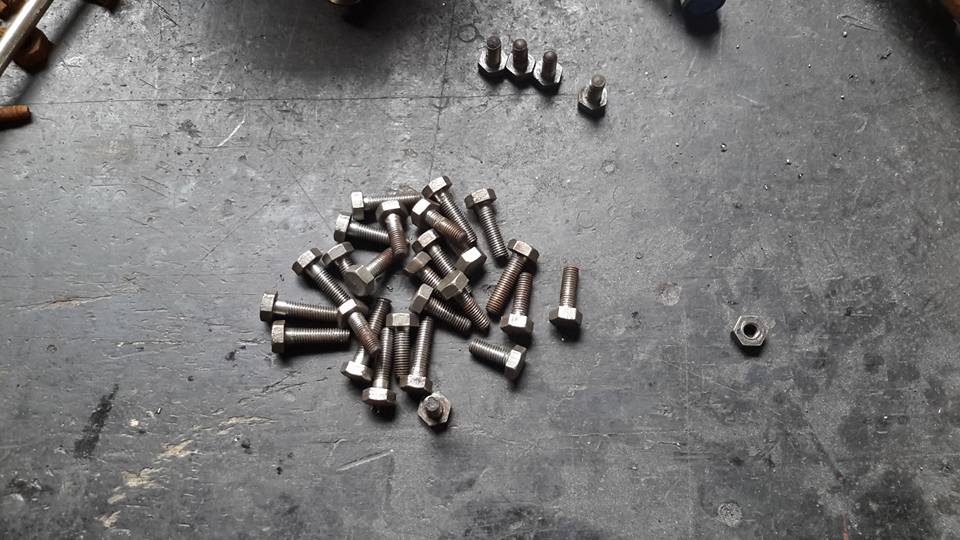
- I spent the morning looking for bolts that have grown legs and left for greener pastures.
- These are the ones to hold down the deck plates.
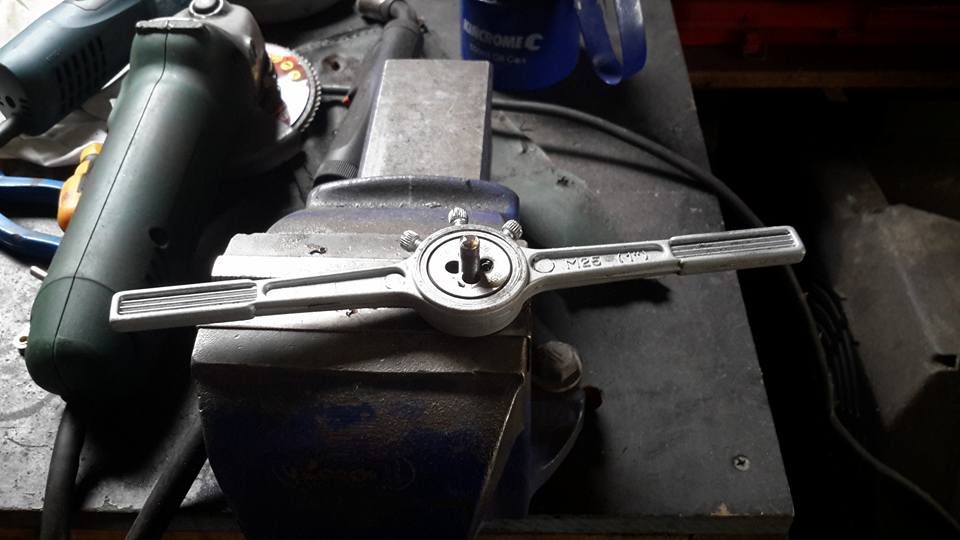
- Anyway, once I identified the thread I set about making new bolts.
- I decided because there were an abundance of these 50mm course threads, I cut the thread off and retapped what was left.
- This eats up time.
- 21st Feb 2017
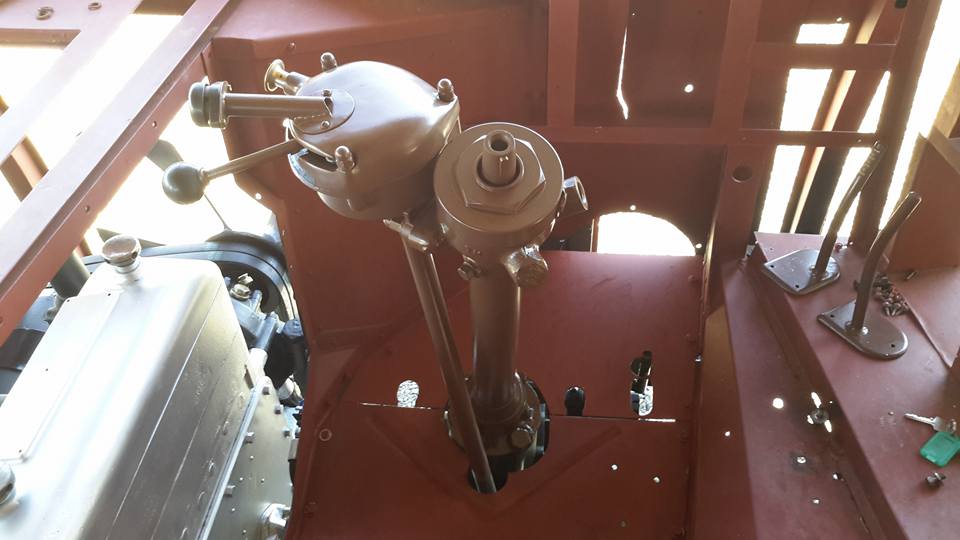
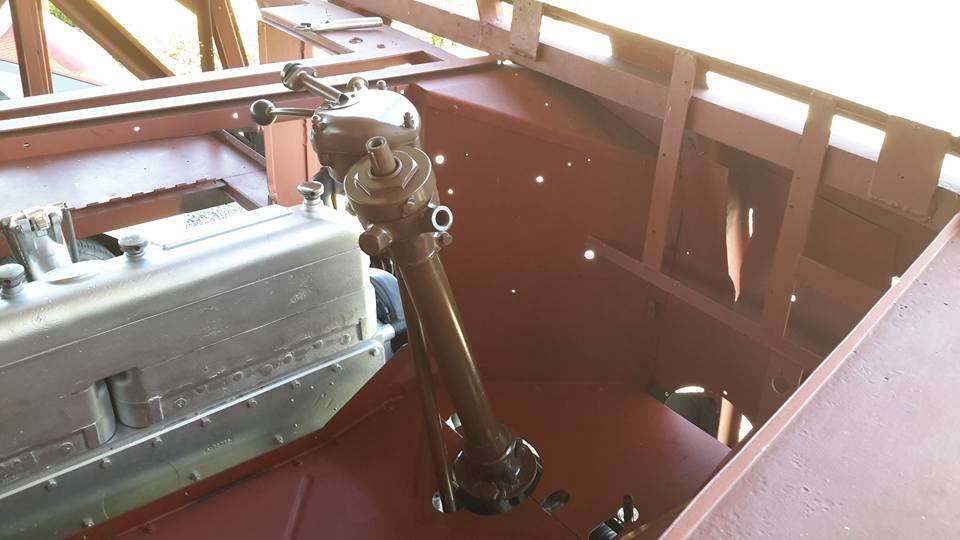
- Gear change back in. Painted the steering column.
- It is also connected to the gearbox.
- It is hard to know what to put back in first so as to not get in the way of something awkward or bulky.
- There are a lot of pipes and lever arms.
- 26th Feb 2017
- Question time!
- What are people's thoughts on flooring.
- I'm not a great lover of sheet flooring, ply etc.
- Originally they used some sort of pine tongue and groove.
- Around here all I have to choose is cypress.
- It is a good timber but very expensive.
- If that is the way to go I will but are there any other cheaper options?
- Geoff Jones
- with Cypress the white ants wont touch it....
- Norman Julian
- Very true! Unless there is nothing else to eat. LOL
- John Olde
- Try some of the recycle timber outlets, or demolition companies ,might be able to get some nice hardwood t&g William Hinds
- Good old t&grove Ironbark hard wood, cant go wrong.
- Robert John Hood
- I got the flooring for 1899 at the local frame and truss manufacturer.
- About half the price of a retailer, cut and milled to the exact size.
- Norman Julian
- What did you use Robert?
- Robert John Hood
- Cyprus pine Norm.
- Norman Julian
- Did they tongue and grove it for you
- Robert John Hood
- No Norm.
- There's no need to.
- Norman Julian
- Your original floor wasn't I gather?
- Robert John Hood
- No Norm.
- James Leonard Garrod
- Bunnings does a very attractive Taiwanese floating flooring that looks almost somewhat something nearly resembling imitation timber.
- William Hinds
- Norman, what was in the bus when you got it, replace the floor with what was in it if you can, a goodtimber would be Iron bark or Tasmanian Oak if you can get it and if you can afford it.
- Use nothing nut the best as your bus has had a better over hall than a bus from the depo.
- Cheers for now Bill.
- Norman Julian
- Looks like some sort of pine or it could be oregon. Not sure, Bill.
- William Hinds
- Was it radarta pine or orrigan
- William Hinds
- If you still have some of the old floor sand it back and look for that same wood
- David Griffiths
- I used recycled hoop pine which curved down easily at front and rear of top deck. Original was oregon. Timber recyclers (building demolition stores) can help.
- Norman Julian
- I thought it looked like Oregon. Just about impossible to get now. I used to sell it and mill it when I was working in the hardware game. Then the USA stopped supplying it. Don't know if it still the same. It was and probably still is very expensive.
- Adrian Spencer
- Are you interested in sports flooring, leonard has about 40 square mtrs of Canadian Mapple
- 28th Feb 2017
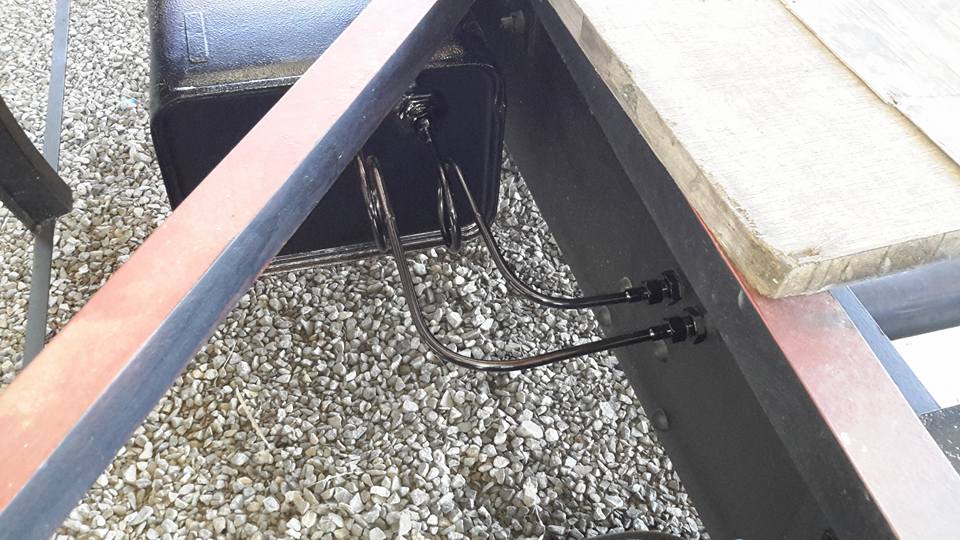
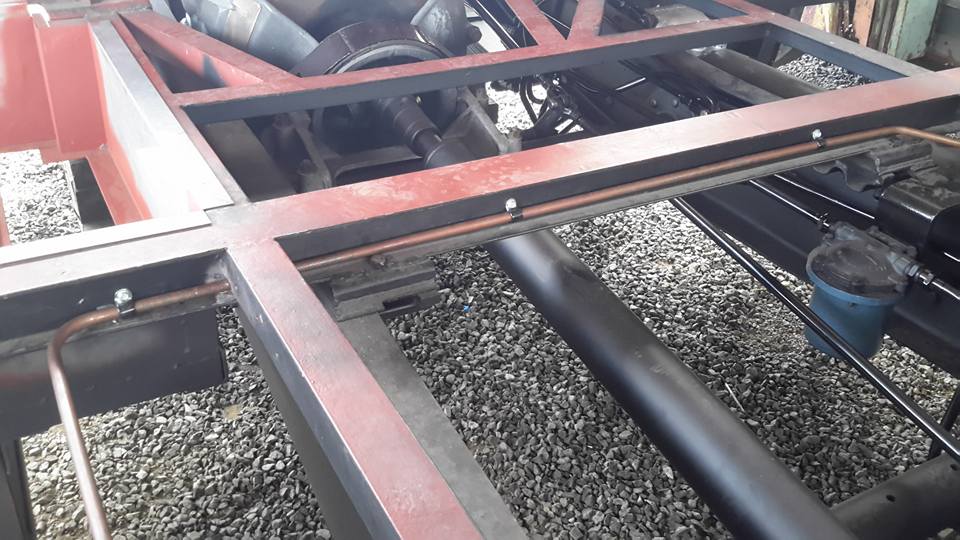
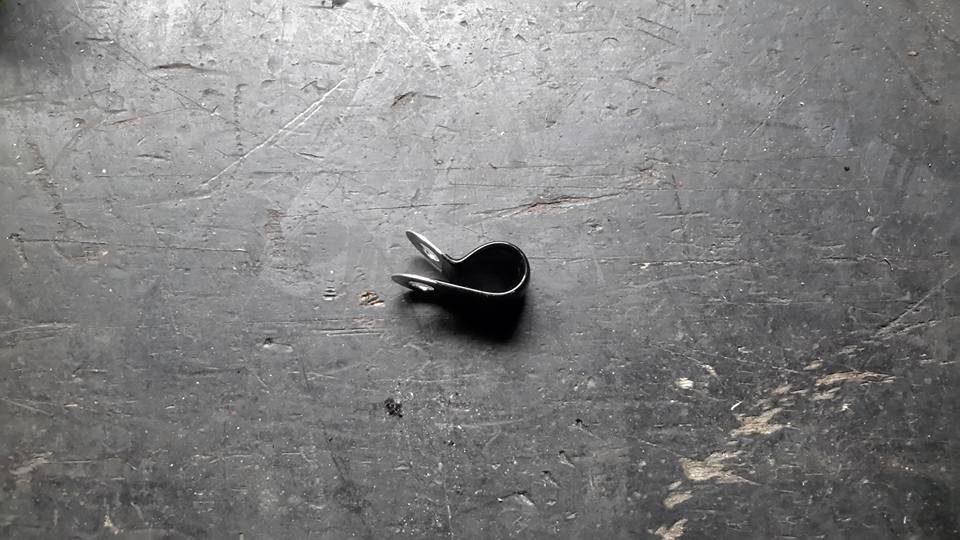
- I braced the copper tube with these saddles.
- They are a must in this situation with lots of vibration that you get from this bus.
- There has been lots of incidences where the saddles have worn through and created holes.
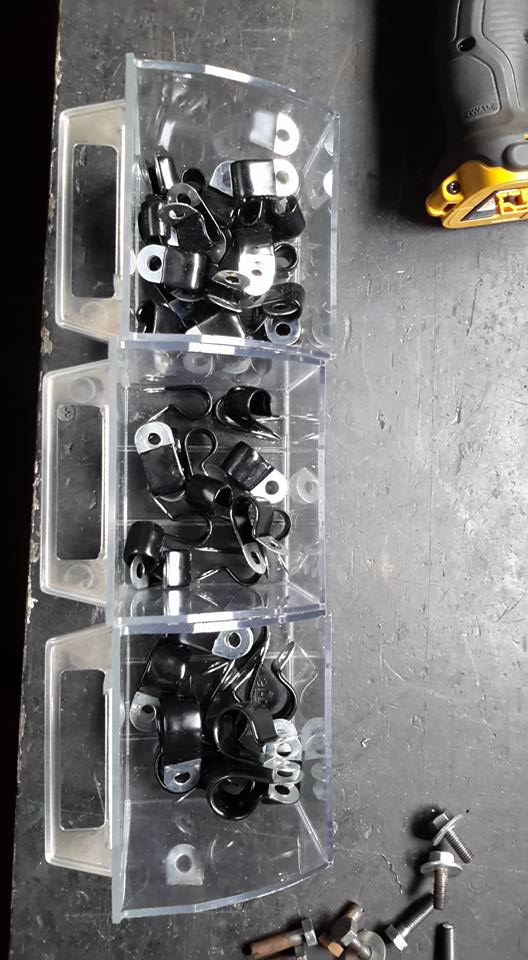
- These saddles have a plastic coating around them that insulates.
- I picked 3 different sizes up from Masters before they closed down.
- They will do quite nicely.

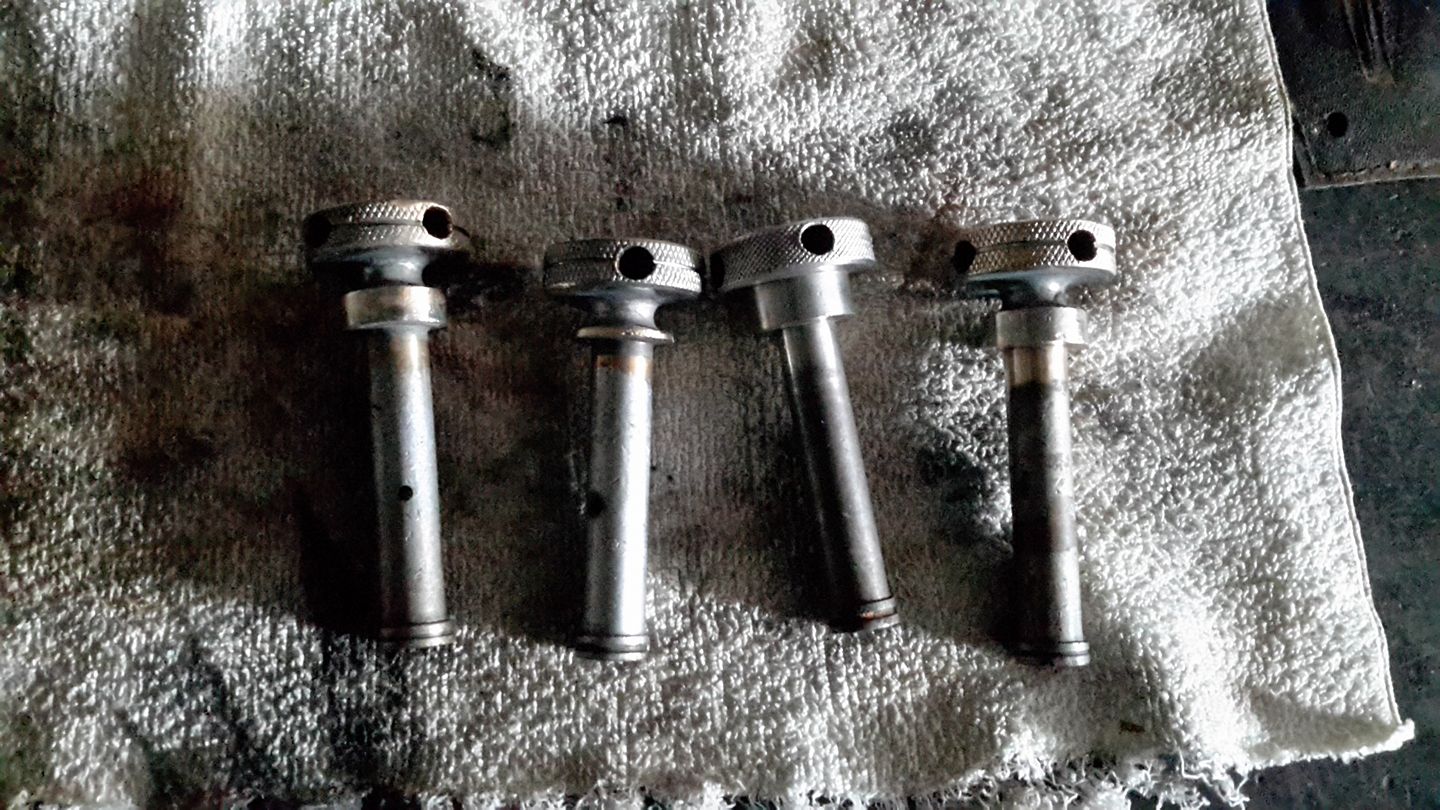
- took these off to do some repairs and get them rechromed.
- They are the tappet cover bolts.
- It would be nice to have a matching set.
This site is hosted on
Fatcow  Unlimited Web Hosting |
Last updated February 2017 |
This web site may contain Copyright material If you find any problems with the site, please email the Web Editor  |