1952 AEC Regal III [2547]
2021
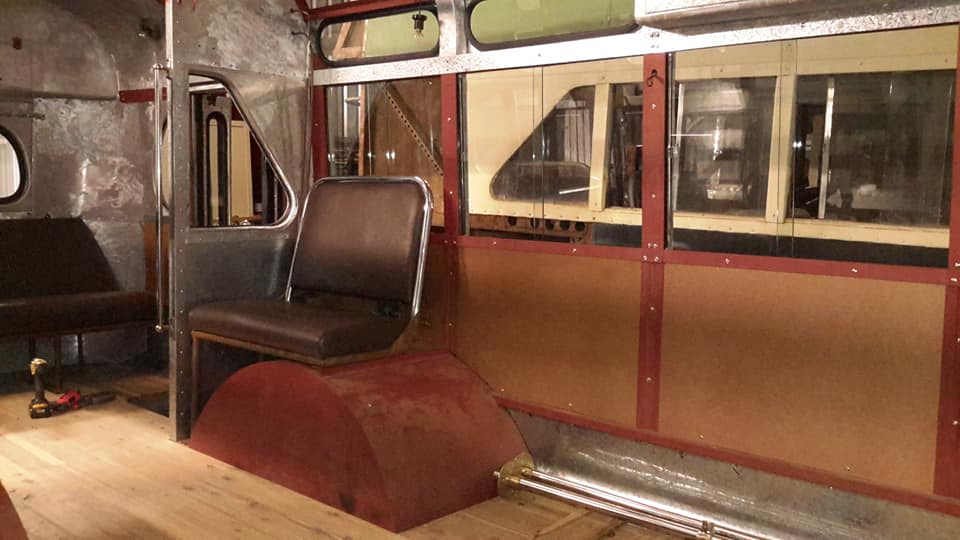
Body April
- Norman Julian 5th Apr
- Fitting this out does have its challenges.
- A lot of time was spent on this with what looks like very little progress.
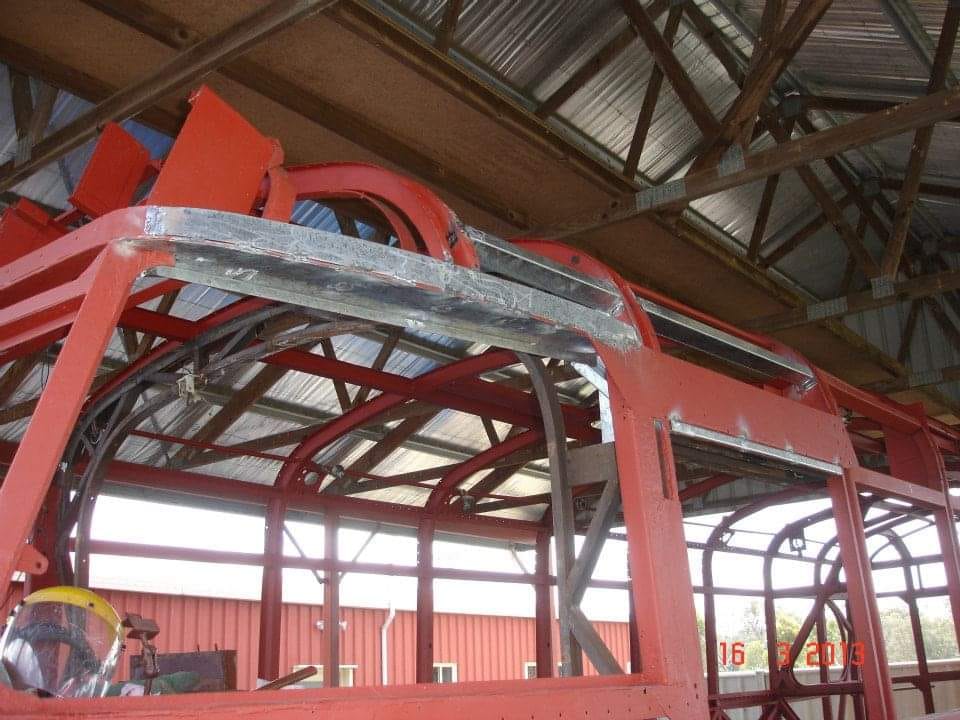
- Firstly I spent 7 hrs on these 2 rear roof sections.
- 6 hrs just stripping the paint off and an hr getting all the little dents out and flattening out the pop rivet holes.
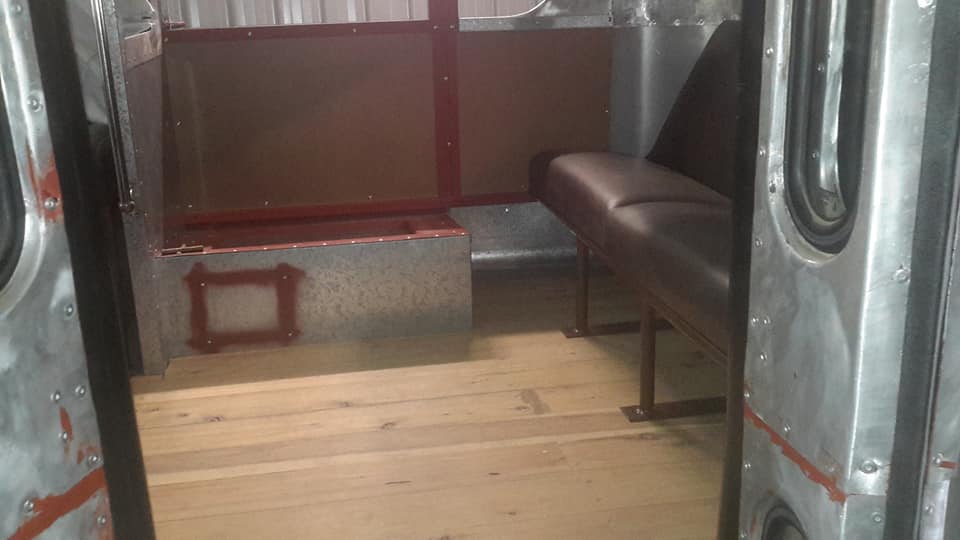
There was more time used up on getting the roof section to go back in the near side corner properly after the rebuilding of crushed areas previously explained. - I wasn't happy with some of the original trim so it was remade.
- The offside rounded panel that sits behind the rear seat that
- I replaced fits really well after some adjustments.
- The original panel never fitted properly.
- A very poor job of fitting it in the first place.
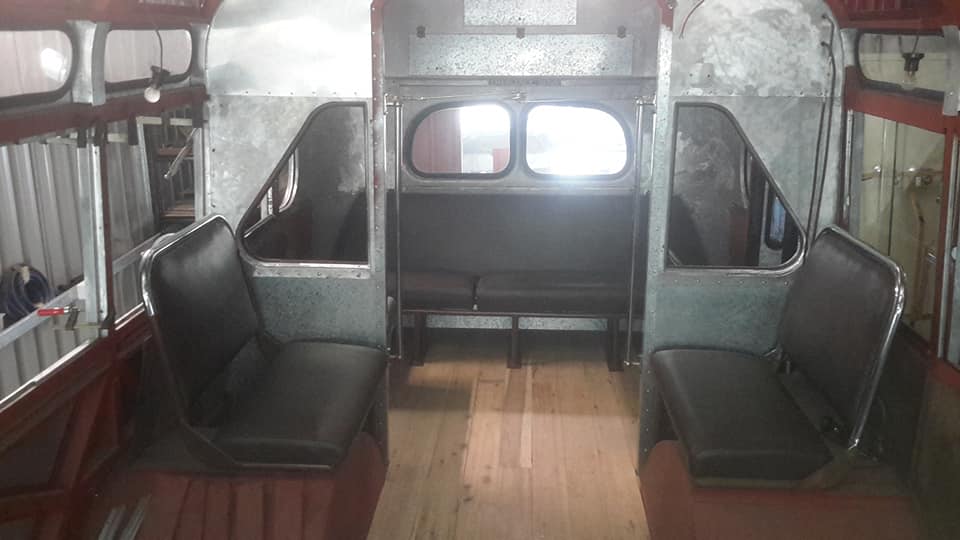
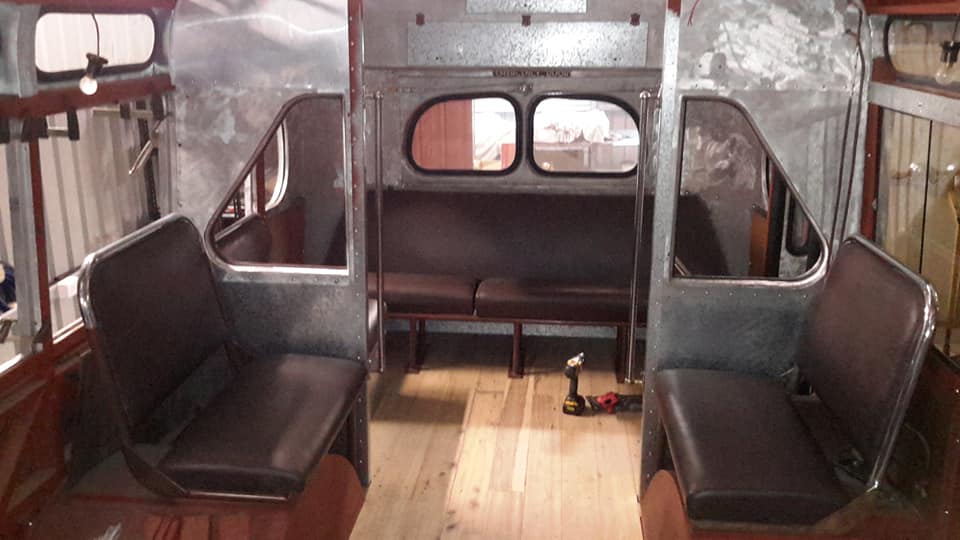
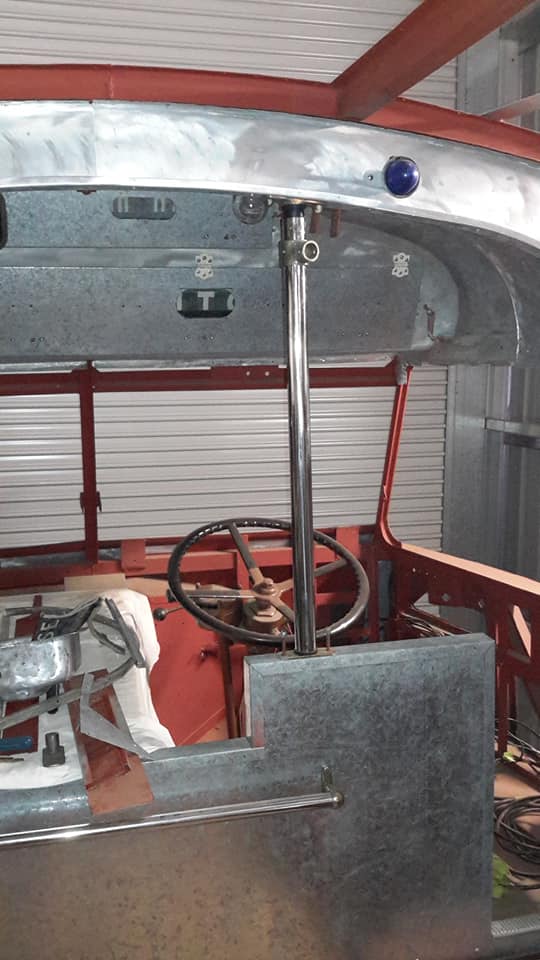
- I put some of the seats back in position mainly because they take up a lot of space.
- Charles Shipway
- Norman Julian good on ya it is coming along well
- Neil Rickson
- Looking good, keep after it! ��
- Graham Inskip
- You are doing some amazing work Norman.
- Norman Julian
- Thanks boys!
- Graeme Knappick
- Looking good! ����
- John Clarke
- Magnificent.
- Greg Michael Scott
- Hello norm
- Looking great mate , you're really getting there .
- Mines on pause but I plan to slowly kick back in before to long
- Fred Holland
- Looking great Norm, a master at work.
- Maxwell Mcroberts
- Great job��
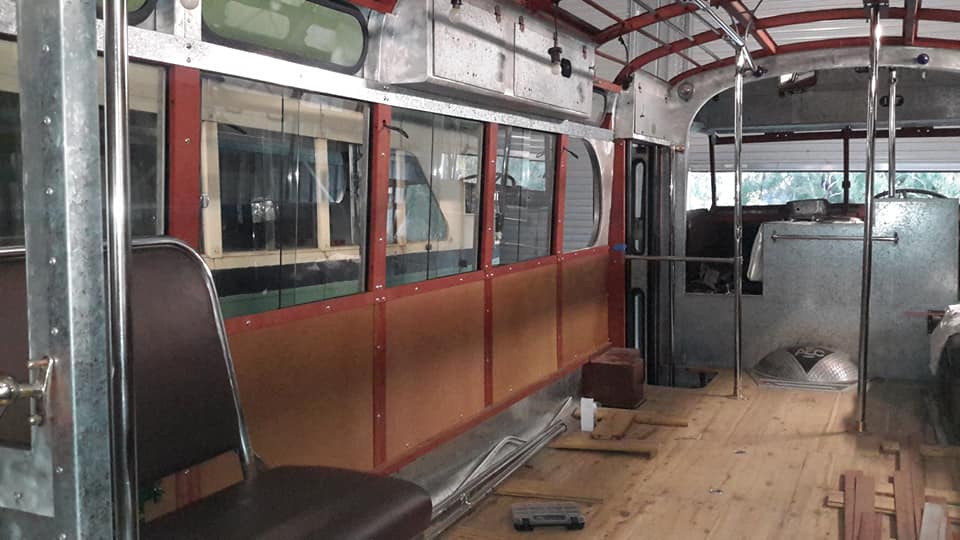
Norman Julian 13 Apr
Sorry I had to repost this progress.
Something went wrong and I think I accidentally deleted it.
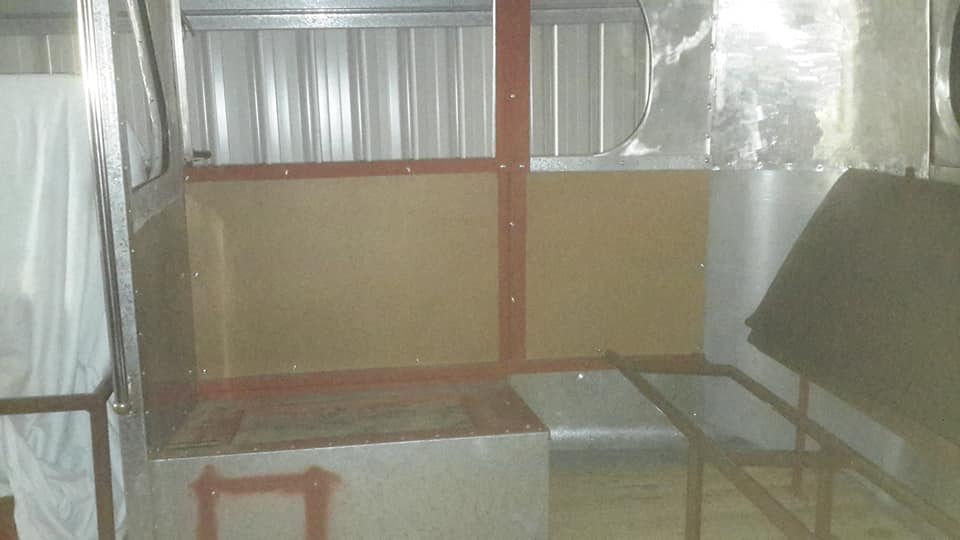
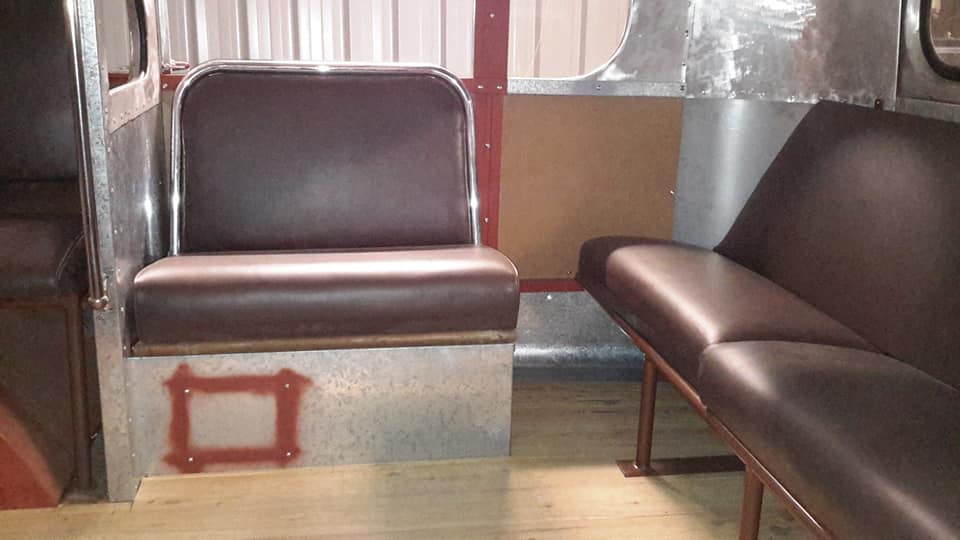
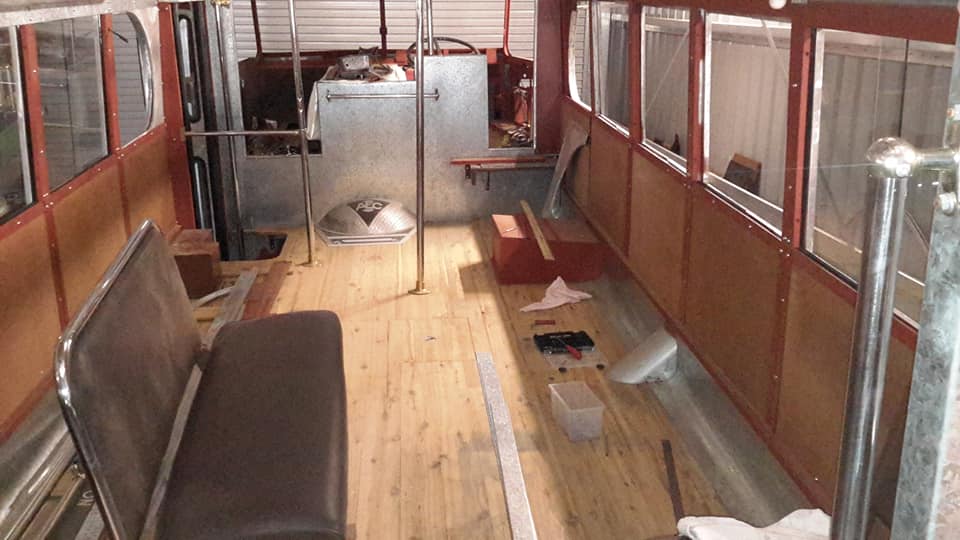
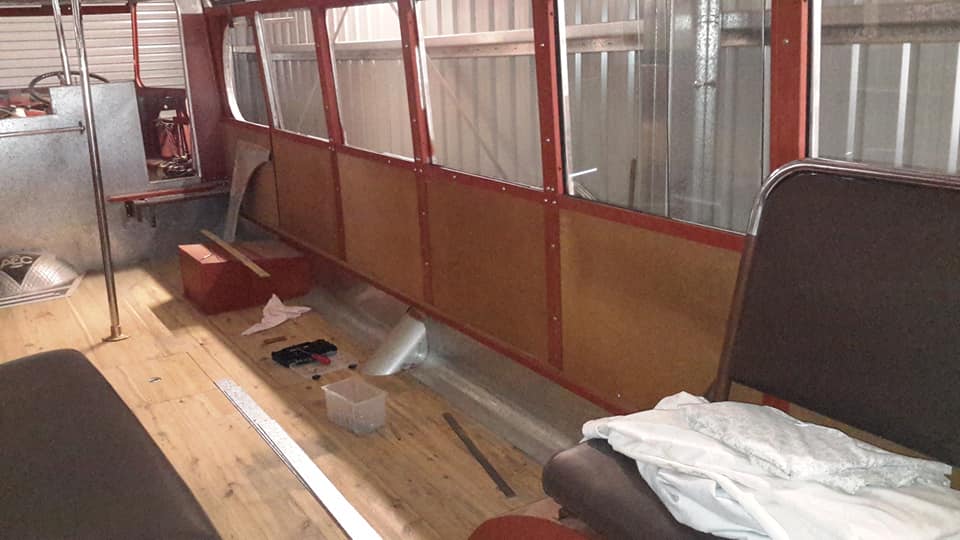
Anyway, the near side saloon section is done.
New trim replaced old that was below par.
The original trim is seen here reprimed. The new is in gal.
Screws and cup washers have been replaced.
Lots of work still to be done.
I invite people to make your comments again.
Sorry for any inconvenience!
Sorry I had to repost this progress.
Something went wrong and I think I accidentally deleted it.
Anyway, the near side saloon section is done.
New trim replaced old that was below par.
The original trim is seen here reprimed. The new is in gal.
Screws and cup washers have been replaced.
Lots of work still to be done.
I invite people to make your comments again.
Sorry for any inconvenience!
Hugh Esler
Looks amazing!!! Enjoying your progress pics thanks 👍
Graeme Knappick Great job!!!
Stuart Brown
Wow.
Lovely work and lots of it Norman
Garry Coxhead
Great work and progress Norman
Norman Julian
Garry Coxhead every part and I mean every part from the start has been scrutinized as to whether it will be reused.
Maxwell Mcroberts
You have a gift Norman😀
Norman Julian
Thanks boys
Pete Razza
Thanks for sharing Norm. Its great following your progress
Norman Julian 15 Apr
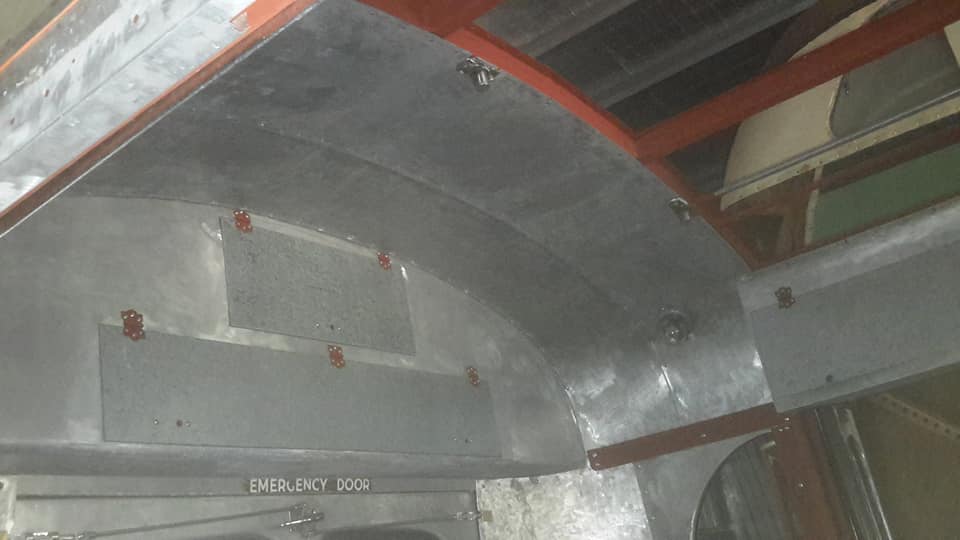
I came across a problem I found some time ago and had forgotten about.
This was an issue in manufacture as far as I can see because no modifications look like had been done through damage etc.
I'm referring to the 3rd roof bow down in this picture. For some reason it is around 10 to 15mm lower than the rest of them.
I will put a string line on it to see just how low it is.
If it is noticed by eye than it must be out quite a bit.
The question is how I will deal with it.
I think it is just on the drivers side.
Pablo E. Laredo
As these were "handbuilt" not jig built there will be variances to ideal.
I wouldn't fret too much, but if it really annoys you, then you'll have to pack it with some flat bar formed to conform to the radius.
Alternatively a little bit of cut n shuttery to let in the 10/15mm extension to the rib to lift it up.
It may well of been packed with some sort of tarred burlap back in the day.
As always measure twice then look at it again and use the good measuring tape before cranking up the angle grinder.. 🙂
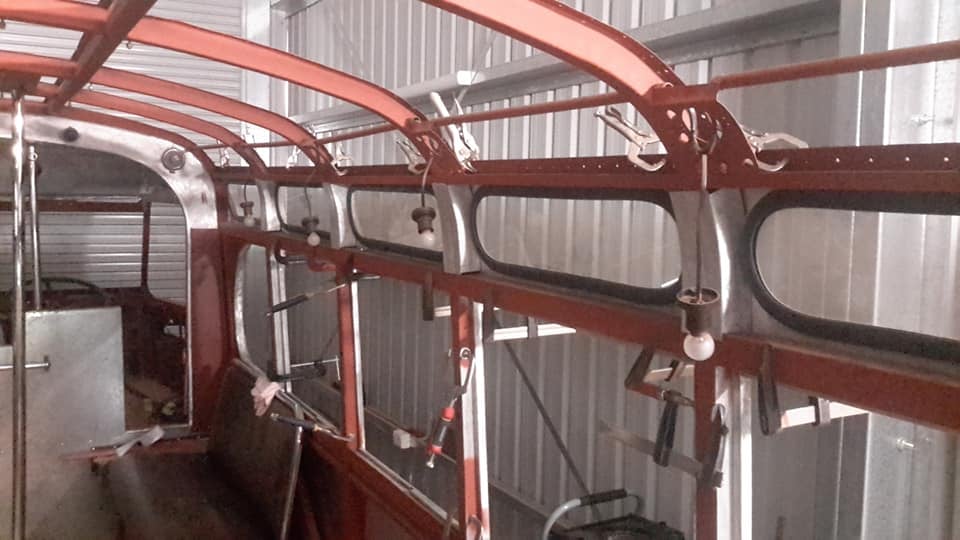
Norman Julian 25th Apr
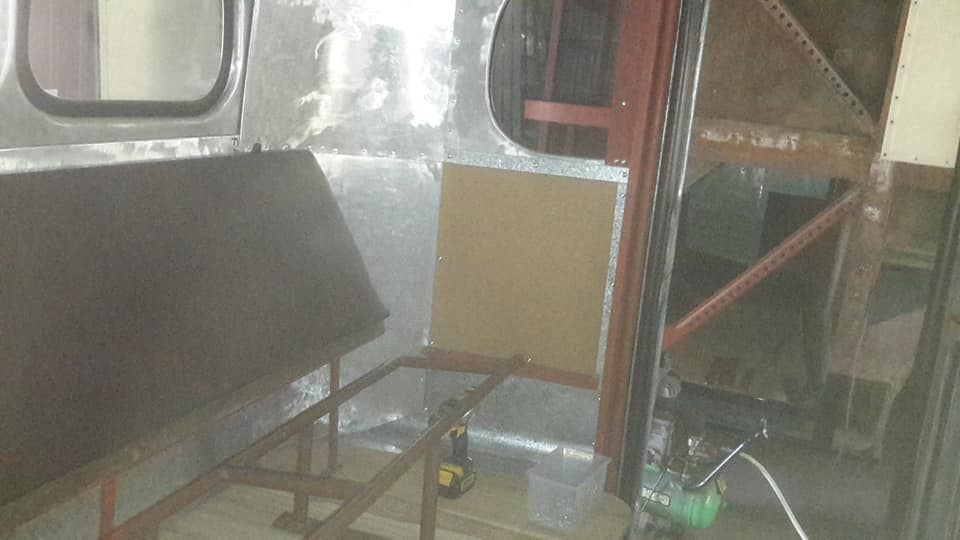
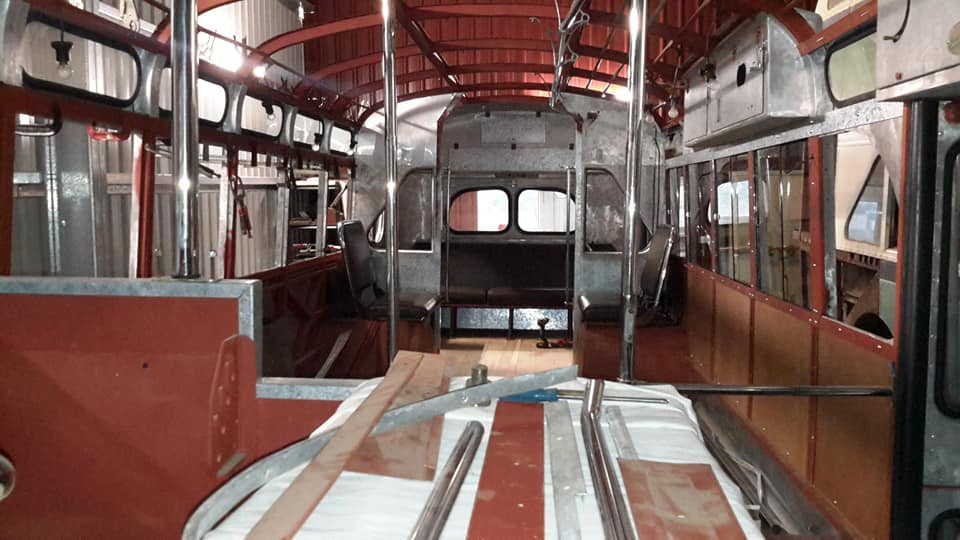
Until the bailey channel comes in I have done as much as I can with the windows.
I did cut the remaining wall cards and placed them in position and put back the trim.
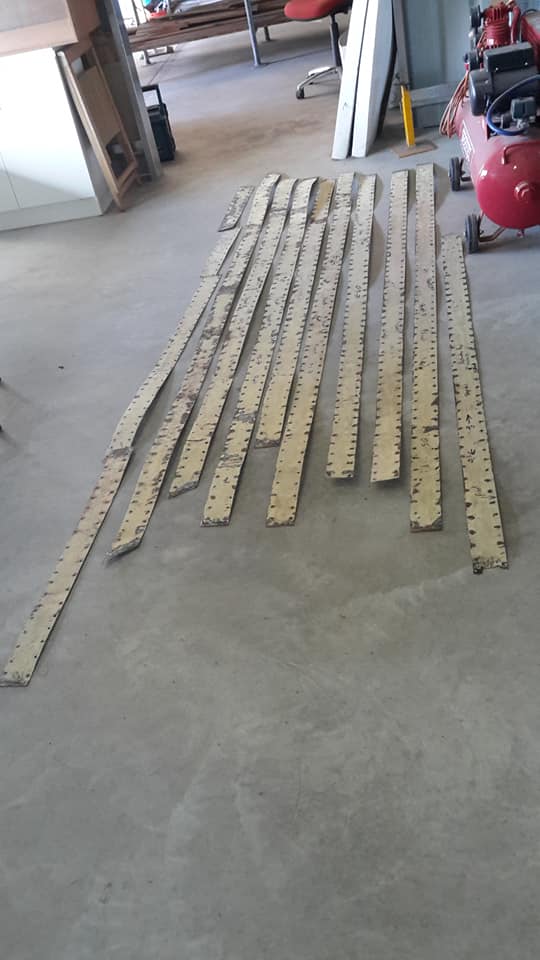
I have be wondering for ages how I was going to put the new roof sheets up without drilling new holes in the roof bows.
Others have welded new flat sheet strips to the bows and just redrilled new holes.
I wasn't keen on that idea.
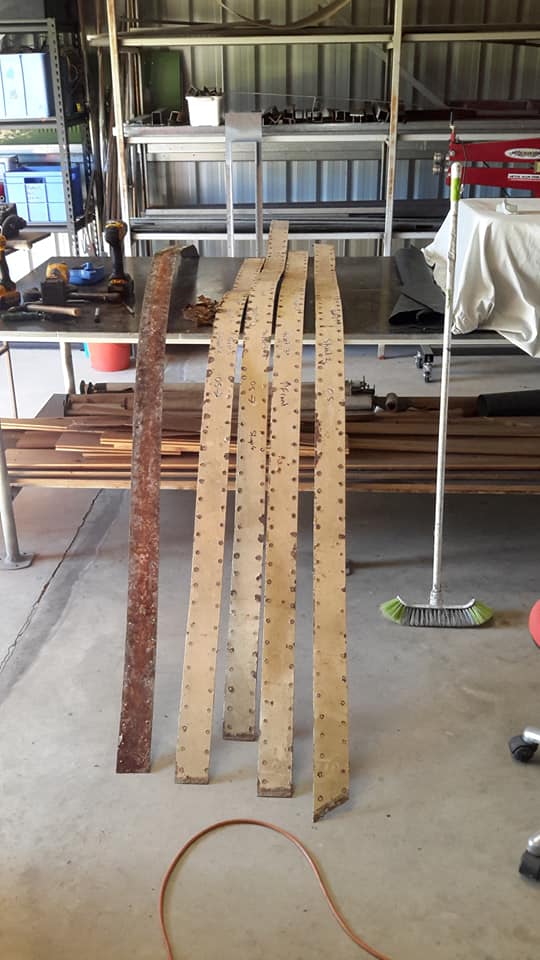
I decided to clean up the old roof strips and use them as templates for new ones.
Lucky for me I marked each one when I took them off as to know where they originally came from.
What I'm going to do is place each roof sheet in position and screw them down using spot screws just to hold them in position.
Then use the appropriate sealing tape that will seal to each side of the roof sheet and then place the new strip in position.
Then I will clamp down the old metal strips on top of the new strips in the exact position as to where it came off and then drill through the existing holes of the original strip.
If ligned up exactly they should go through the holes in the roof bows.
The rivets I will be using will be the sealed type pop rivets.
I'm still deciding on what size pop rivets as some of the holes are larger than I would've liked.
More than likely 1/4" will be used.
Until the bailey channel comes in I have done as much as I can with the windows.
I did cut the remaining wall cards and placed them in position and put back the trim.
I have be wondering for ages how I was going to put the new roof sheets up without drilling new holes in the roof bows.
Others have welded new flat sheet strips to the bows and just redrilled new holes.
I wasn't keen on that idea.
I decided to clean up the old roof strips and use them as templates for new ones.
Lucky for me I marked each one when I took them off as to know where they originally came from.
What I'm going to do is place each roof sheet in position and screw them down using spot screws just to hold them in position.
Then use the appropriate sealing tape that will seal to each side of the roof sheet and then place the new strip in position.
Then I will clamp down the old metal strips on top of the new strips in the exact position as to where it came off and then drill through the existing holes of the original strip.
If ligned up exactly they should go through the holes in the roof bows.
The rivets I will be using will be the sealed type pop rivets.
I'm still deciding on what size pop rivets as some of the holes are larger than I would've liked.
More than likely 1/4" will be used.
David Wilson
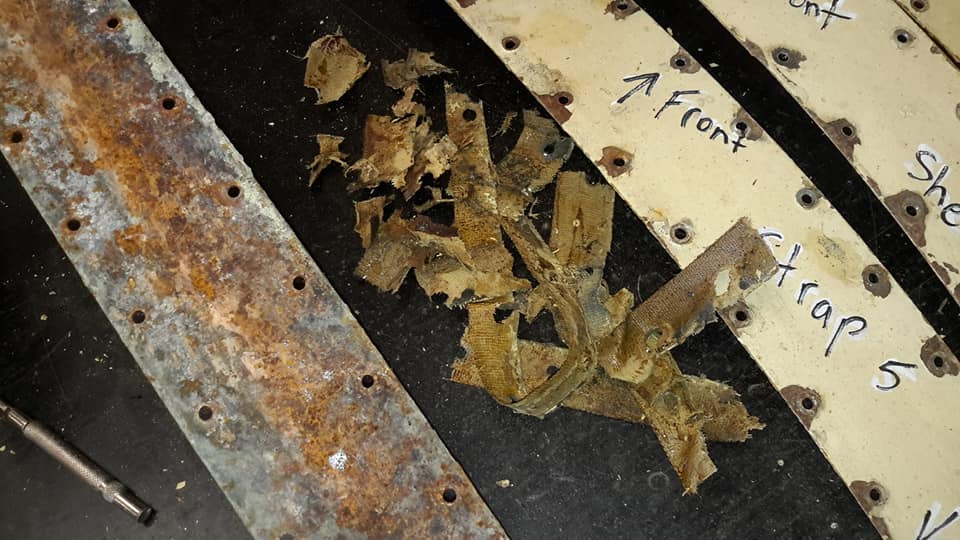
that waxy canvas was a pretty good sealant under the roof straps
Norman Julian
David Wilson all the strips I cleaned up were showing signs of sealing failure.
Some had rust holes all the way through.
It tells me that buses around now that are this age probably need to have their strips inspected.
This bus was under cover for 8 years or so before I got it and undercover all the time I have had it.
I took these strips off about 5 years ago.
One forward thinking engineer at Waddingtons decided to use "U" shaped channel that runs either side into boxed section which runs down the side and out onto the ground if anything leaked.
David Wilson
yes deteriorated after many years but in the day, it was probably one of the best materials around
Stuart Brown
Very nice Norman
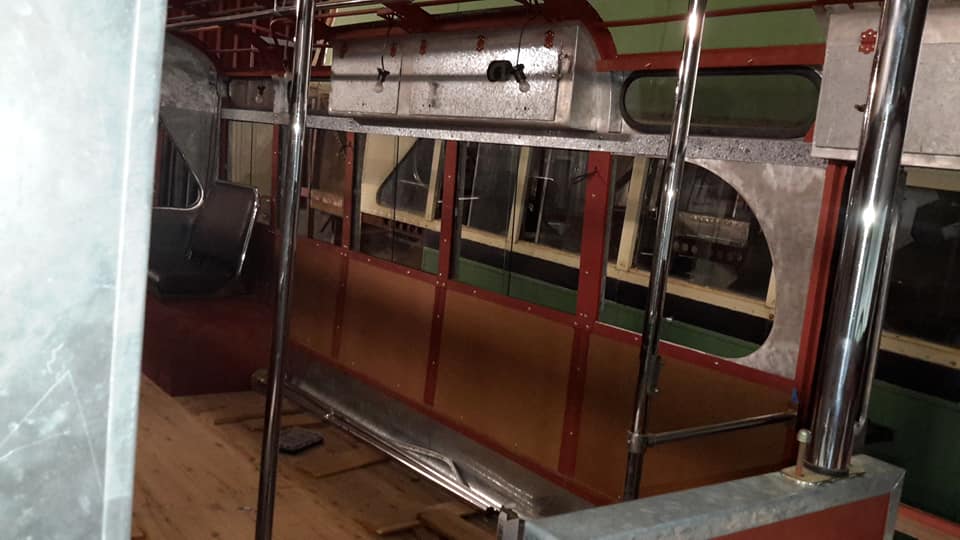
Norman Julian 25 Apr
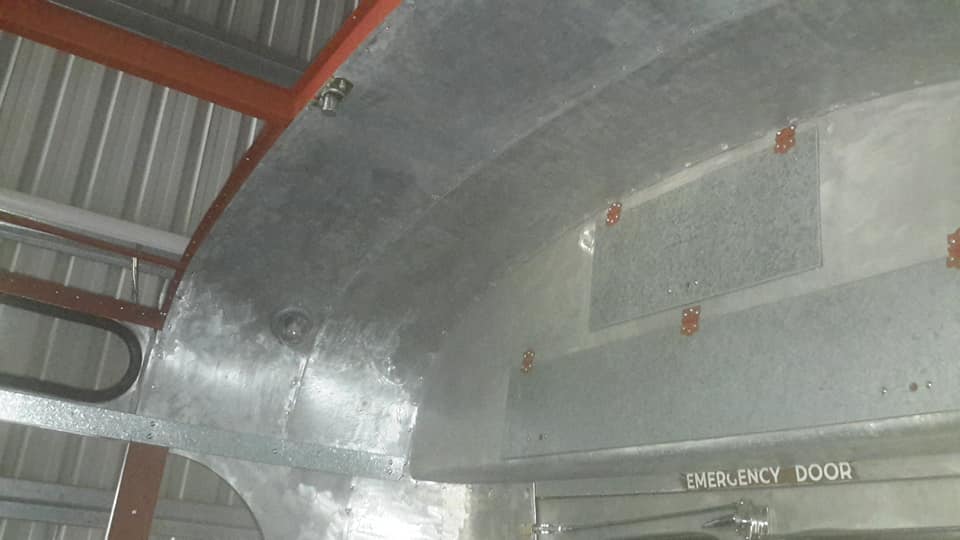
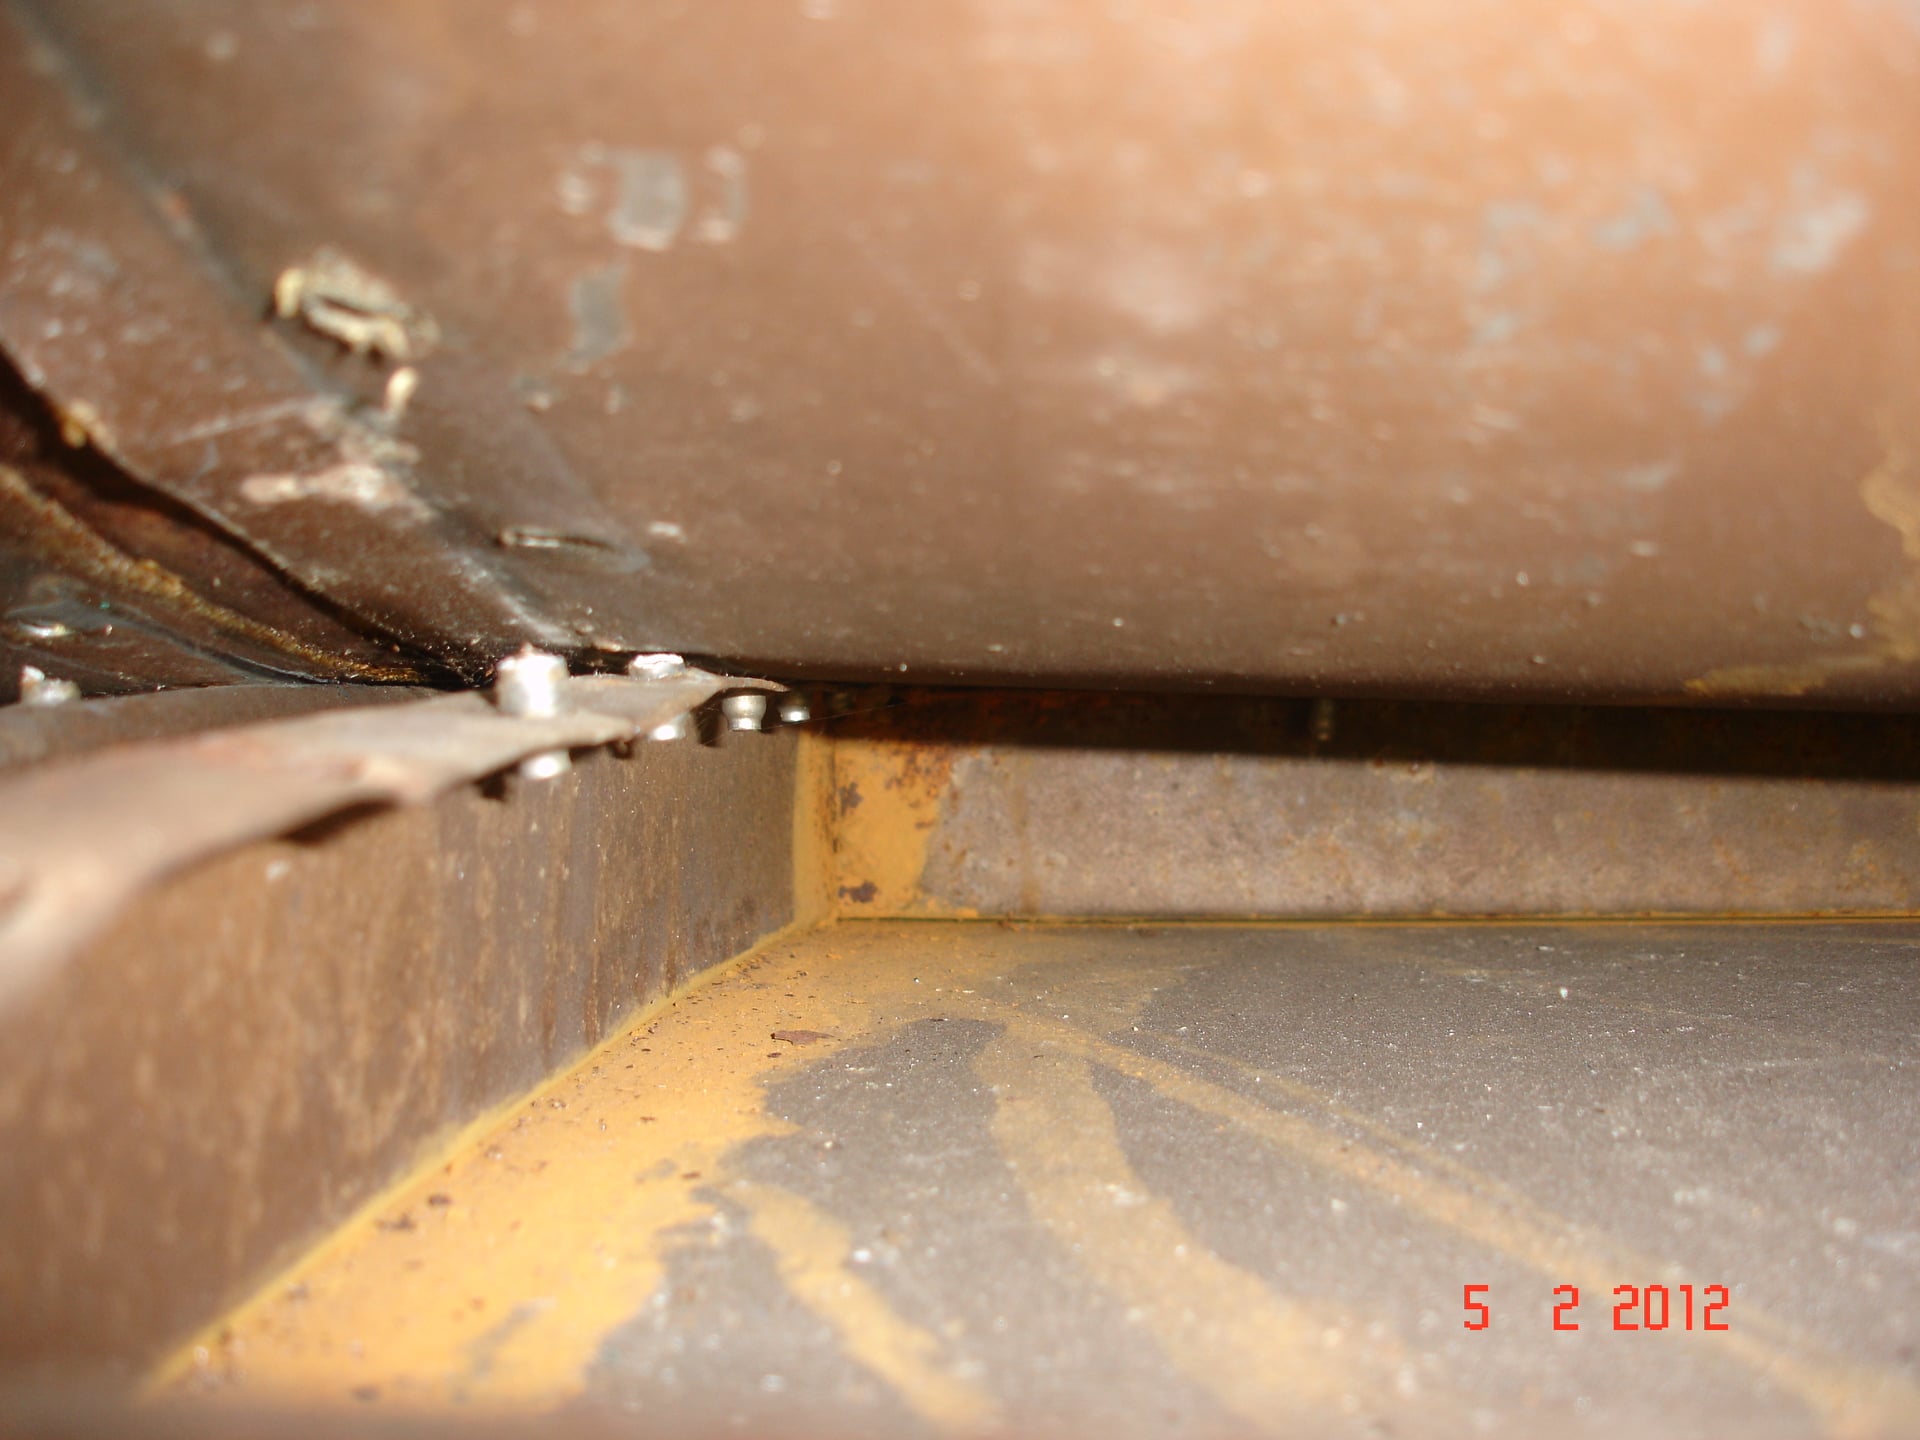
I just want to show you the way this roof works.
It is very improbable that if the 2 sheets of roofing sealed by a steel strip failed would actually come inside the bus.
Each roofing sheet side end finished over the top of the roof bow thus any water that sneaks past the sealed strip would flow into the channel and flow out.
I took a picture just before I took the roofing sheets off to show how it went down.
If the sealing of the roof wasn't done properly the water would dribble into the roof bow and go down and enter the wall pillar and flow out onto the ground.
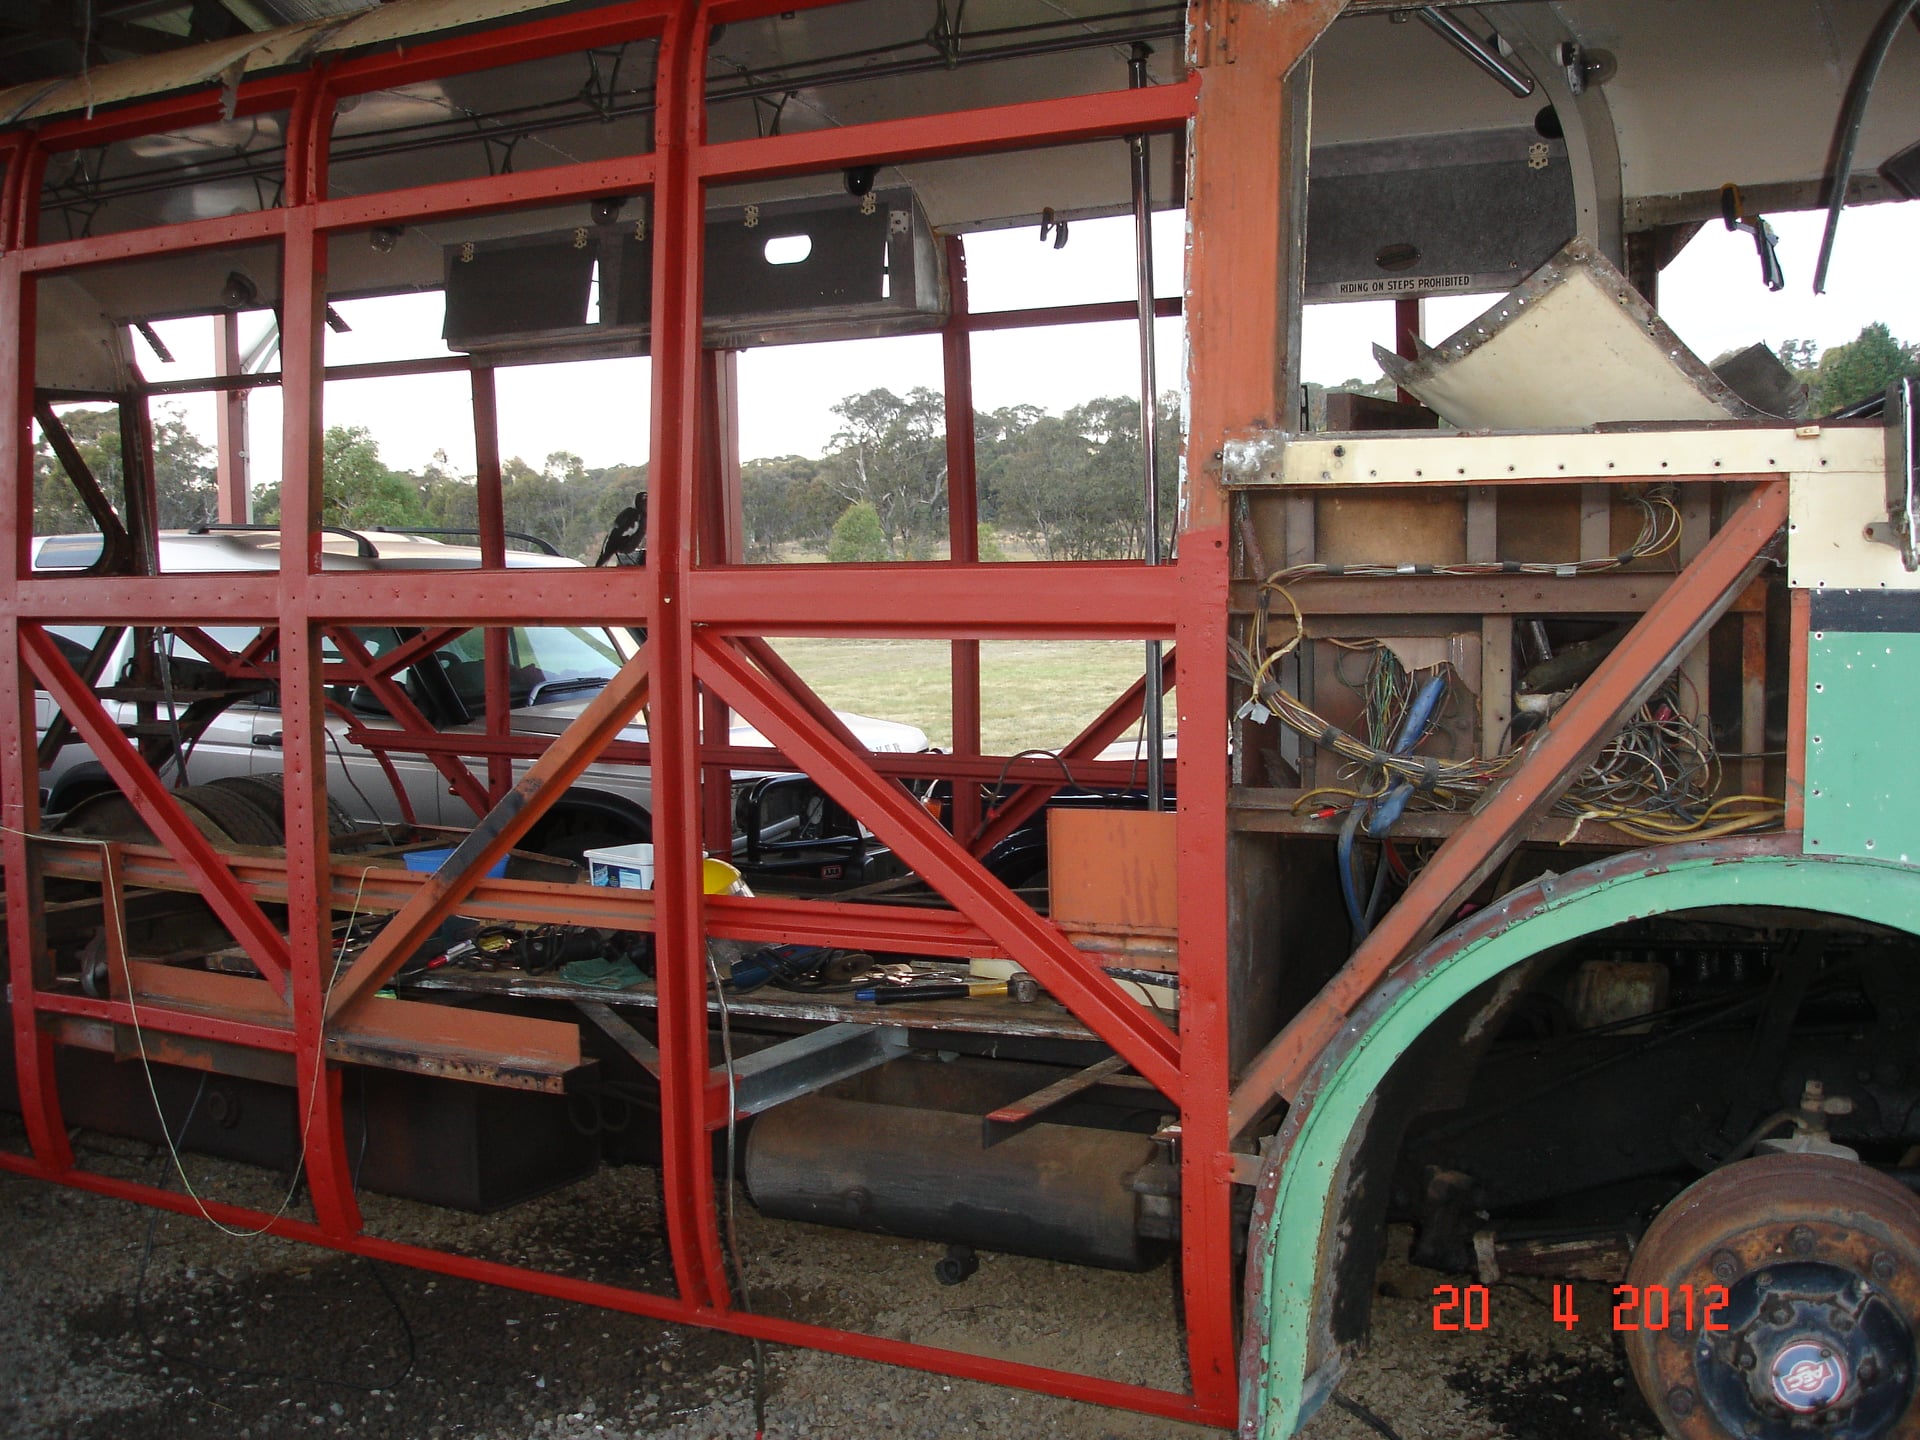
One of the pictures shows the wall pillar that hasn't been capped yet.
You can see how it is joined onto the roof bow.
In saying all that the inside sealing is popped riveted to the roof bow from the bottom so water can get through the pop rivets if there was enough water.
I just want to show you the way this roof works.
It is very improbable that if the 2 sheets of roofing sealed by a steel strip failed would actually come inside the bus.
Each roofing sheet side end finished over the top of the roof bow thus any water that sneaks past the sealed strip would flow into the channel and flow out.
I took a picture just before I took the roofing sheets off to show how it went down.
If the sealing of the roof wasn't done properly the water would dribble into the roof bow and go down and enter the wall pillar and flow out onto the ground.
One of the pictures shows the wall pillar that hasn't been capped yet.
You can see how it is joined onto the roof bow.
In saying all that the inside sealing is popped riveted to the roof bow from the bottom so water can get through the pop rivets if there was enough water.
Donald Behan
The buses that had black steel roof sheets and black metal straps used to rust out in front and behind the straps. They would get wind sheer lines.
Norman Julian
Donald Behan I have never seen a black steel roof sheeting in my travels from COMEG.
Donald Behan
Norman Julian no.
Comeng as far as I know always used aluminium.
Norman Julian
Donald Behan thought so.
Steel can be very heavy if used too much.
Donald Behan
Norman Julian a lot of the Qld body builders used black steel.
I once owned a Charles Hope bodied AEC Regal three and it rusted out either side of the straps.
Donald Behan
This one is a Comeng body and looked identical to the Hope body but it’s roof panels are aluminium, but the side panels and sills are black steel
Norman Julian
The 1937 and 1939 Leylands I have here are steel frame with alloy skins.
The same with the 50s vehicles.
Gregor Neil Robertson
Your work in that reconstructed frame is superb
The 1937 and 1939 Leylands I have here are steel frame with alloy skins.
The same with the 50s vehicles.
Gregor Neil Robertson
Your work in that reconstructed frame is superb
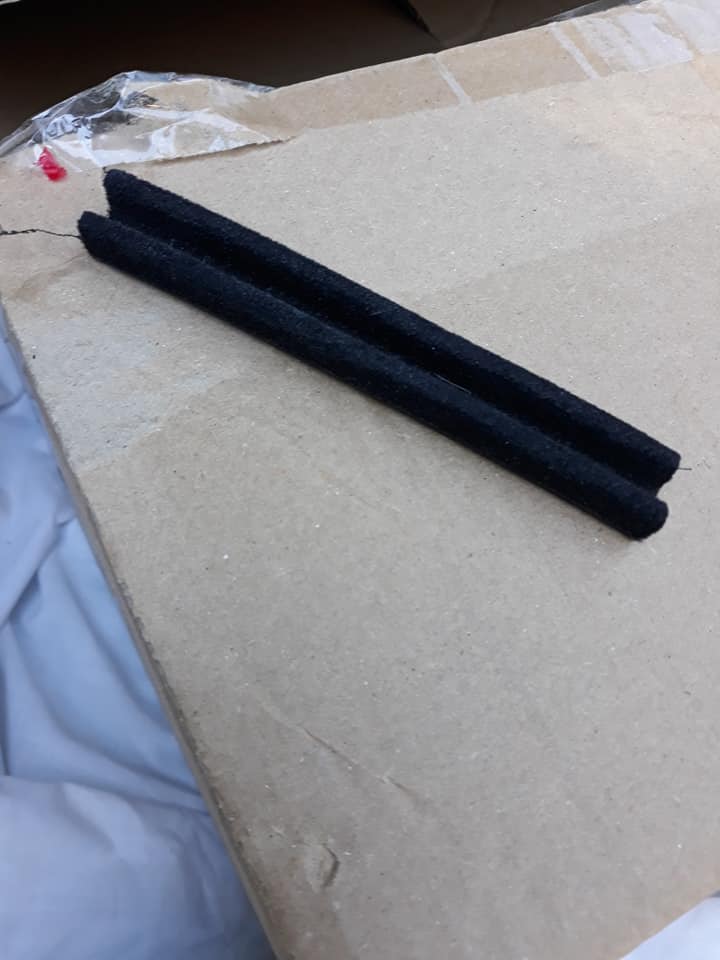
Norman Julian 26th Apr
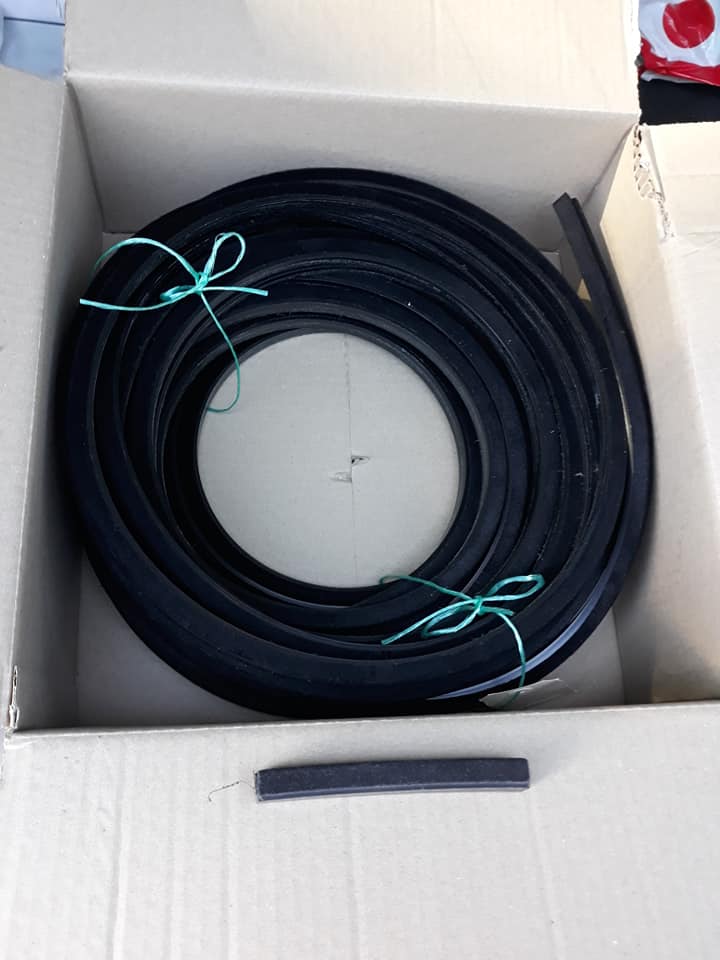
Well today I picked up the last of the "Bailey Channel" as it's called or window glass glide material to finish off the bus windows.
It has been about 12 months in the waiting because of covid problems in the U.K.
Production on this profile had ceased temporarily because of closure of the business.
Some of the glass I measured up also had to be adjusted because I miscalculated.
Only a few had to be shortened a few millimetres in height.
Just as well I decided not to have the glass hardened.
David Wilson
not cheap that stuff
Norman Julian
David Wilson
I calculated to do a 31 seater you need approximately 48 metres and at $15 a metre now.
not cheap that stuff
Norman Julian
David Wilson
I calculated to do a 31 seater you need approximately 48 metres and at $15 a metre now.
This site is hosted on
Crazy Domains & Hosting  Unlimited Web Hosting |
Last updated April, 2021 |
This web site may contain Copyright material If you find any problems with the site, please email the Web Editor  |