Norms Restoration - 31 Seater Projects |
1952 AEC Regal III [2547]
2021
Body March
- Norman Julian 9th Mar
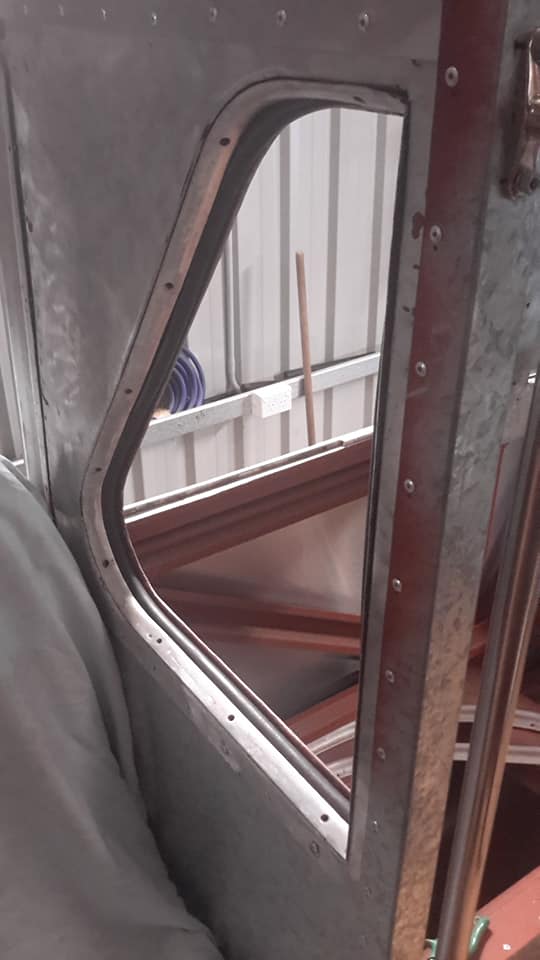
- This afternoon I started back on the AEC and I thought I would start with something straight forward.
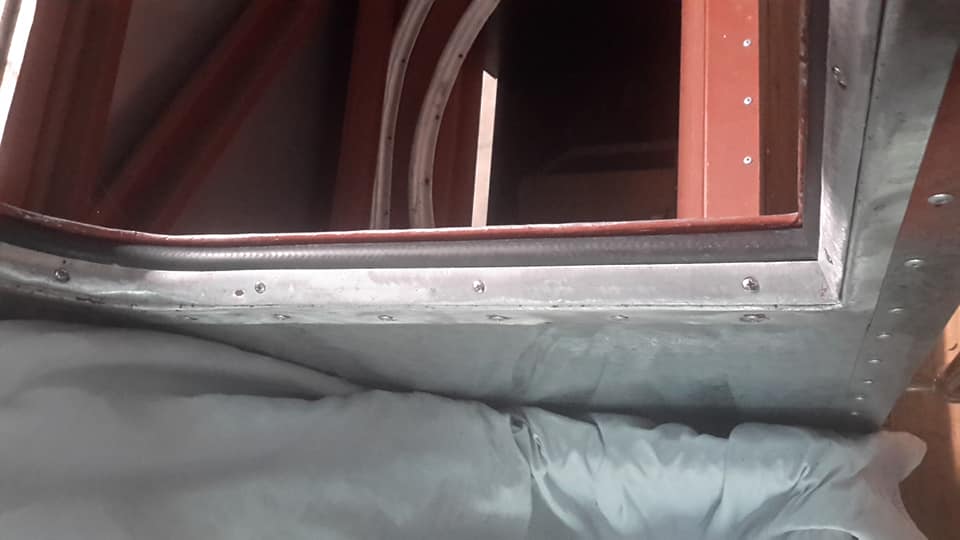
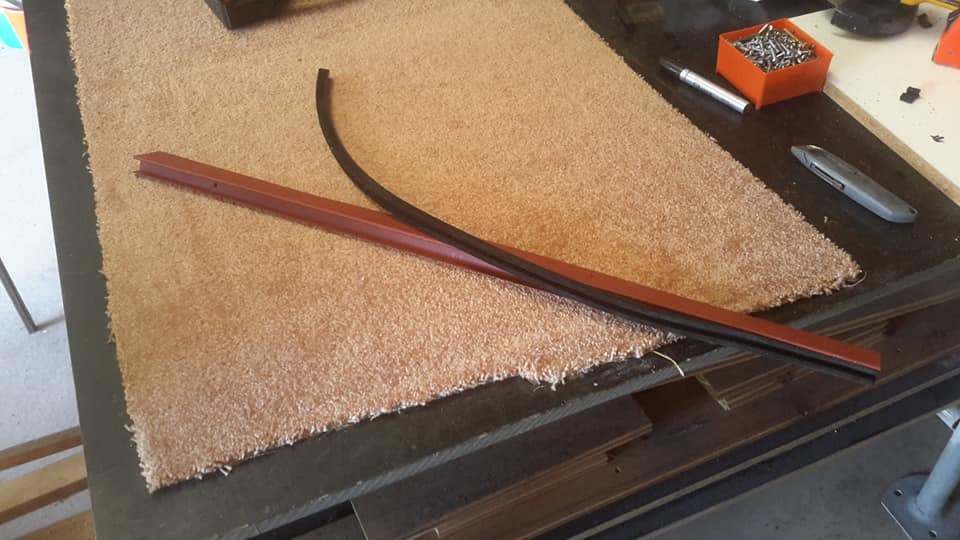
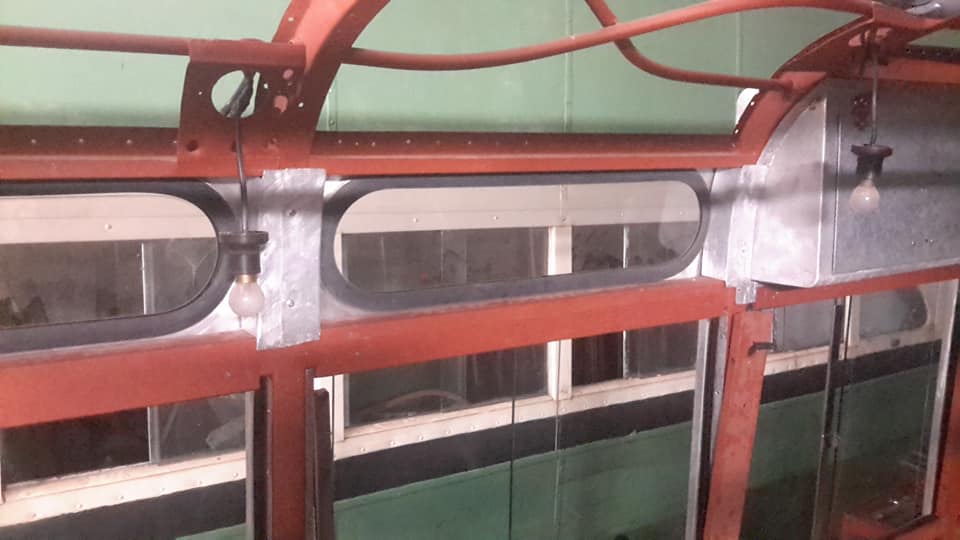
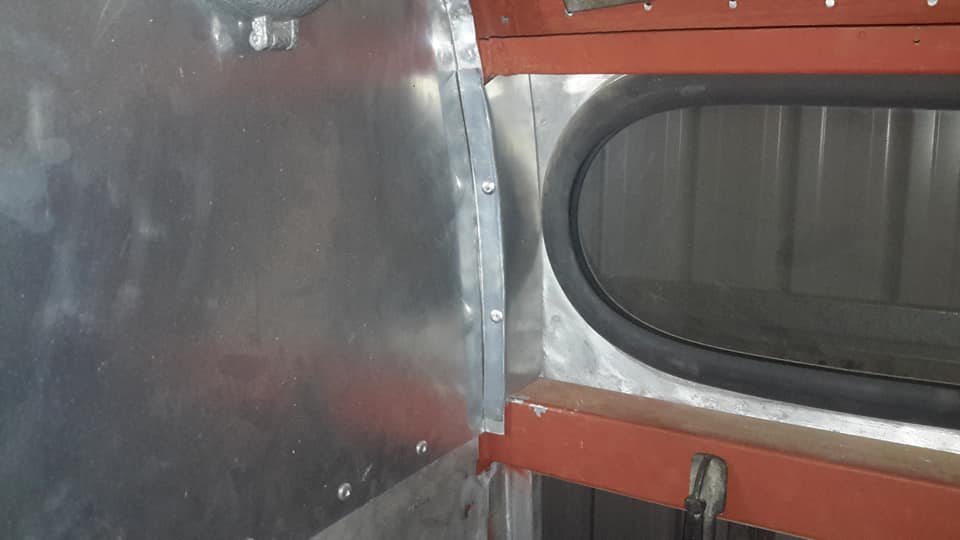
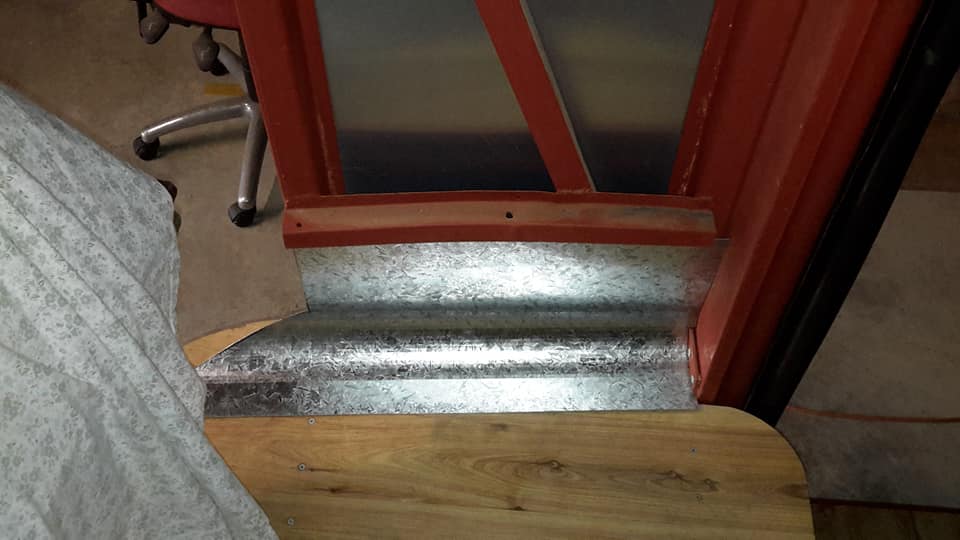
- This peculiar shaped window which there is one on either side in the rear bulkhead wall required a special size and type of hose.
- The diameter was hard to get so I settled for this 19mm rubber hose with a thick wall.
- The original was a 22mm or 7/8".
- The problem was the hole thickness.
- I couldn't find a solid type.
- One time I thought I struck gold and found one on line but they were out of stock and still are.
- Anyway, this will suffice.
- The reason for this thick walled hose is because it has to be screwed down and thin wall stuff will just collapse.
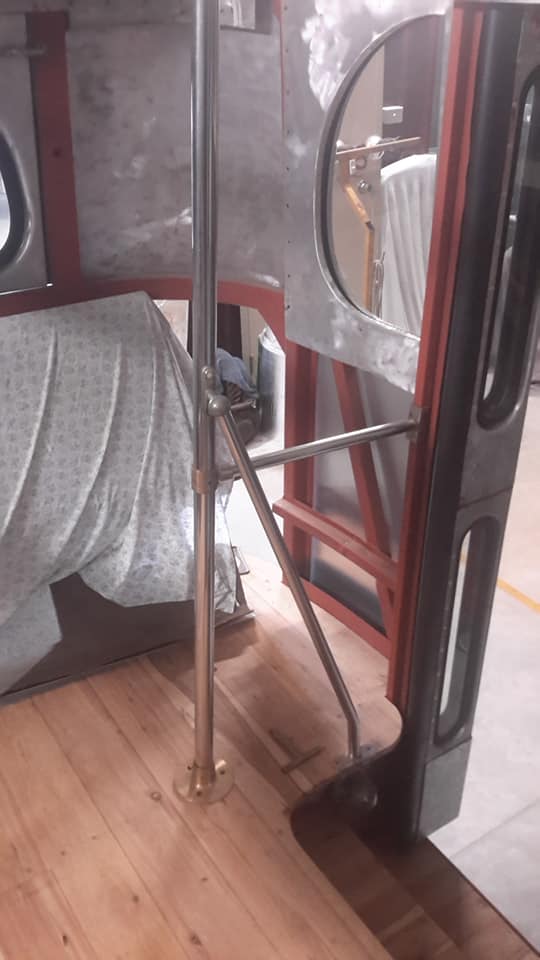
- The other thing I got over this quiet time was 3 mint chrome poles.
- The original ones weren't up to scratch for this bus.
- Andrew Blacklock
- Don�t stop finish it off now
- Norman Julian 10th Mar
- This is a nice little warm up job getting back into this project.
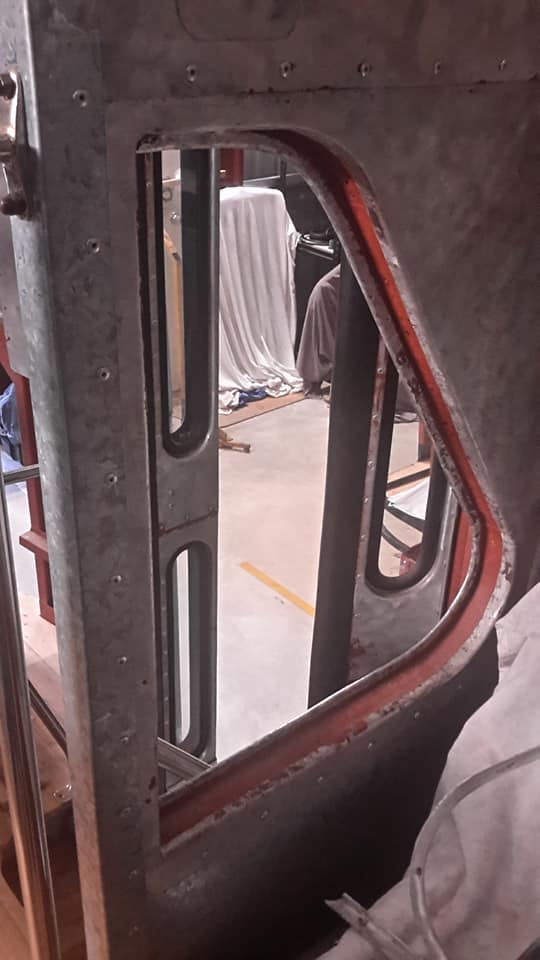
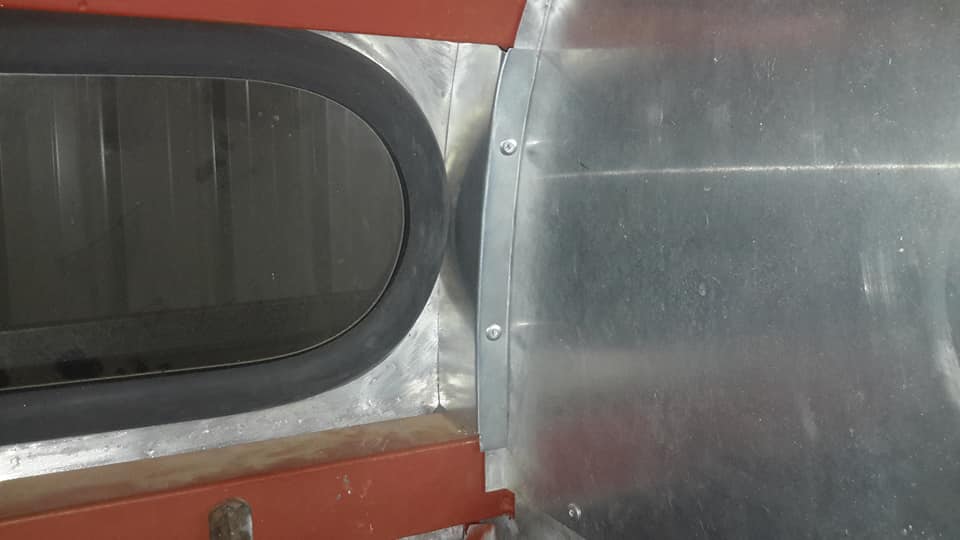
- This morning I finished off both sides and the rubber I chose as a replacement for the old cracked and rock hard stuff worked quite well.
- Because one side of this bulkhead wall was partially replaced with new metal and the other was fully replaced, I didn't have to contend with existing holes for this aluminium quad to go in so I pushed it hard against the rubber and the rubber is sandwiched between both the outside of the wall and the quad so hard that I wont have to screw down the rubber as was originally done.
- It is a nice change doing clean jobs rather than rusty and dirty old panel replacing.
- Garry Macoid
- Looks good Norm
- Norman Julian 10th Mar
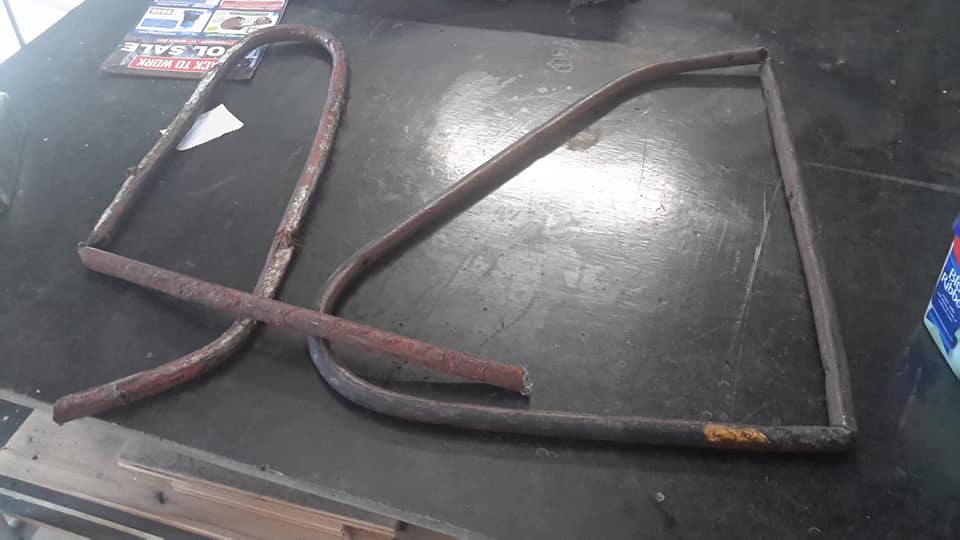
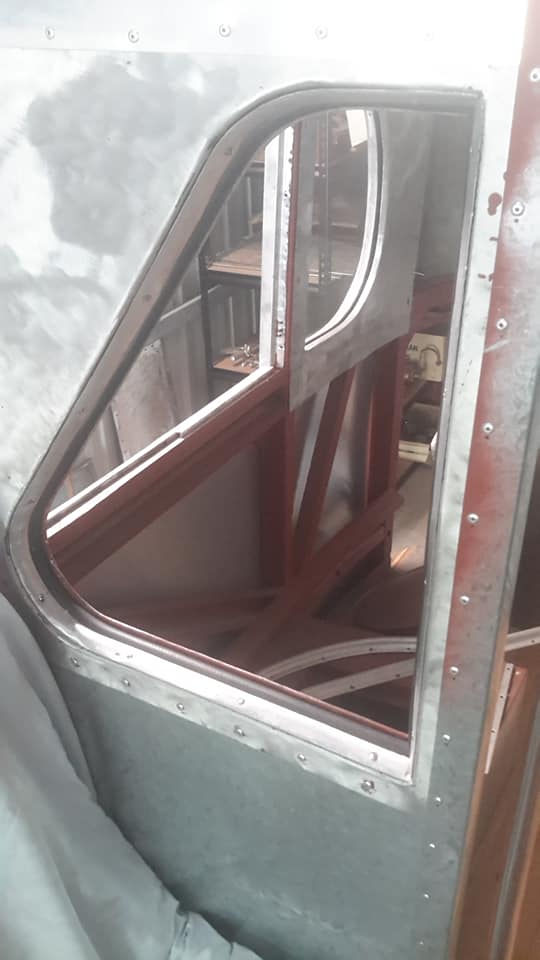
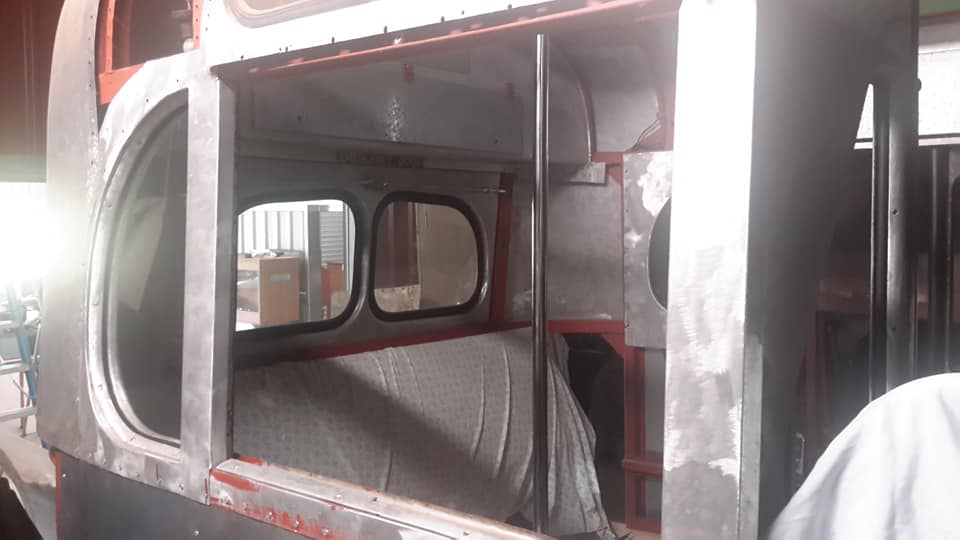
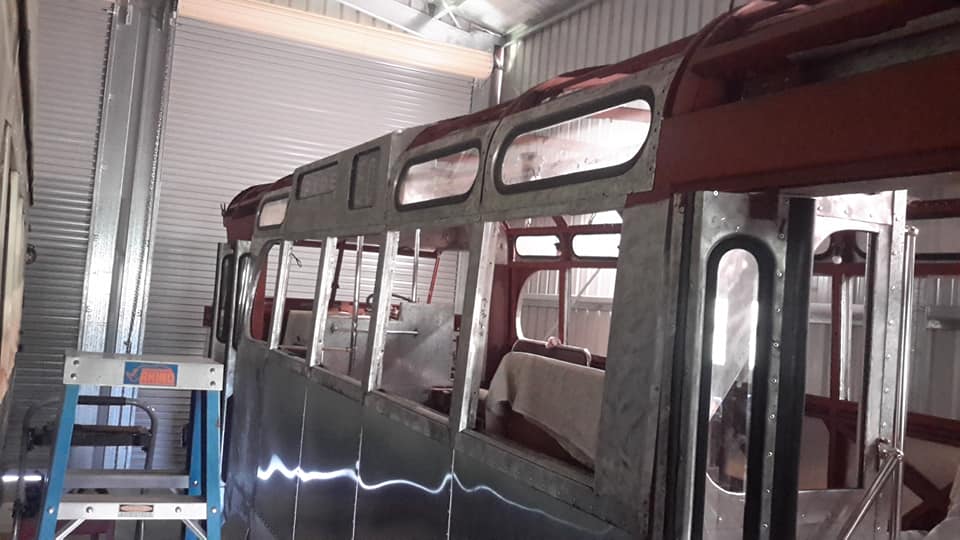
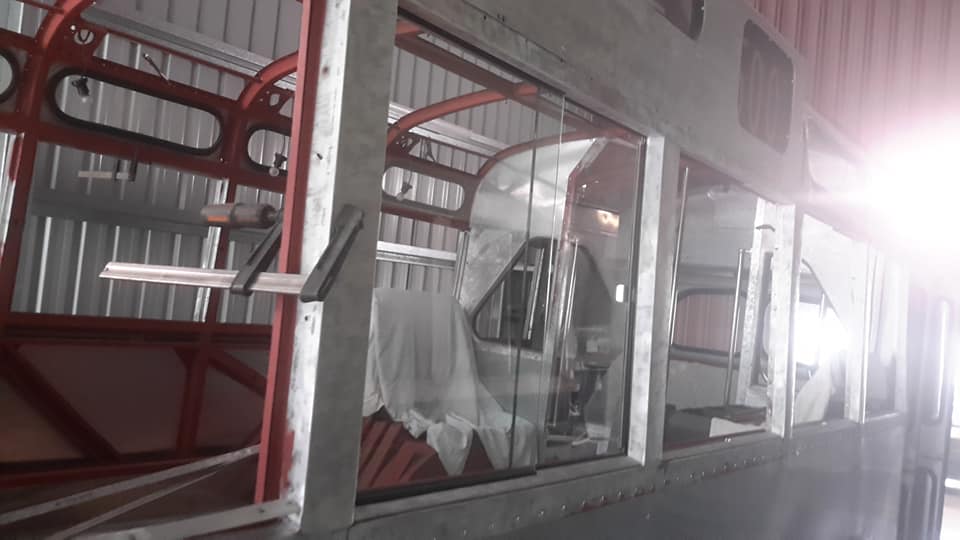
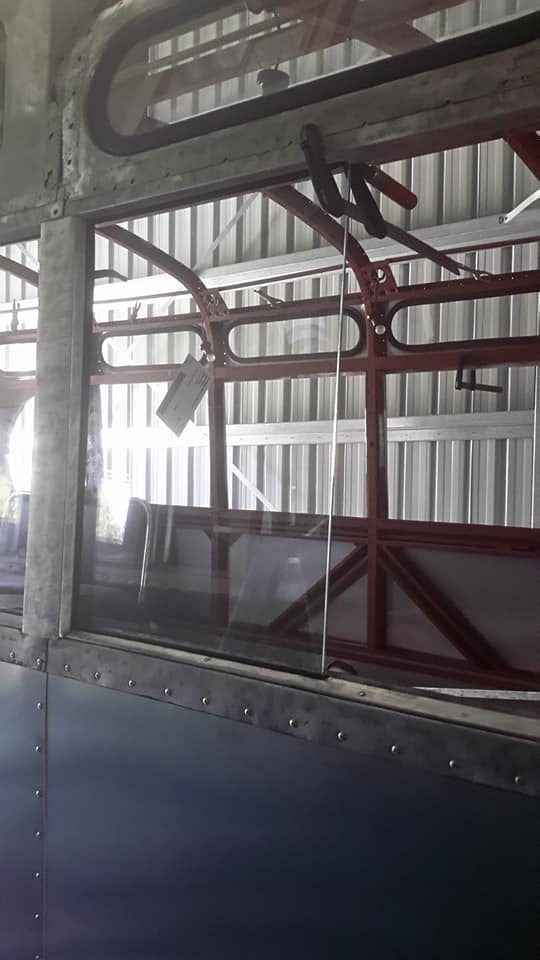
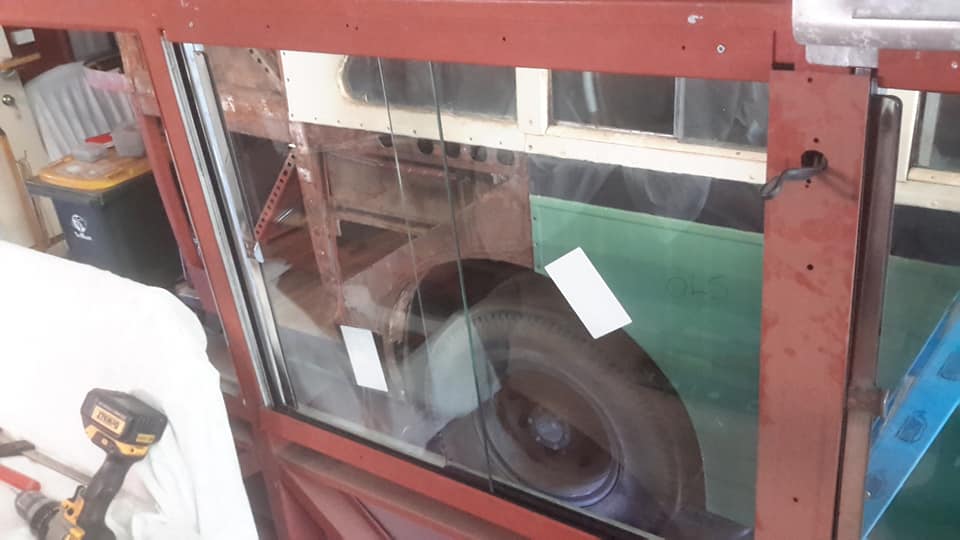
- This is what I'm hoping to start tomorrow.
- The window glass, and just about everything will be replaced with new.
- I am experimenting with a few new ideas.
- The glass has 3 different sizes because the frame sizes varied so to cut down the up and down rattling I got the glass cut to the size of that particular frame.
- In saying that there are only 2 size differences.
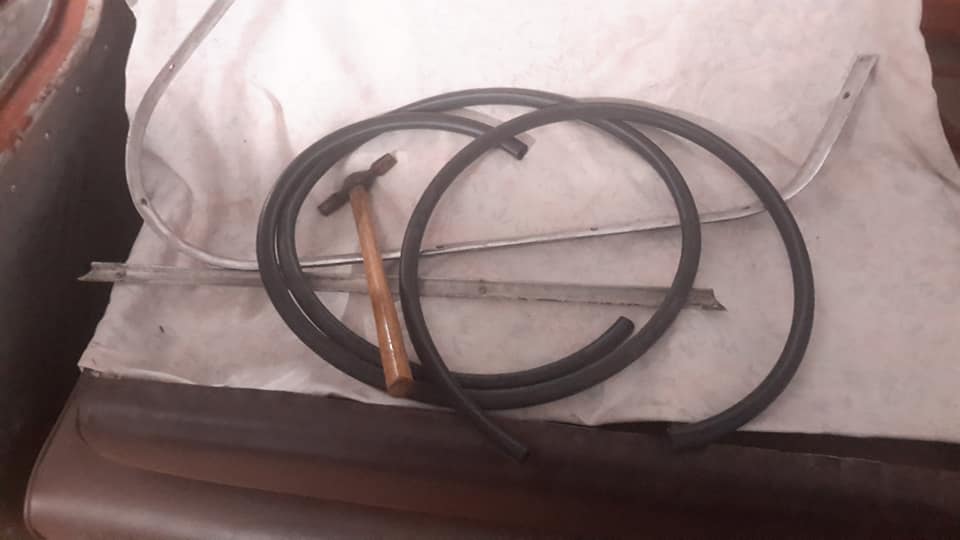
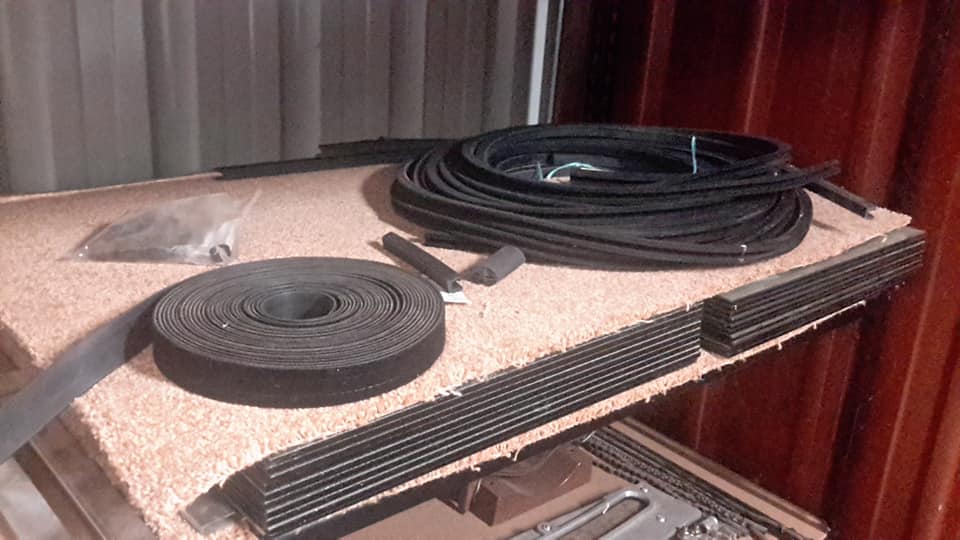
- I'm also experimenting on a new idea for the glass to close on.
- Originally it was just a "U" shaped channel that was surrounded with felt.
- This new stuff I have is one piece that can be easily folded into 3 segments as seen in picture.
- Remaking the old style would be very time consuming.
- It is a reasonably tight fit in the new channel I had made up but if it wants to come loose I can put contact adhesive on to solve that.

- Norman Julian 13th Mar
- Well ain't this been an absolute pain.
- I knew ages ago that replacing a lot of the frame was going to cause me headaches down the track.
- The headache is the replacing of imperial size with metric.
- Nothing that can't be fixed.
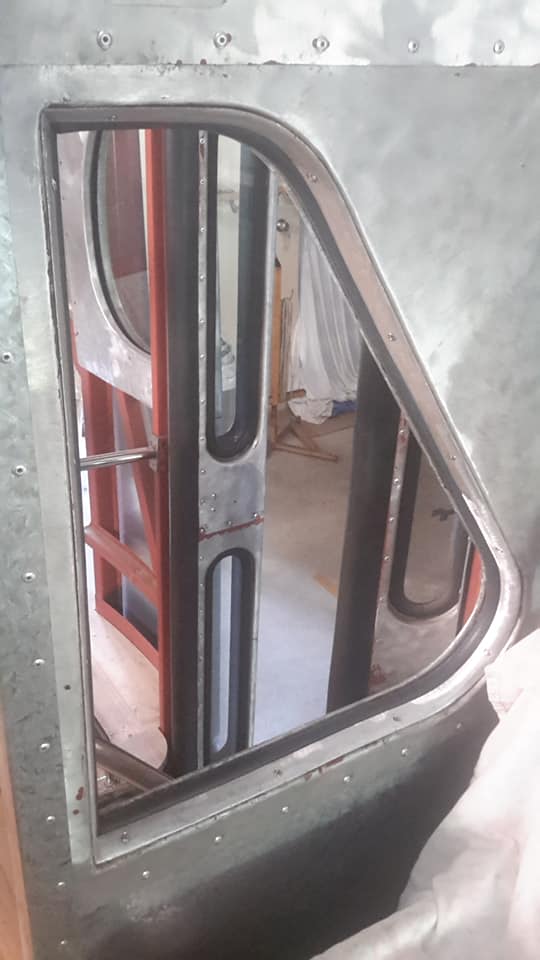
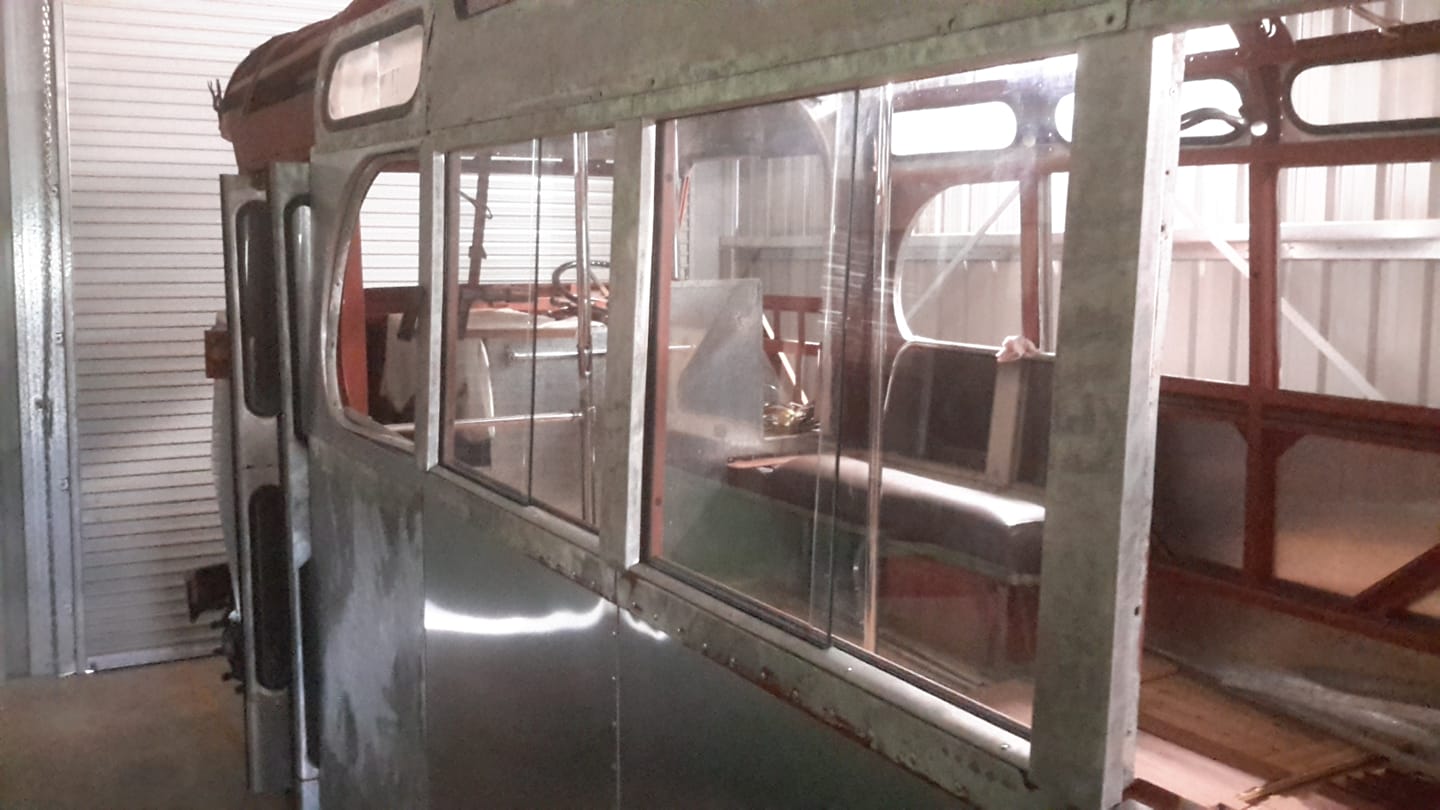
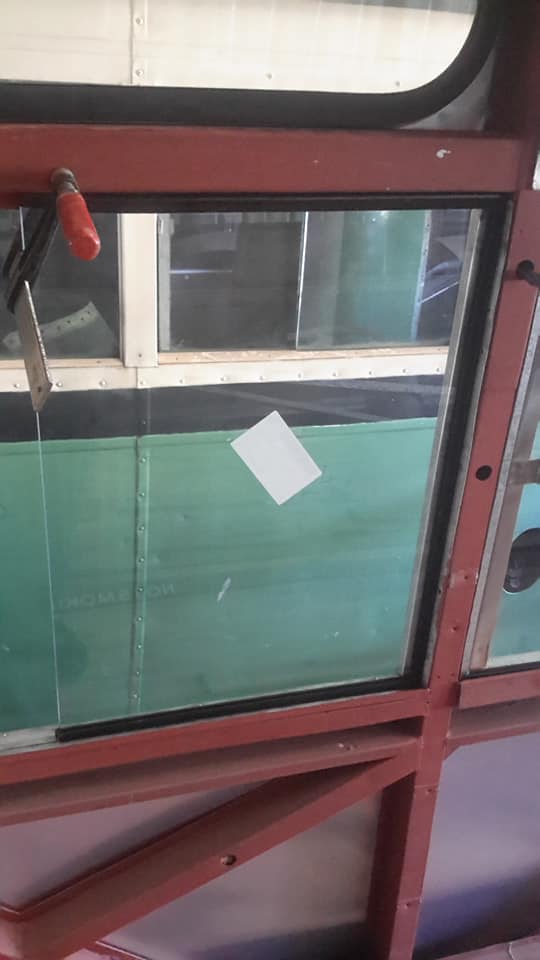
- The nearside upper oval windows and the lower outside window aluminium frame parts are lined up and screwed into position.
- The glass which one piece is permanently fixed and the other which slides goes in next then holding pieces go on to keep it all held together.
- If only when making these buses they went the same way the poms did with their windows it would have been a lot easier. This bus has been stripped apart in this area at least 5 times.
- A few of those times were major overhauls and others were not so particular.
- I listed over 250 problems that needed to be fixed with the body restoration and so far I have rectified all.
- When it is finished all but 3 will be done.
- Those 3 most people will not see.
- Norman Julian
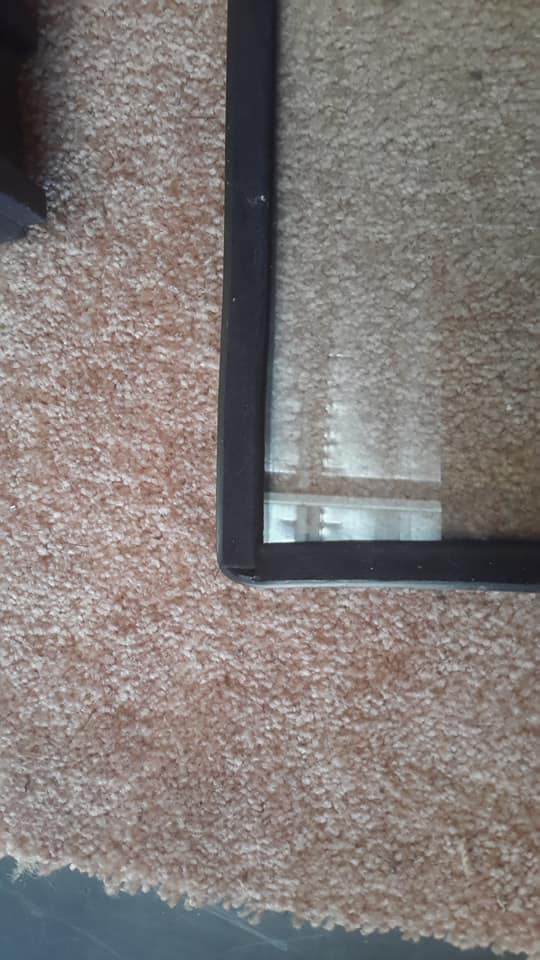
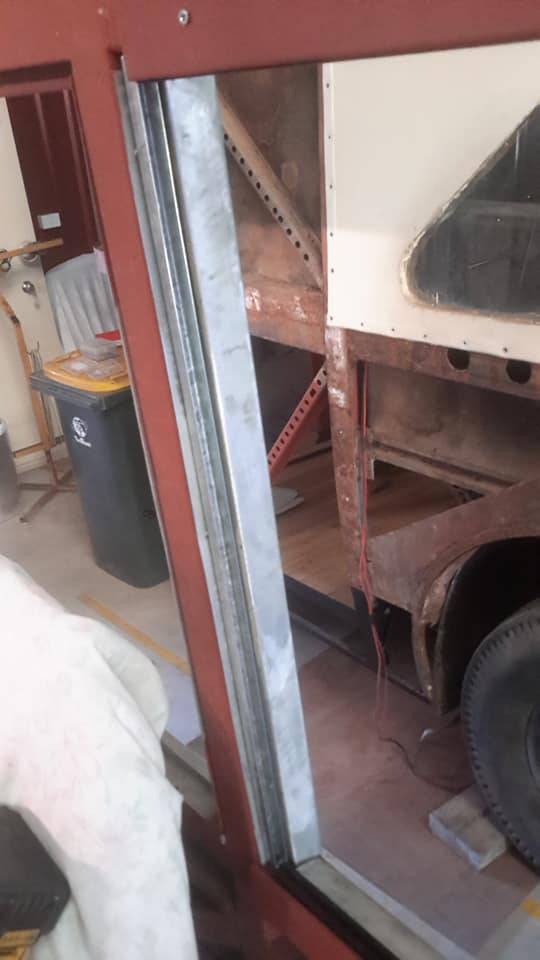
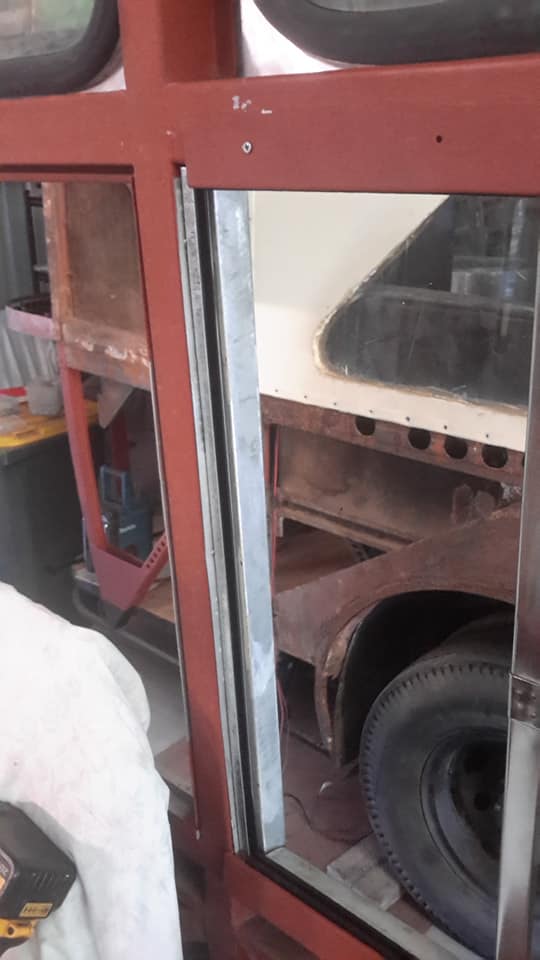
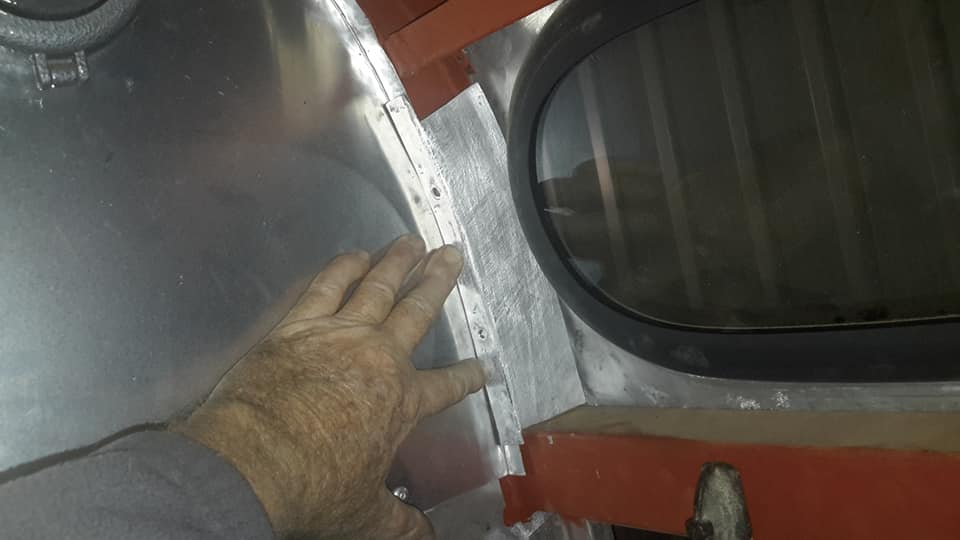
- This is the one small issue.
- This inside panel that holds the fixed glass and the sliding glass has to be 2mm further out so as to get 2 pieces of pinch weld felt sliding stuff that the glass sits in to fit snug.
- At the moment when the glass goes in it will be too tight.
- There are 2 channel sections here.
- The smaller one is for the fixed glass while the longer one is for the slider.
- Phil Steele
- Great job, Norm.
- No one will see those 3.
- What a magnificent and fantastic job you are doing.
- I always enjoy reading each new post.✌️����
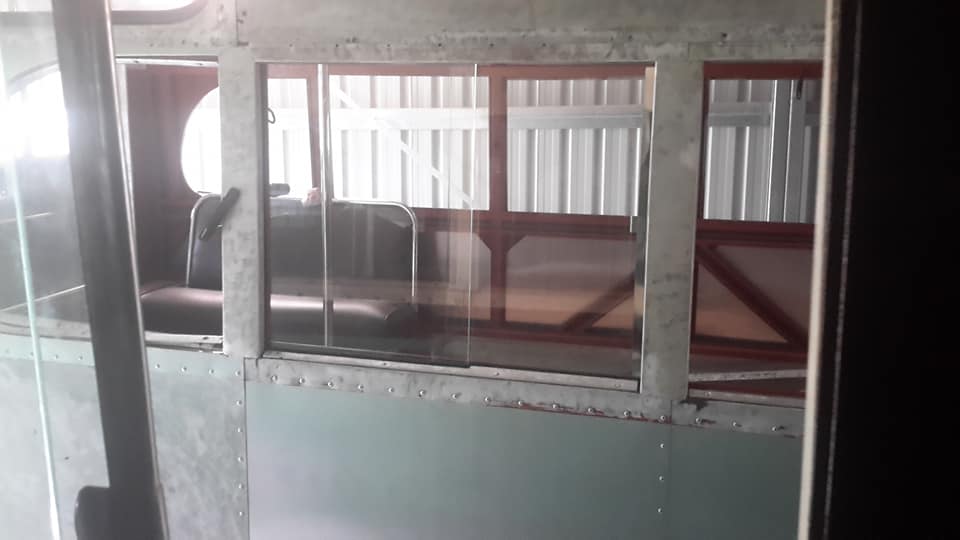
- Norman Julian 14th Mar
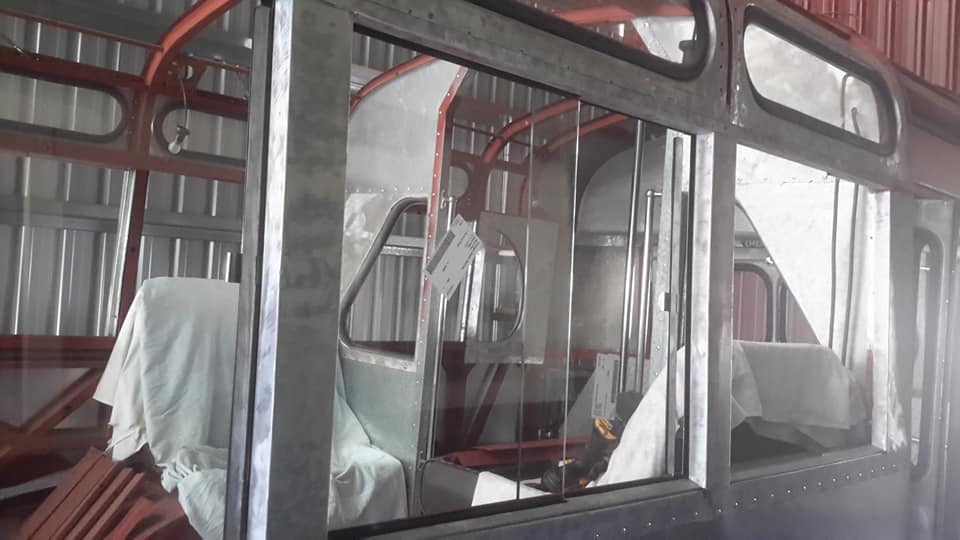
- The first window is in and works very well.
- Every bus I have been on with these style windows worked and felt very different.
- Having new material and right size glass made this feel outstanding.
- It ran very smoothly.
- The glass being brand new and clean seemed like it wasn't there at all.
- The new system I trialed for the glass to close on works ok as well.
- I have to admit I was a little apprehensive about this area because of so much frame replacement.
- I wanted so many of the original aluminium sections to go back together without any issues.
- In the end they did.
- Charles Shipway
- Norman Julian I am pleased for your achievement overall with your plans working in your favour of your planning
- Sam Hawkins
- Are you pleanning to remove the glass again before painting?
- Or just mask up?
- Norman Julian
- Sam Hawkins masking is easier than pulling apart again!
- I have just done the second one which took a third of the time!
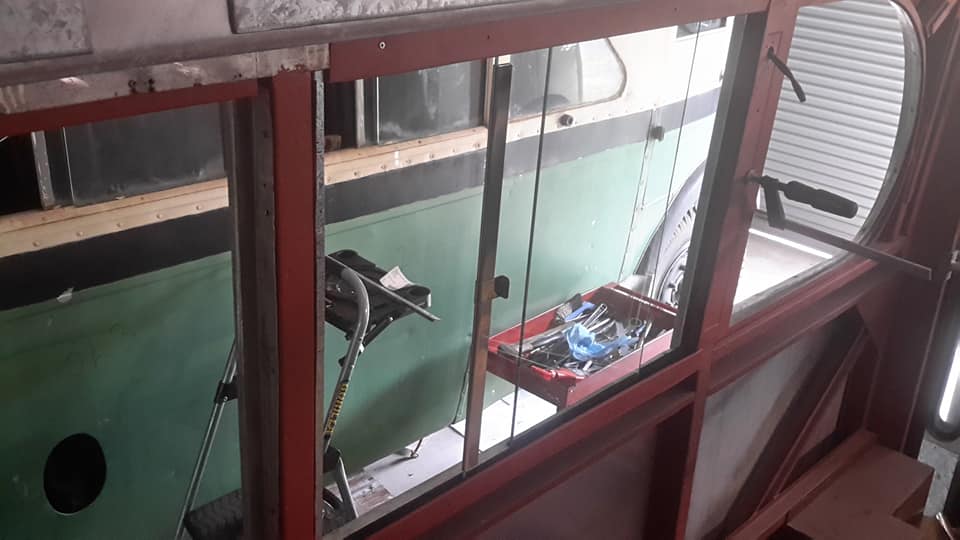
- Norman Julian 15th Mar
- Had to work today but had some time to do the 3rd window.
- This time I'll show how I did it.
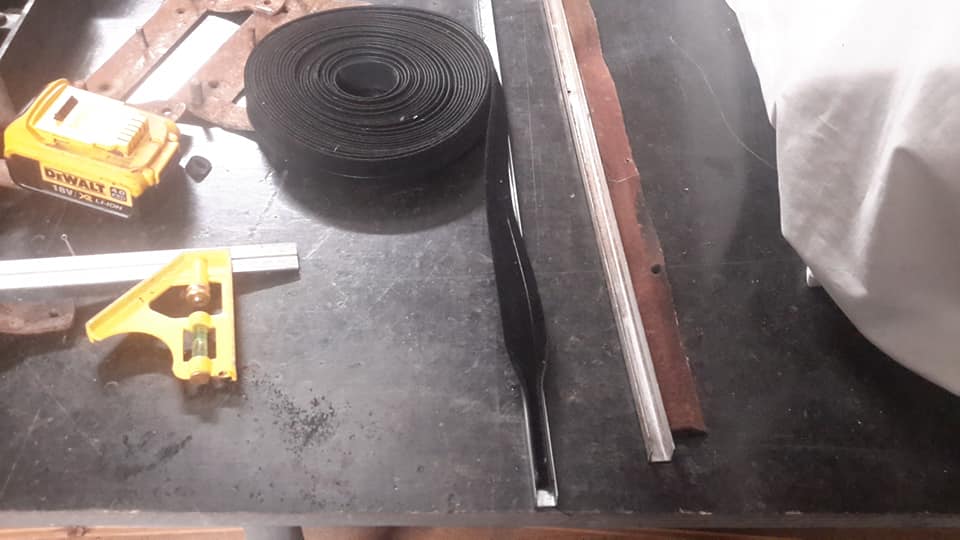
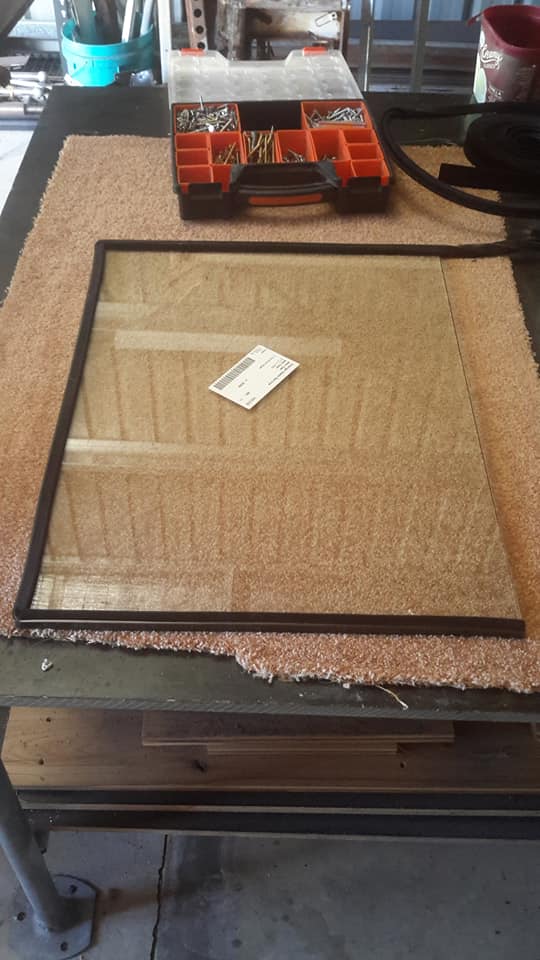
- Firstly get the wider piece of glass and cut the seal (Bailey channel) to fit.
- I find it easier to cut a square rather than a "V".
- It fits more procise.
- Then I place the glass in position.
- Then I cut a piece of glass runner (Bailey channel) to the width of the given space.
- A piece is also cut for the top runner channel.
- The smaller in width sliding piece of glass is then placed on the bottom runner and at the same time the top runner is placed with the groove part facing downwards on the top edge of the glass and in the same action the top runner channel is screwed to the upper window cross beam.
- Then the side channel piece is screwed to the vertical end. Then the felt seal is placed in the channel and that is it. There is fine tunning to be done down the track.
- Norman Julian 17th Mar
- Today I had to calculate how much more of this pinchweld window runner/seal I need to finish this job.
- 26 metres is what I came up with.
- I originally had a 15m coil and a 14m coil.
- Some was used on the d/decker rear door that I remade some time ago.
- I came up with 48m to do this bus.
- It originally cost around $11 then went to $13 and now is $15 a metre.
- Restoring a d/decker now you could nearly double that amount of metres, so this seal alone on a double decker will set you back about $1500 and that's if you paid todays metre price.

- Norman Julian
- Just want to correct a mistake I made in the assembly of this window yesterday.
- I referred the window sliding material as "Pinchweld" when it is actually called "Bailey channel".
- Sorry for the confusion!
- Norman Julian 19th Mar
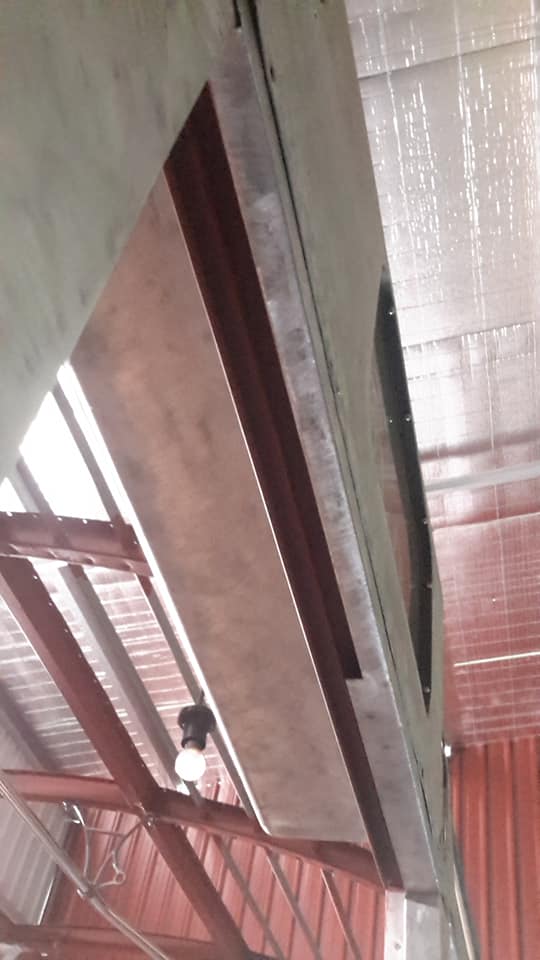
- I was looking for something else and found these tucked away in a box.
- It's trim that covers the bottom part of the roof bows between the oval windows.
- I spent 4 hrs on and off stripping the old paint and panelbeating back into shape.
- Unfortunately, I am going to have to remake some of them because of the gap sizes between rails.
- The bulkhead wall ones were always in doubt because I had to raise the roof.
- Some of the others in my opinion are close to being replaced because of the gap but I will see how I go with the ones I have to make.
- If they end up being OK I may remake the others.
- I'm satisfied with all the ones on the nearside its just the offside.
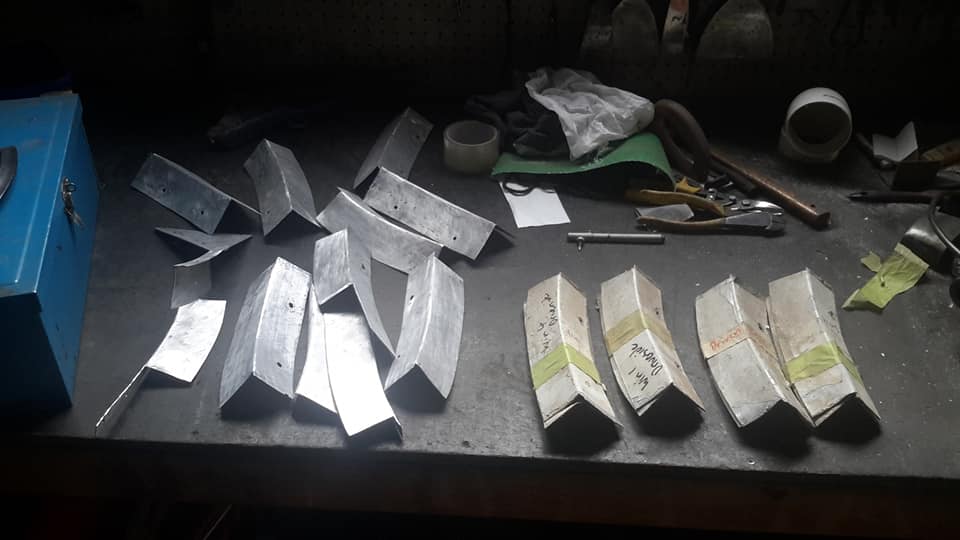
- Norman Julian 21st Mar
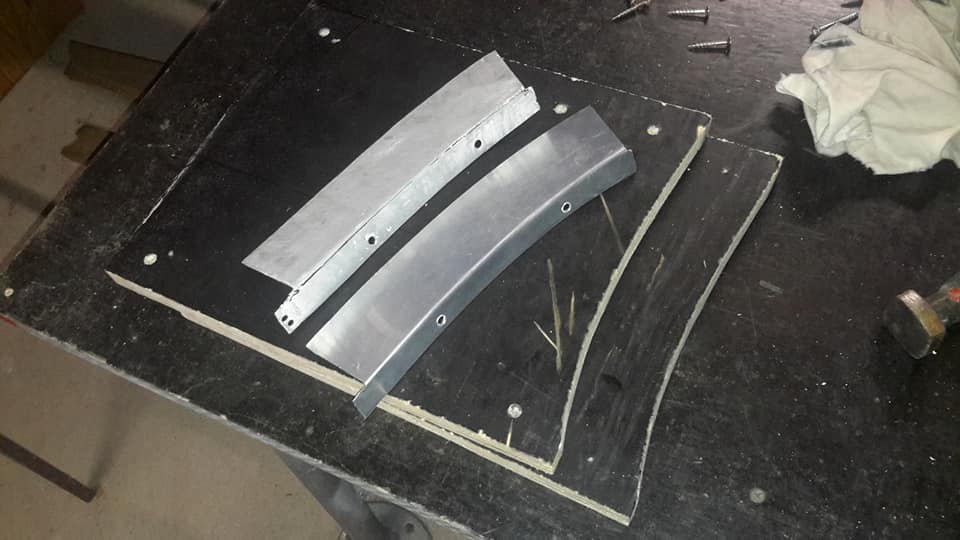
- Today I made this simple jig to remake some of the offside trim.
- The worst area was around the bulkhead wall because if you have been following this project the bus was in an accident that required this section of the bus having a major repair done.
- The roof was 20mm lower here than anywhere else.
- Anyway, these 2 small pieces of trim was done because the originals are too short.
- Tomorrow I have to make trim that is a little more difficult.
- Gregor Neil Robertson
- Good grief man , you have the patience of a Saint!
- Norman Julian
- Gregor Neil Robertson
- patience of a saint but the mind of the devil!
- Gregor Neil Robertson
- Will we be reading in detail the work the devil is doing!
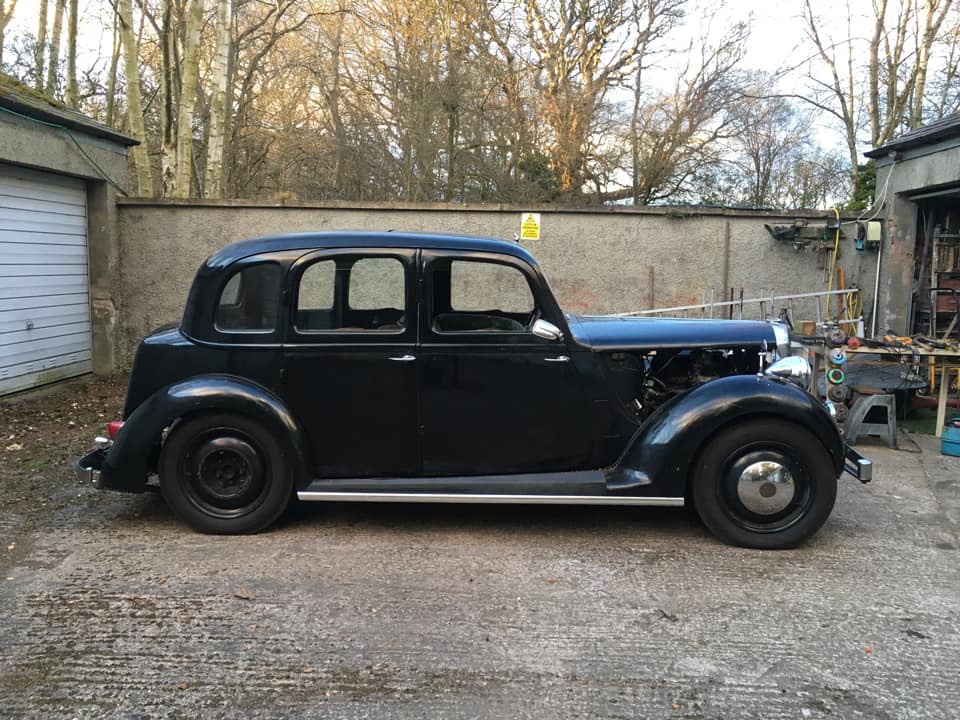
- This weekends work here - start removing saggy rear springs on the �46 Rover Ten.
- May have to light up the blowtorch!
- Not looking forward to it.
- Gregor Neil Robertson
- Gregor Neil Robertson
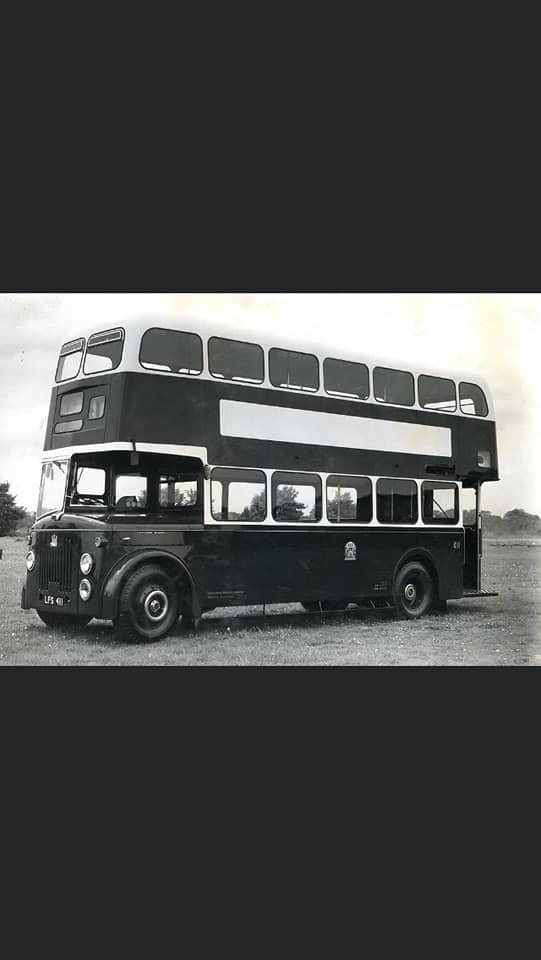
- These Leyland PD2 buses took me to school in Edinburgh - very few survivors sadly.
- Gregor Neil Robertson
- Norman Julian 22nd Mar
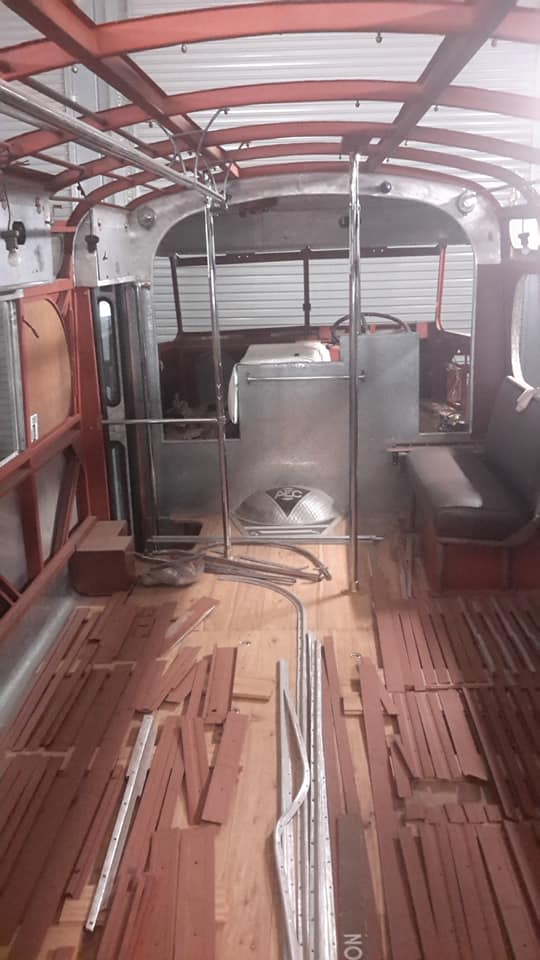
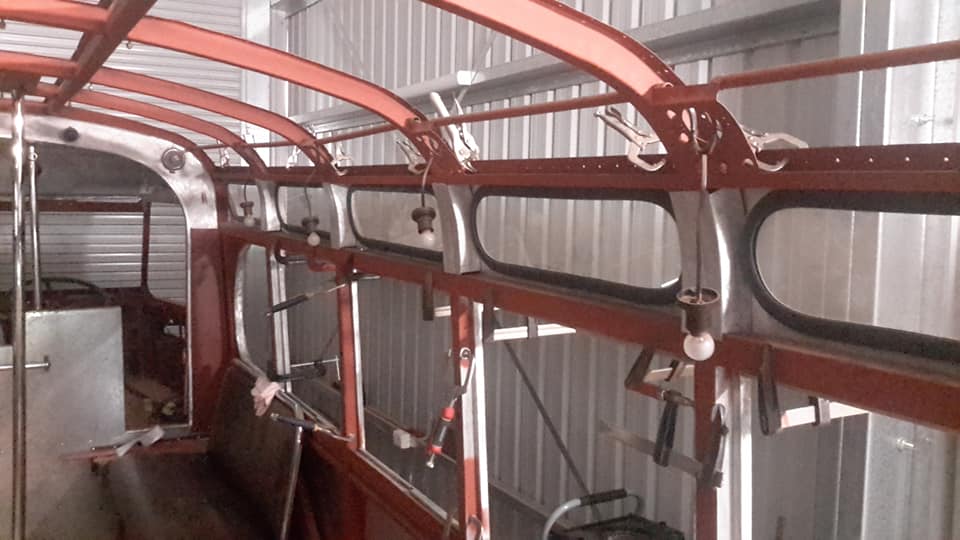
- I know I'm getting closer when I start working on the ceiling.
- This will be a long tedious boring and thankless job.
- With the pressed finish on one end of each piece and each one faces the back of the sheet that's a hint that I should start putting them back on from the rear of the bus.
- Firstly I'm cleaning them and while wet I can see all the little dimples that are present.
- I use a black marker at this stage so as to easily see where they are and while stripping as the marker will come off I will go back over with a pencil.
- After each sheet is done then the light panelbeating will start.
- I can save time I suppose and after the sheet is stripped mark the sheet then but it is easier to see the little ones while paint is on there, it has more shine .
- The other thing I noticed was quite a few dents were raised which means they were done from the top.
- To me it makes more sense to do the ceiling first so as to take advantage of the light.
- Then putting the roof on there may have been mishaps which caused the dimples.
- Norman Julian 23rd Mar
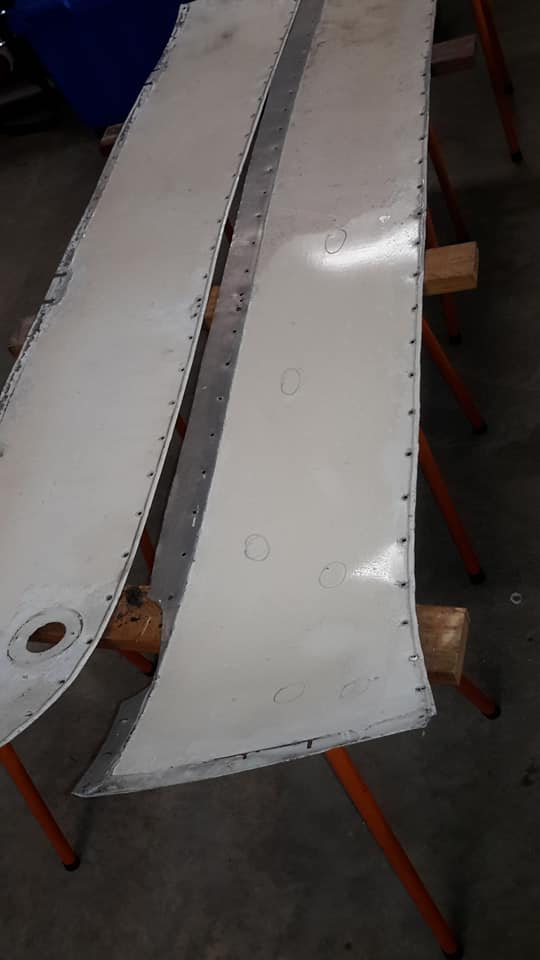
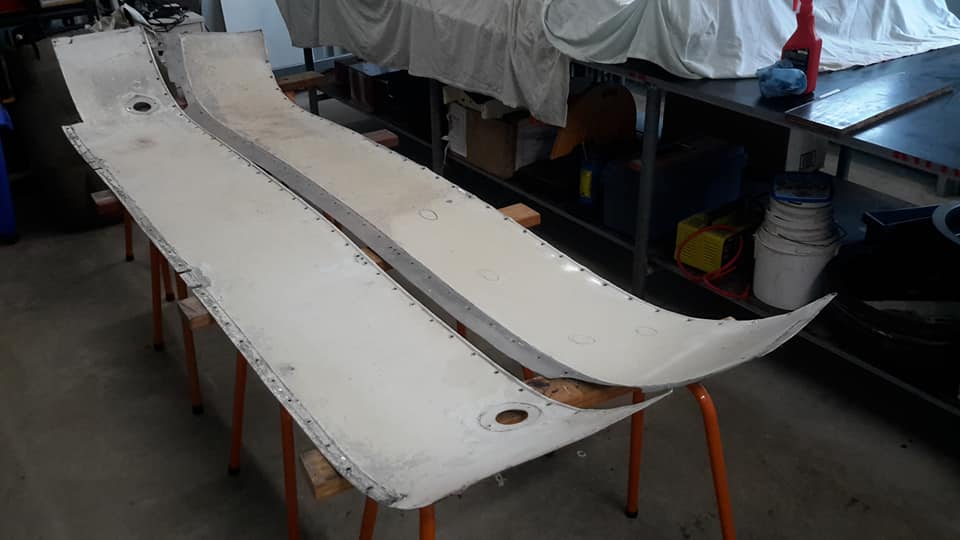
- Too wet to do outside stripping of the ceiling sheets so I finished off the nearside and offside skirting panels.
- It's nice working with new stuff and not getting filfy from dirt and grime.
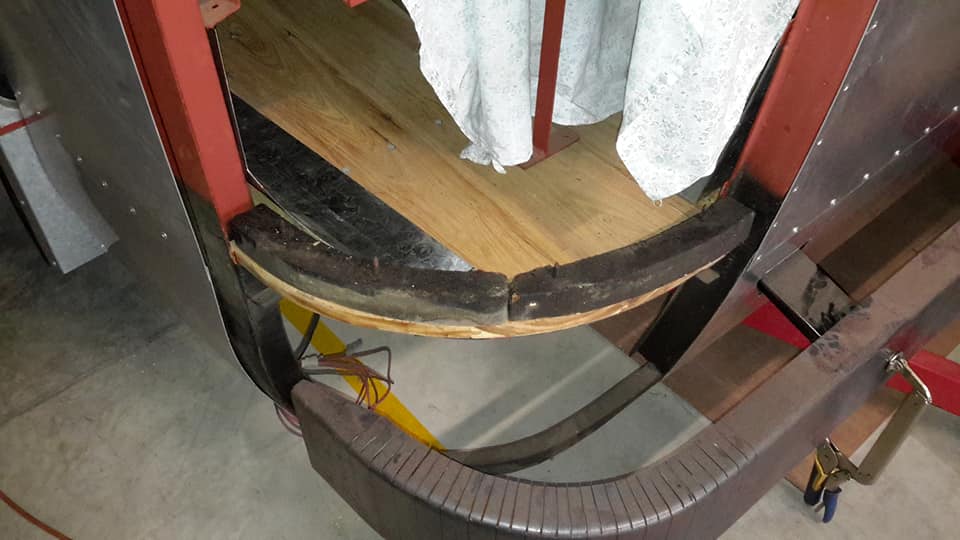
- In saying that tomorrow I have to clean up these semi circle wood strips.

Maxwell Mcroberts
you could teach at Tafe Norm🚌👨🎓
you could teach at Tafe Norm🚌👨🎓
- Norman Julian 25th Mar
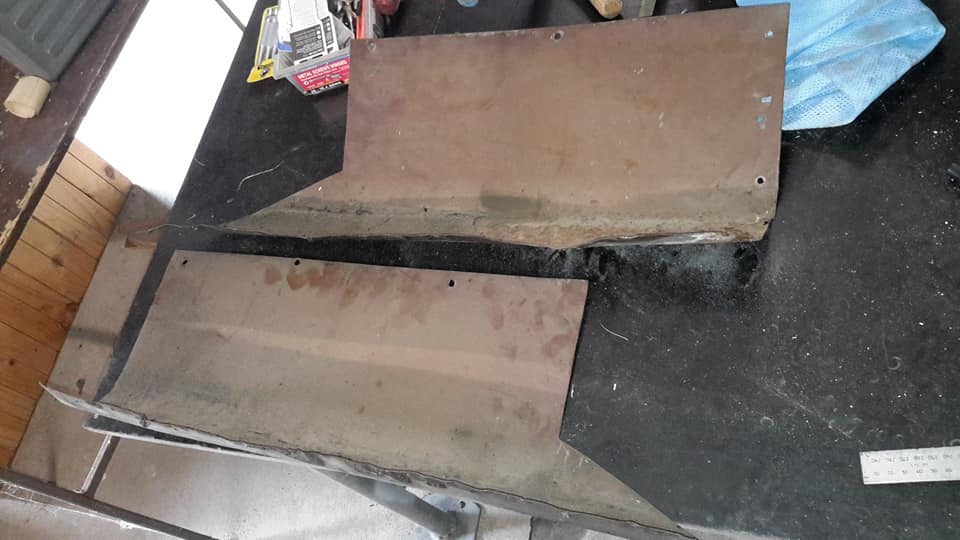
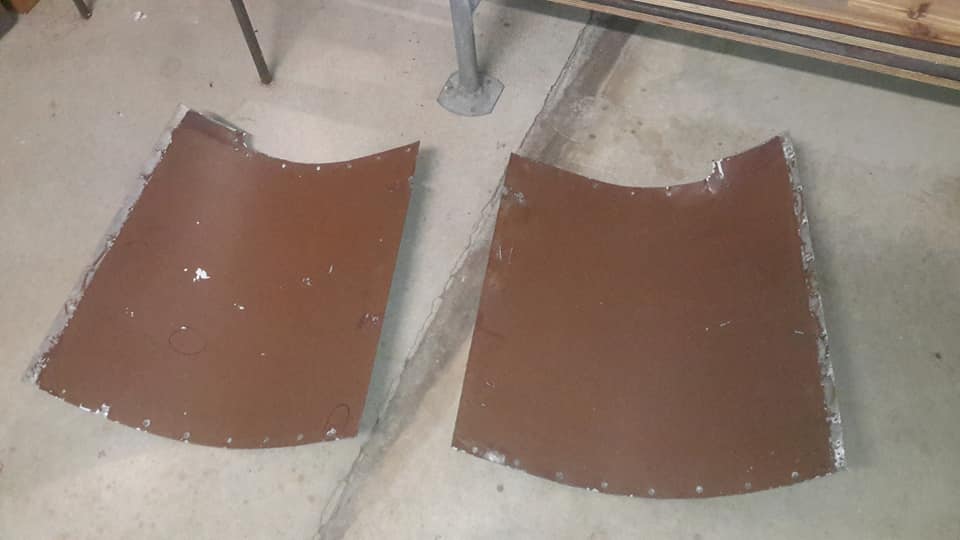
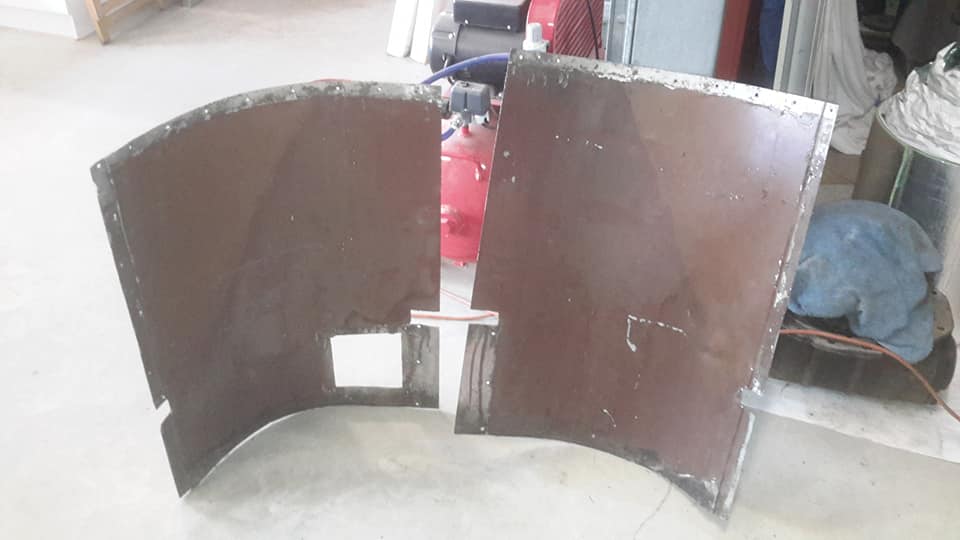
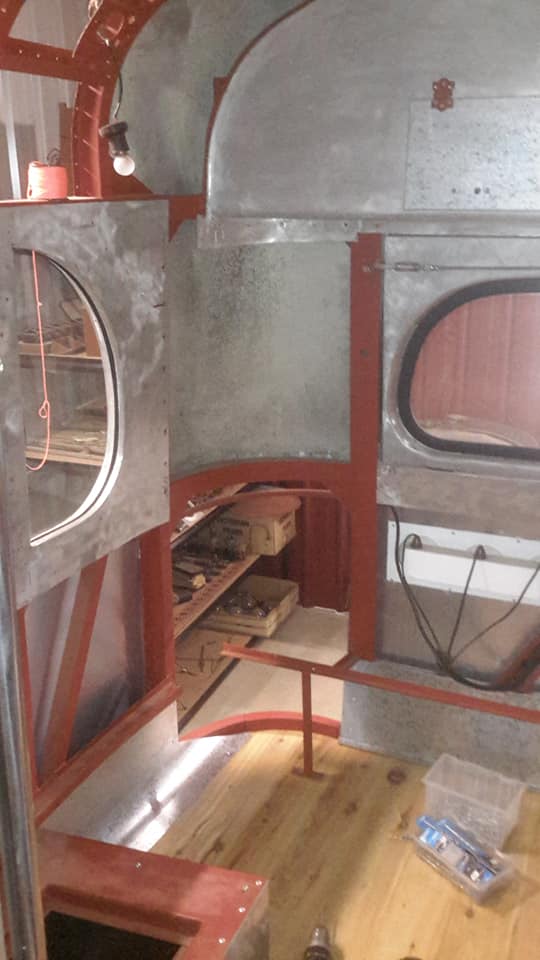
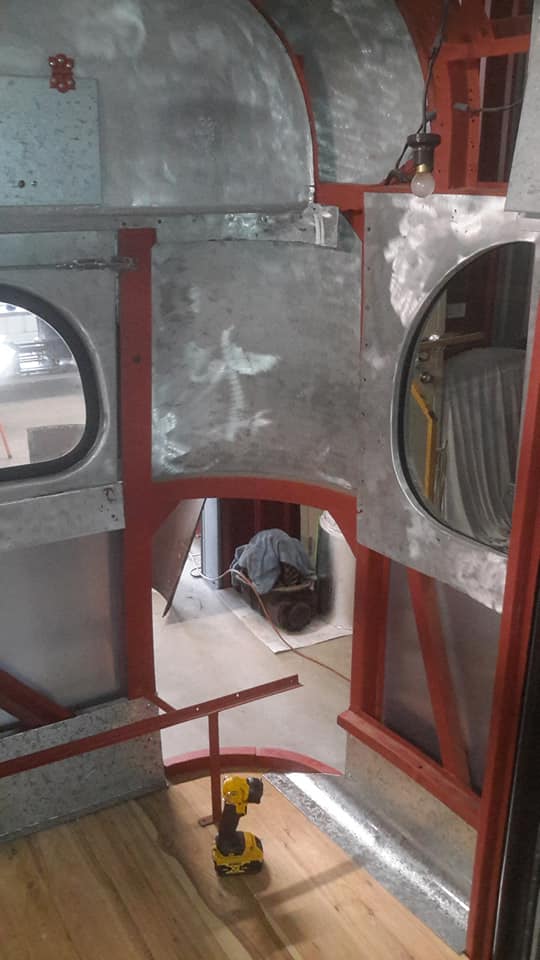
- Everything is ready for the back internal panels.
- After a proper inspection the top 2 are fine but the bottom 2 unfortunately have to be replaced.
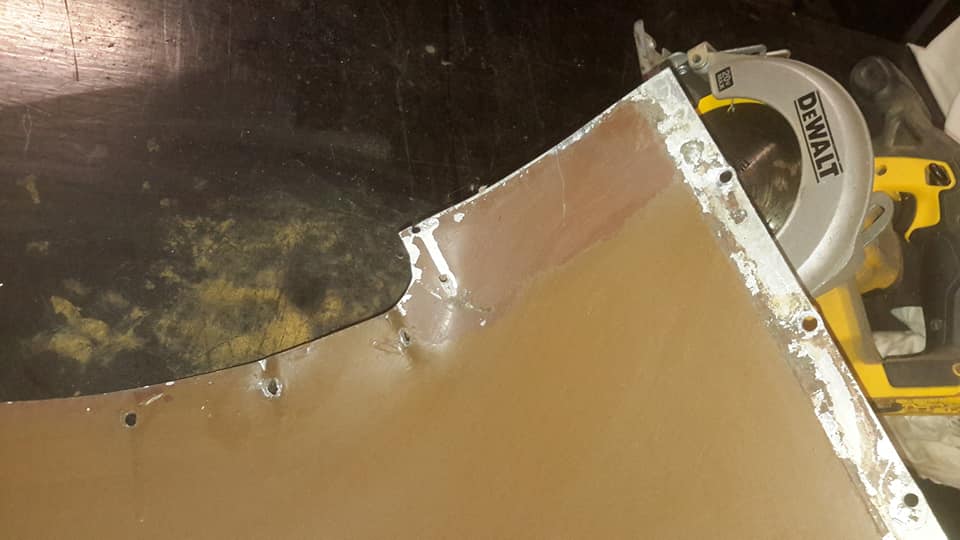
- The drivers side has 2 holes with one having a screwed on patch.
- Not sure why this was done.
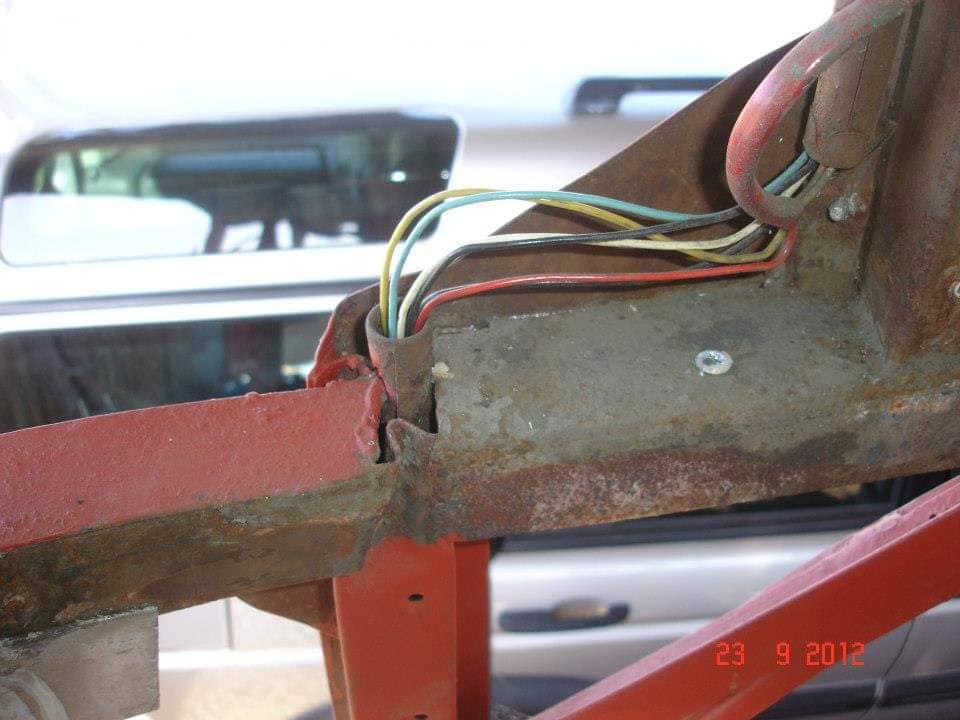
- I have included an old photo of damage that was done to the top of a rear pillar.
- The wires coming out the top shows how crushed it was.
- You can also see the panel that has yet to be stripped of paint and the old damage done.
- The pillar was completely replaced and a picture shows the harness coming out.
- In theory when I put the roof sheet back up in position and this rounded panel it should all lign up.
This site is hosted on
Crazy Domains & Hosting  Unlimited Web Hosting |
Last updated March, 2021 |
This web site may contain Copyright material If you find any problems with the site, please email the Web Editor  |