1952 AEC Regal III [2547]
2025
Body Jan
Norman Julian 3rd Jan
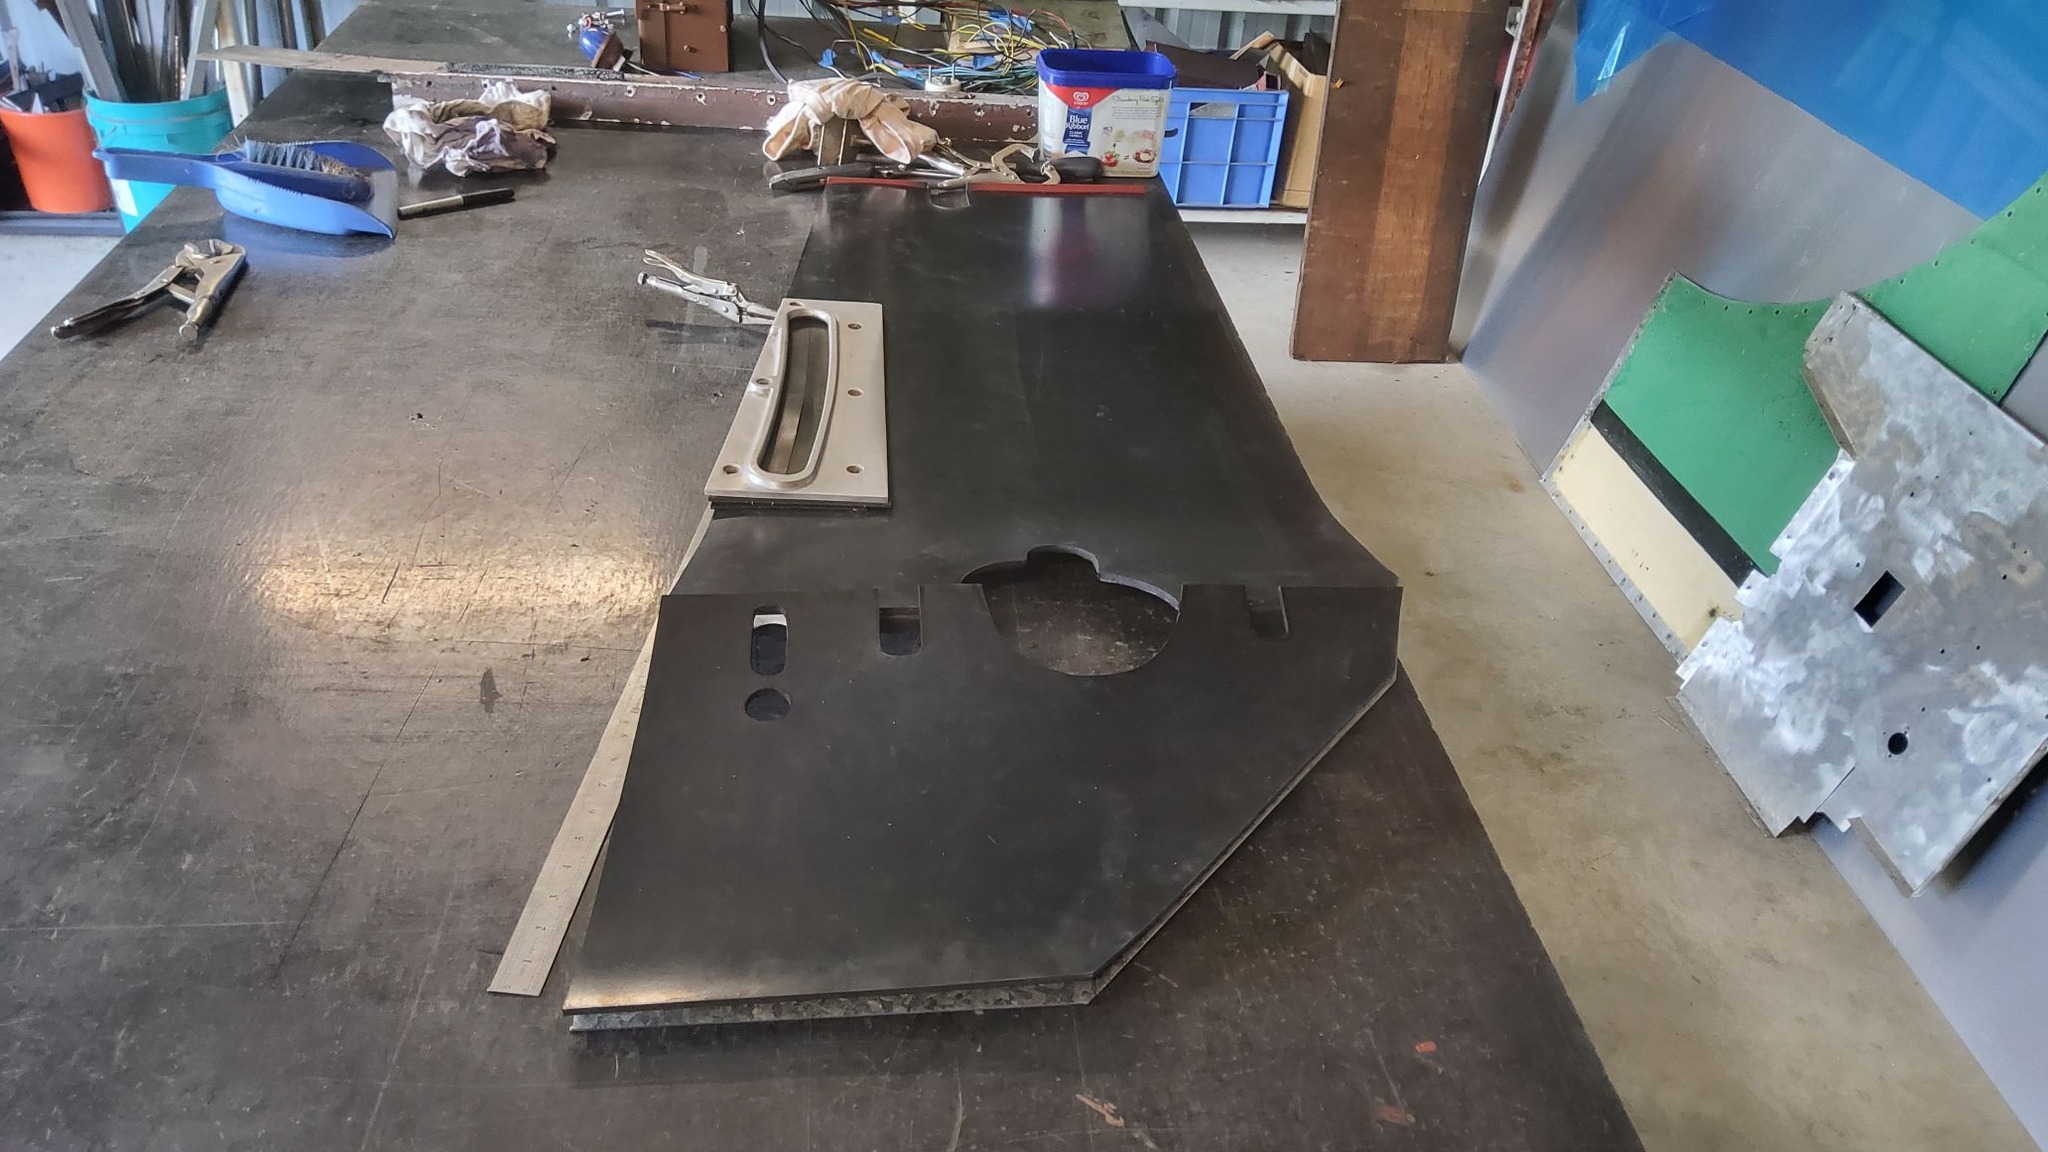
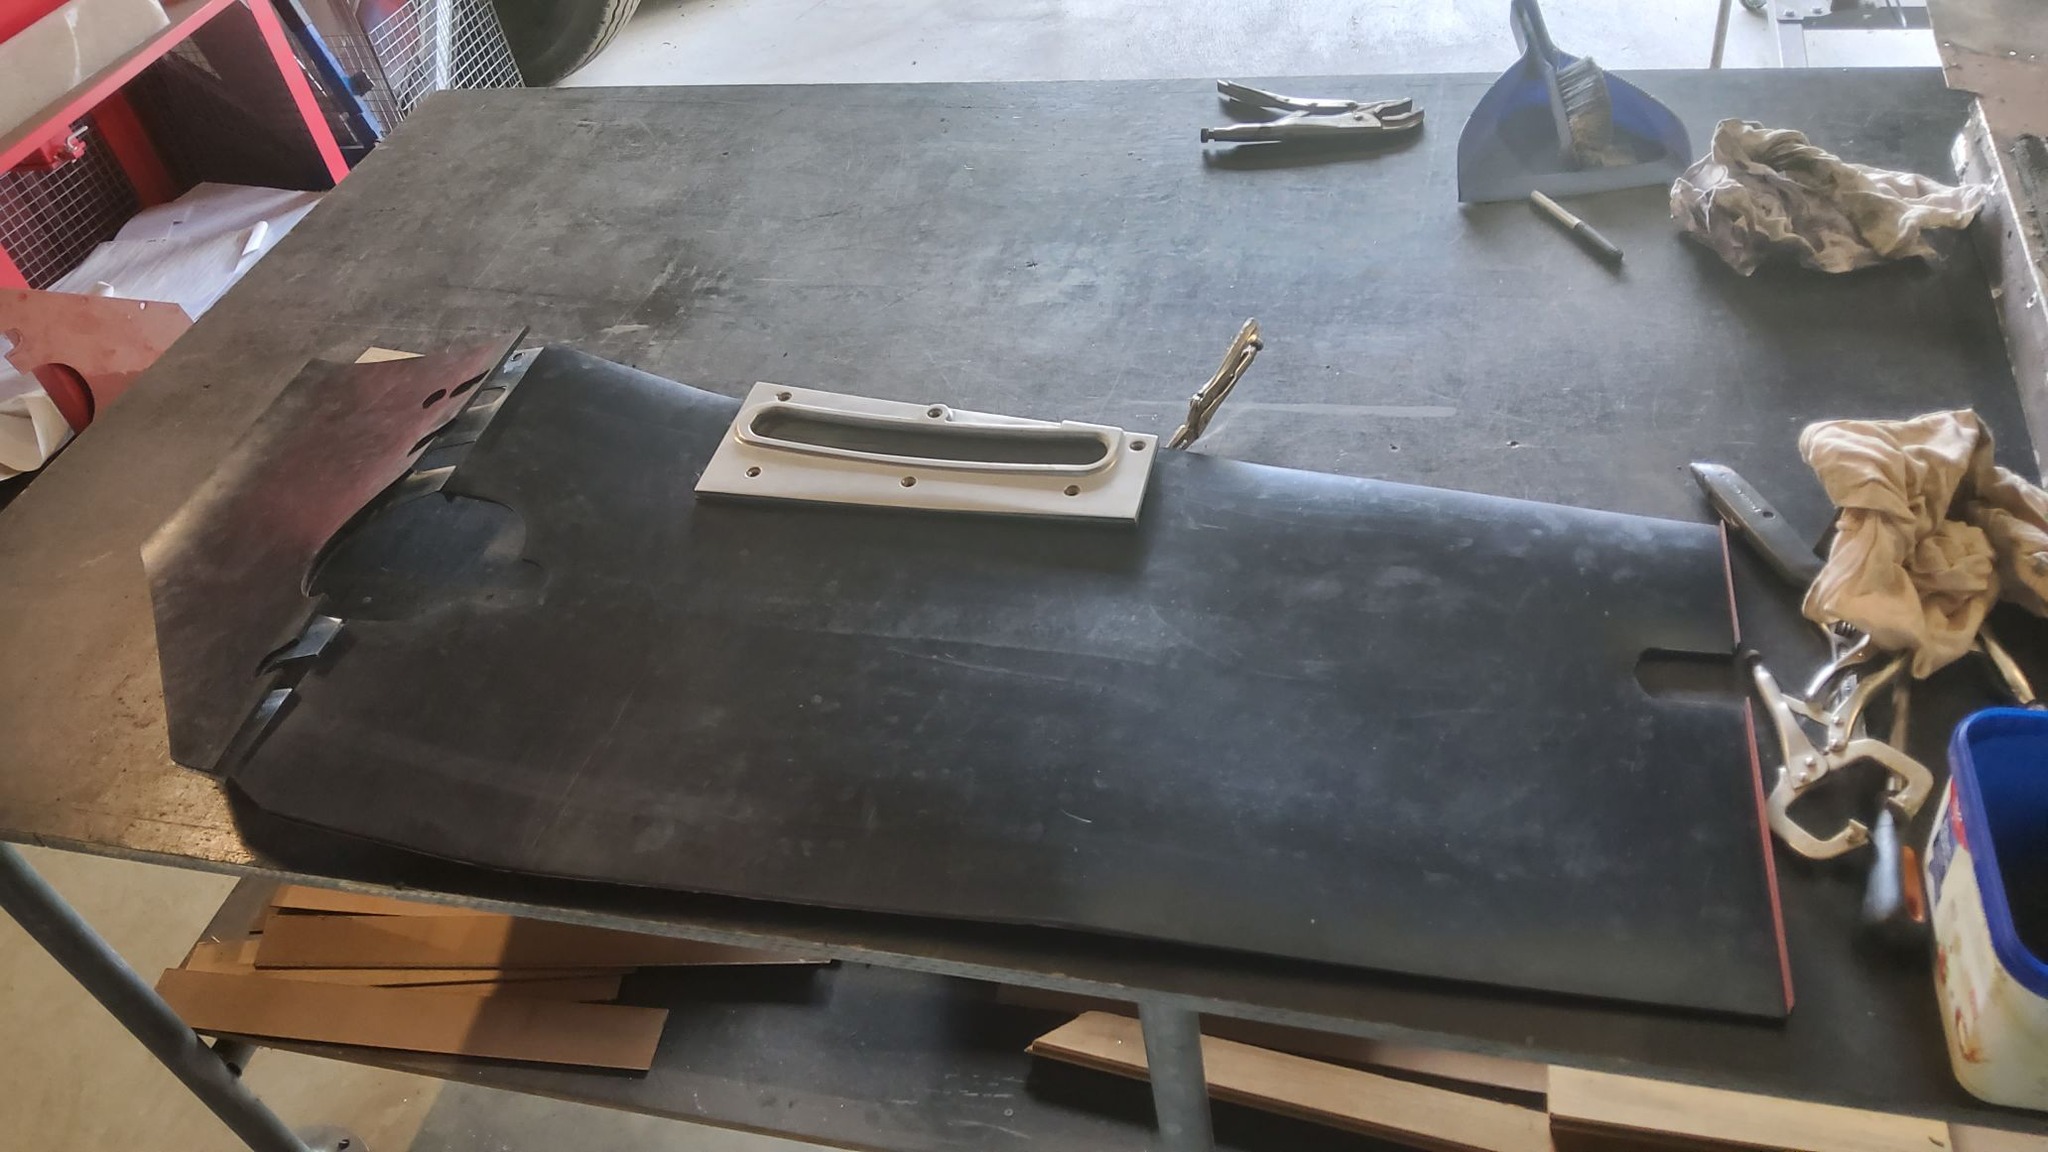
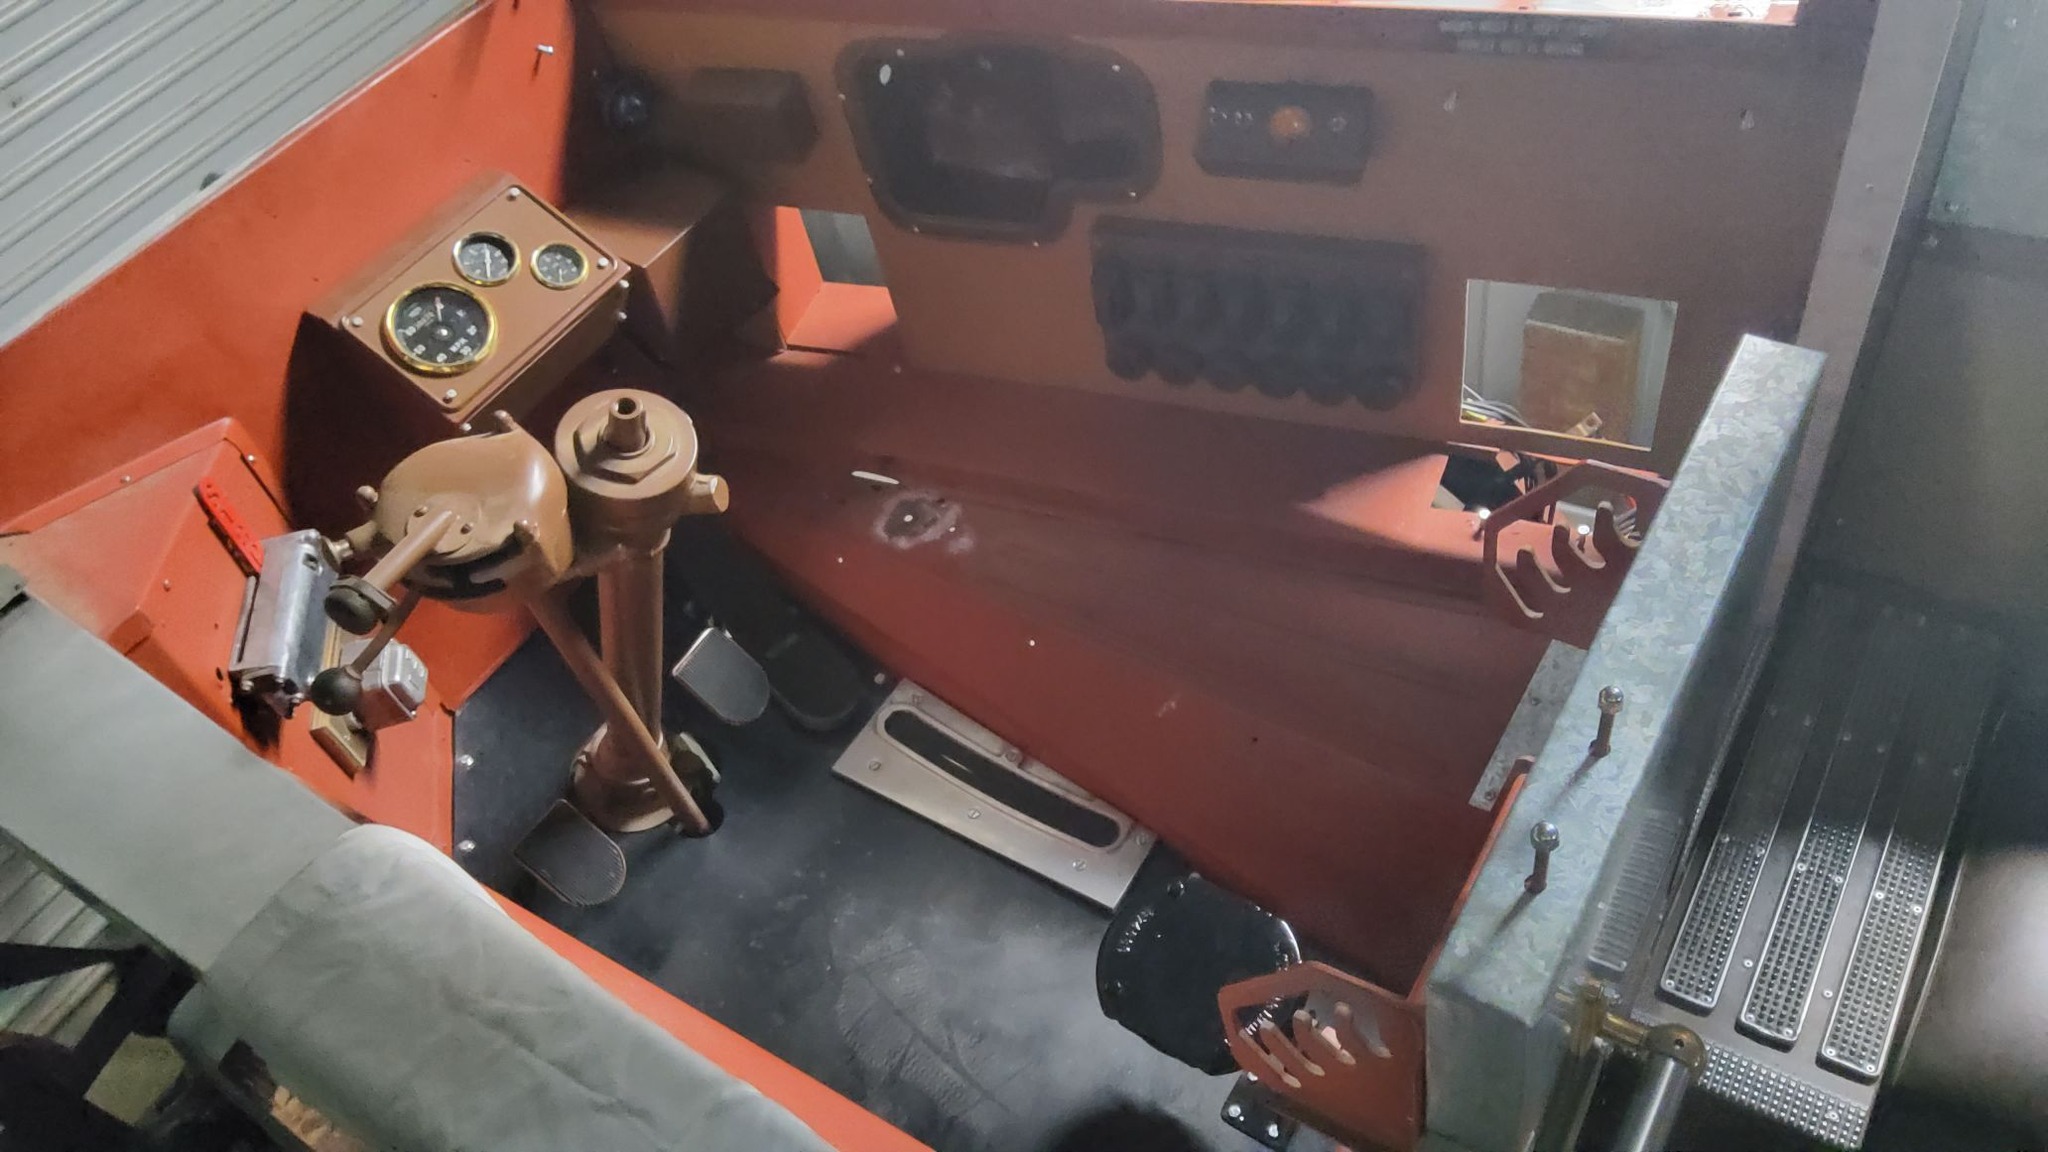
Well I'm glad I went down the path of using rubber rather than ormonoid.
This rubber flooring is 6mm thick. A good sound deadening and hard wearing.
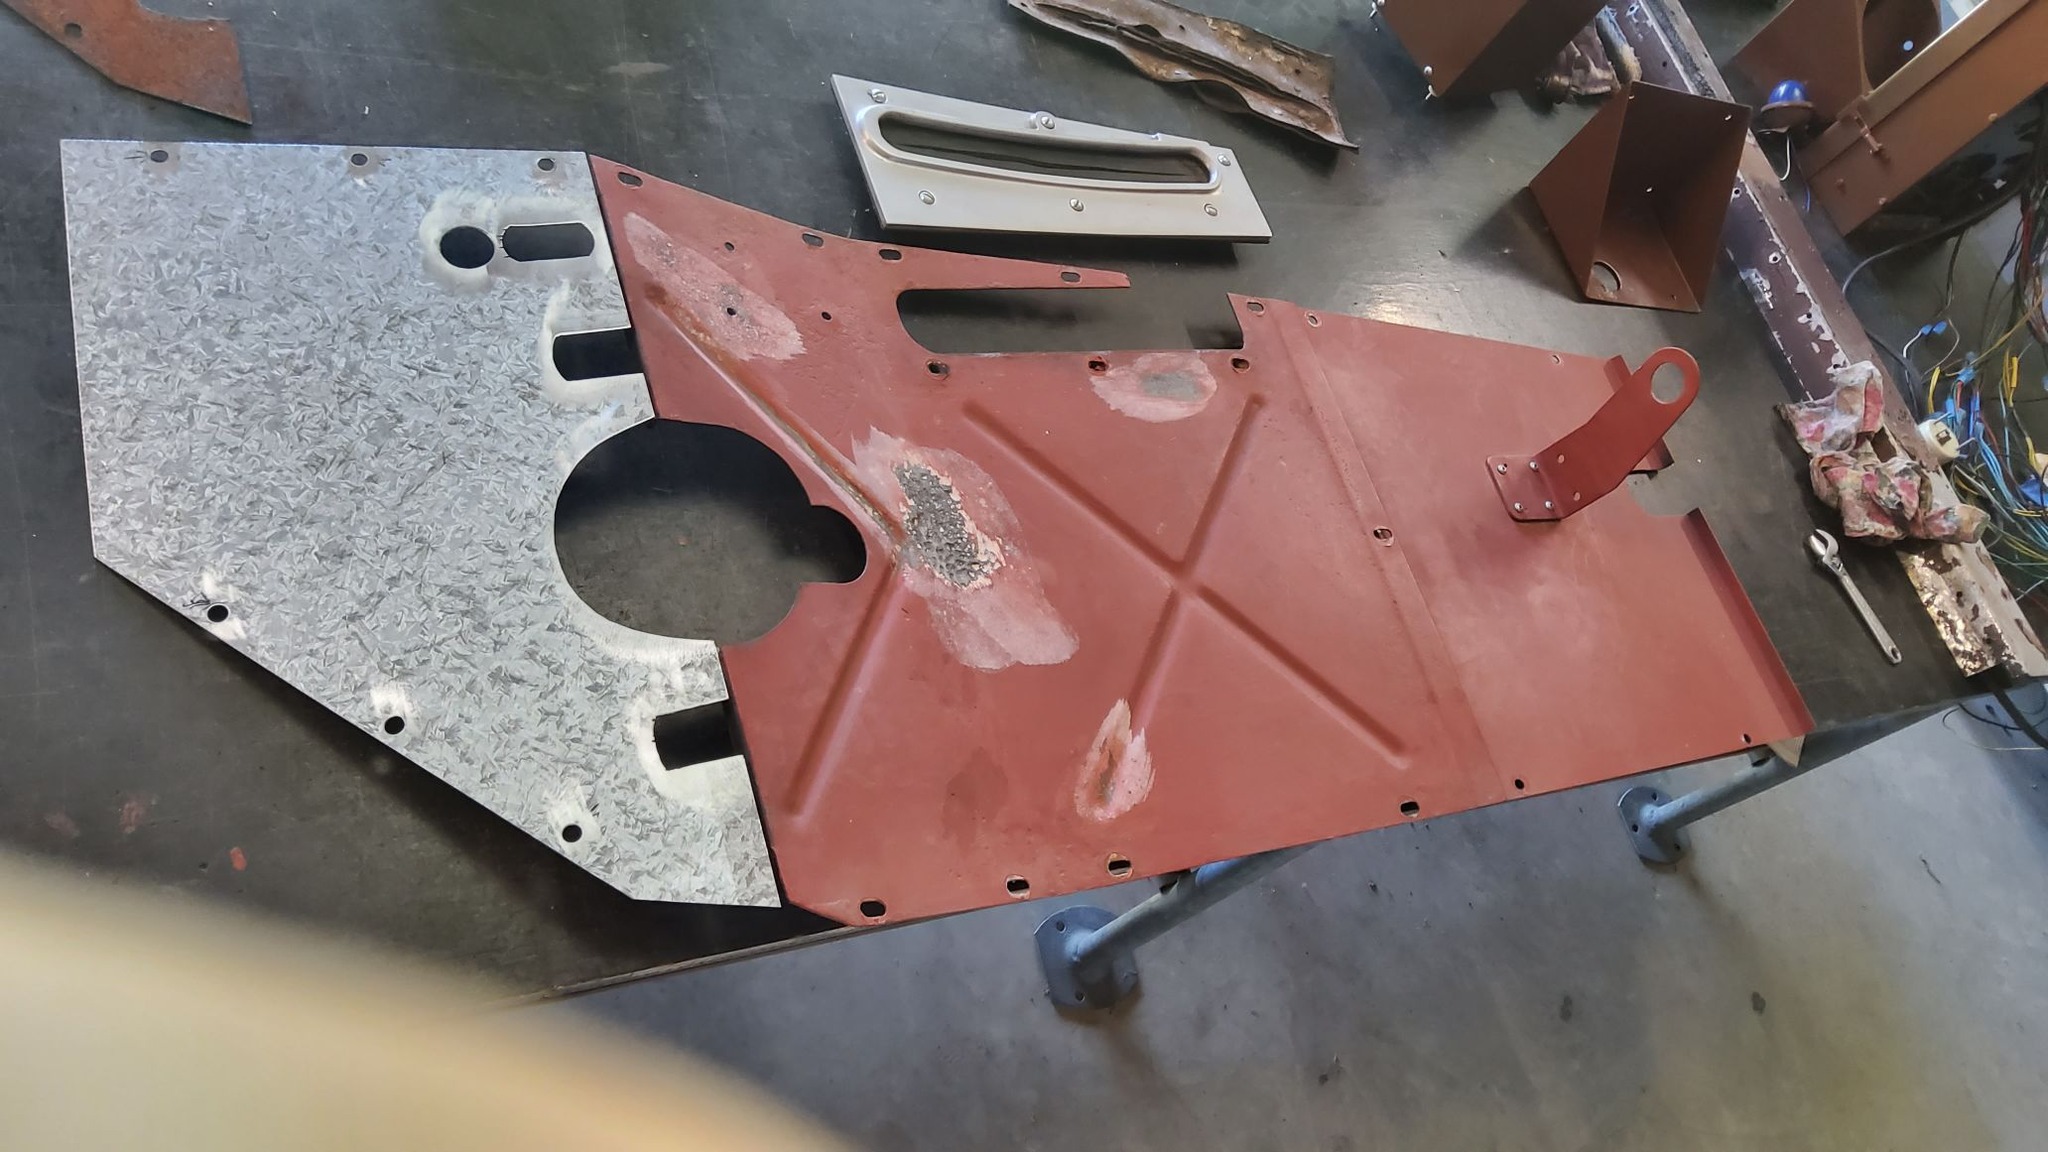
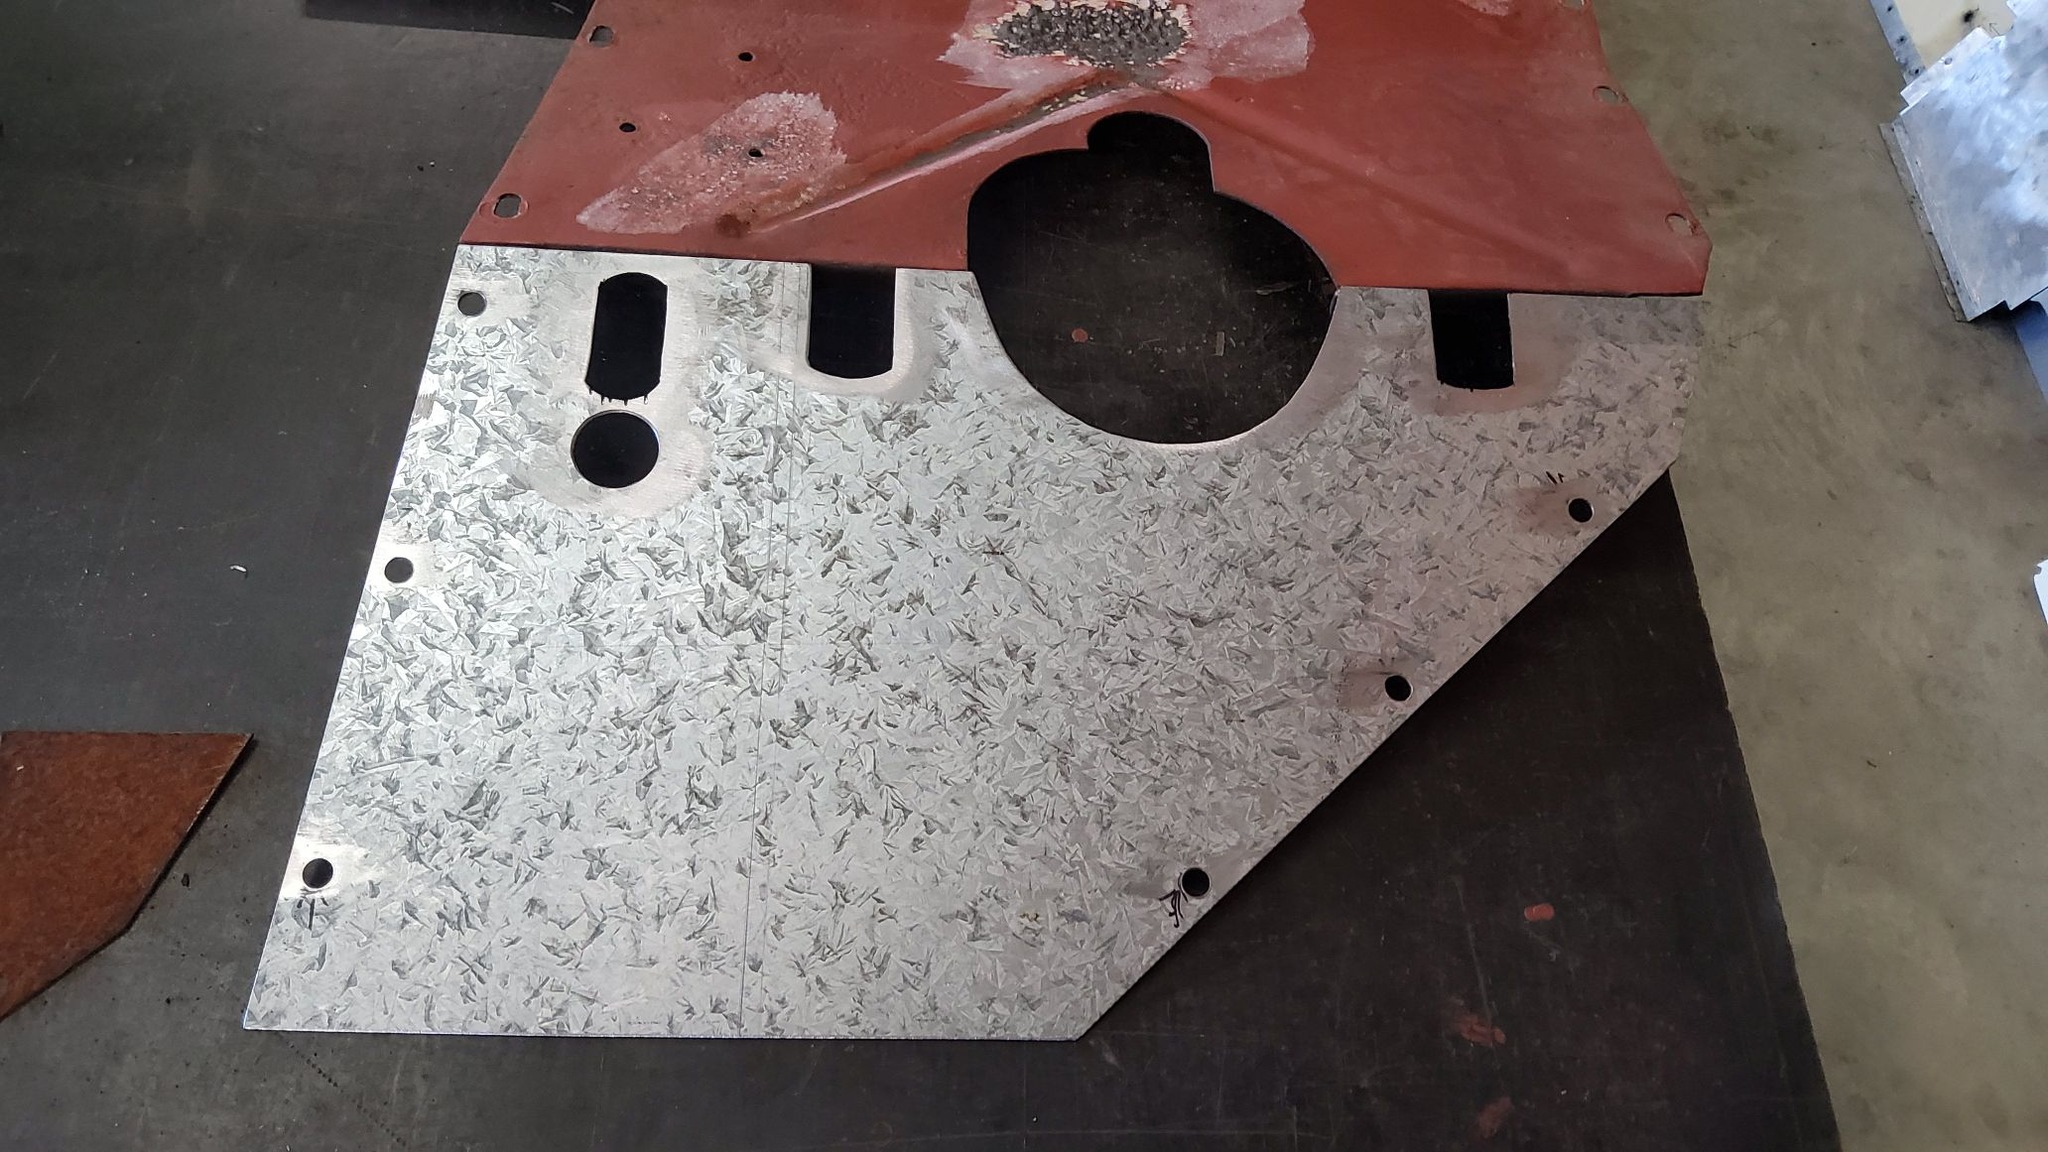
I have also replaced the front section of metal flooring.
It looks like it has seen an oxy torch to cut the various points for foot pedals etc.
I also wanted to get rid of the front half circle cut that is irrelevant to this bus.
Well I'm glad I went down the path of using rubber rather than ormonoid.
This rubber flooring is 6mm thick. A good sound deadening and hard wearing.
I have also replaced the front section of metal flooring.
It looks like it has seen an oxy torch to cut the various points for foot pedals etc.
I also wanted to get rid of the front half circle cut that is irrelevant to this bus.
Norman Julian
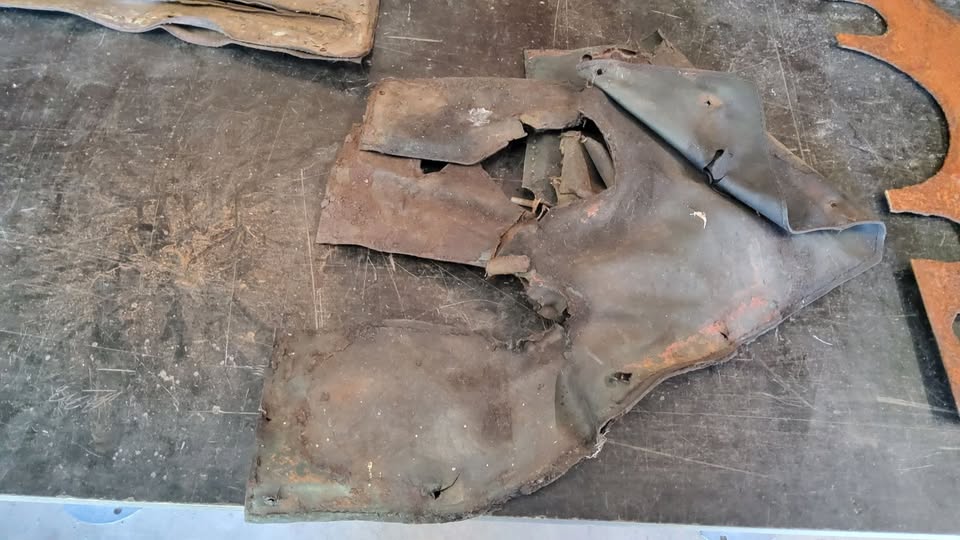
This mess once used to be around the steering column and foot pedals.
2 thicknesses of leather.
From the steering wheel back to the drivers seat was ormonoid sheeting.
This mess once used to be around the steering column and foot pedals.
2 thicknesses of leather.
From the steering wheel back to the drivers seat was ormonoid sheeting.


Norman Julian
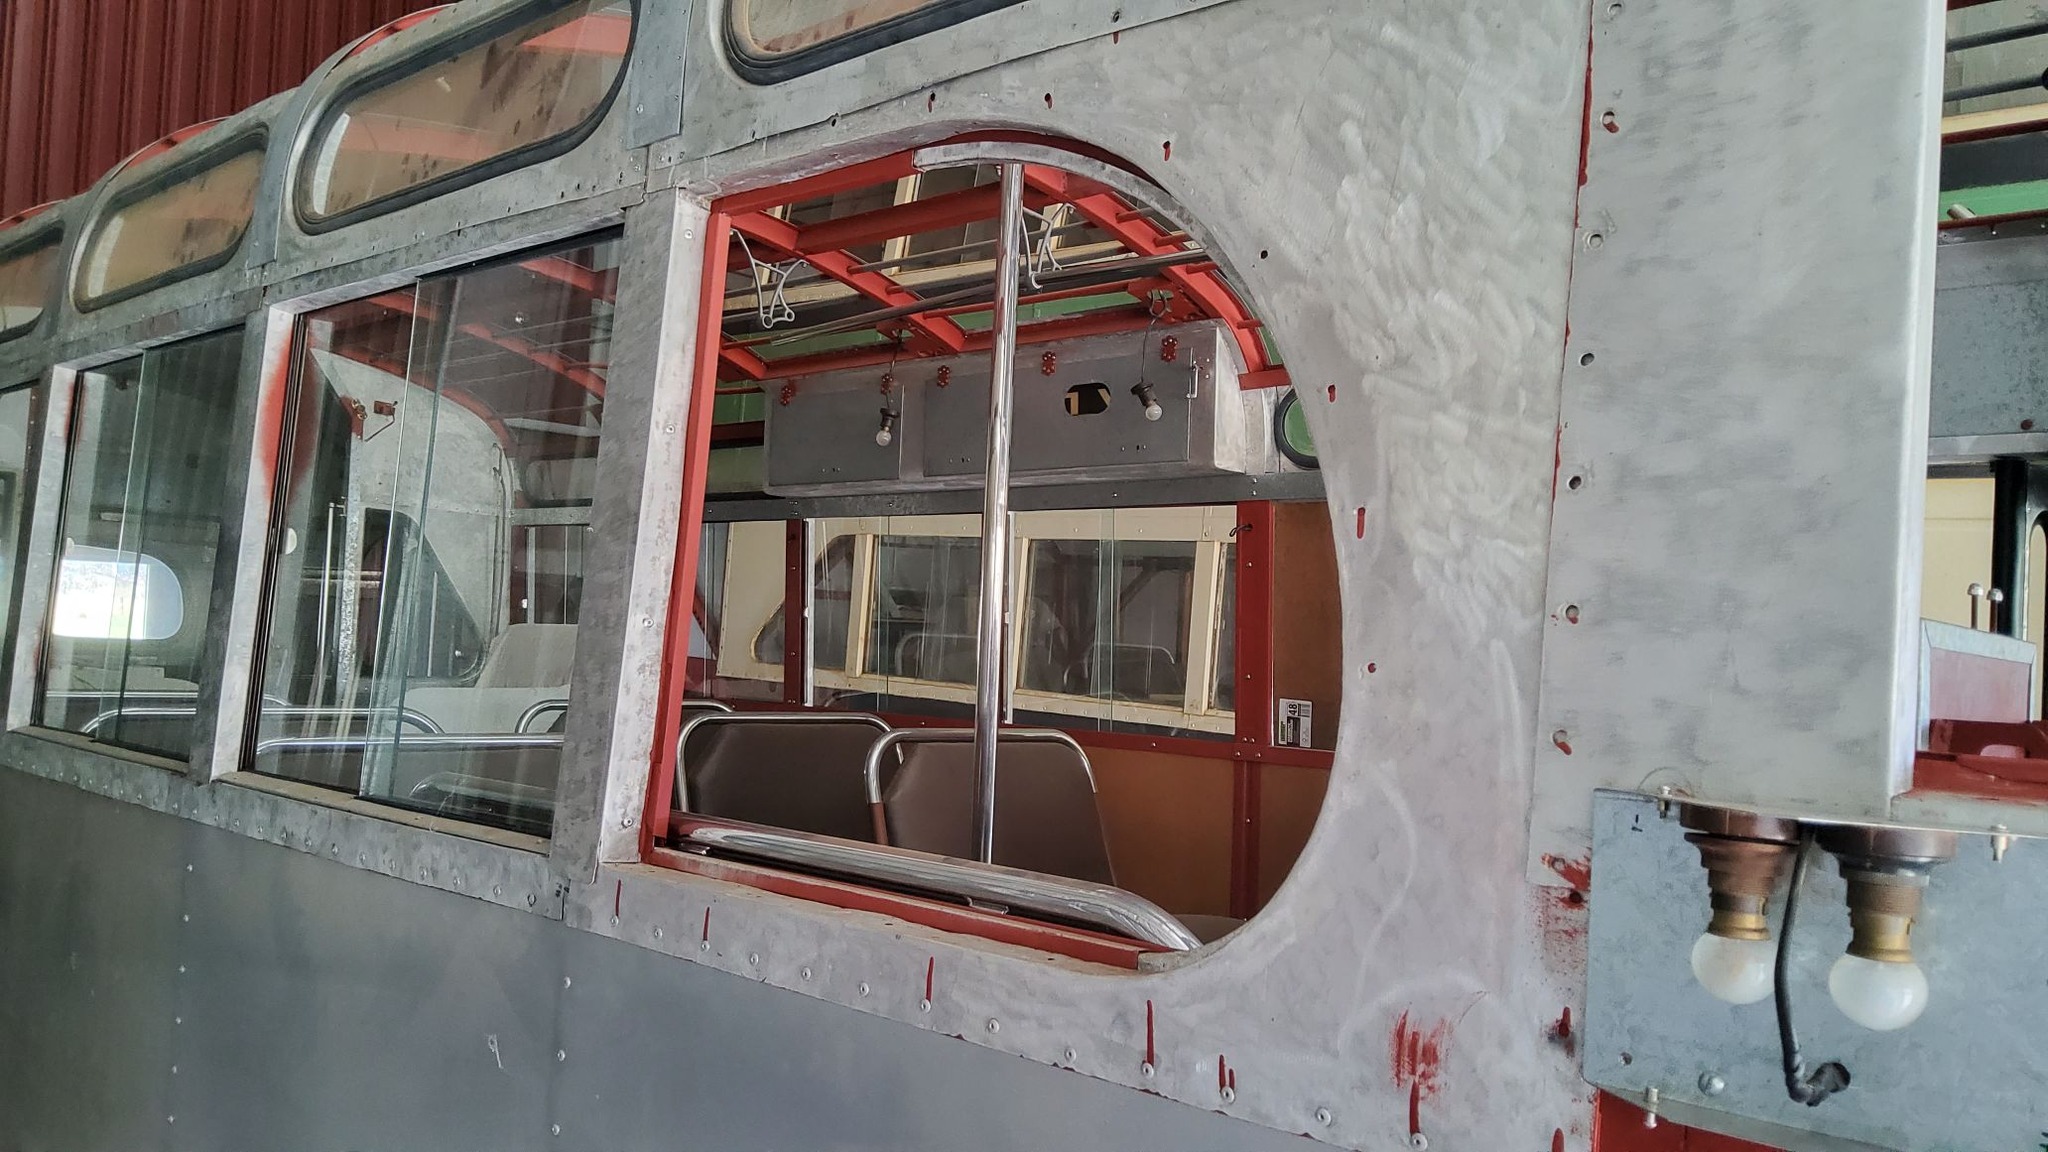
This half circle cut- out was for a headlight.
In England this bus would have been a half cab and this is where the headlight body would have been.
This half circle cut- out was for a headlight.
In England this bus would have been a half cab and this is where the headlight body would have been.
Norman Julian 13th Jan
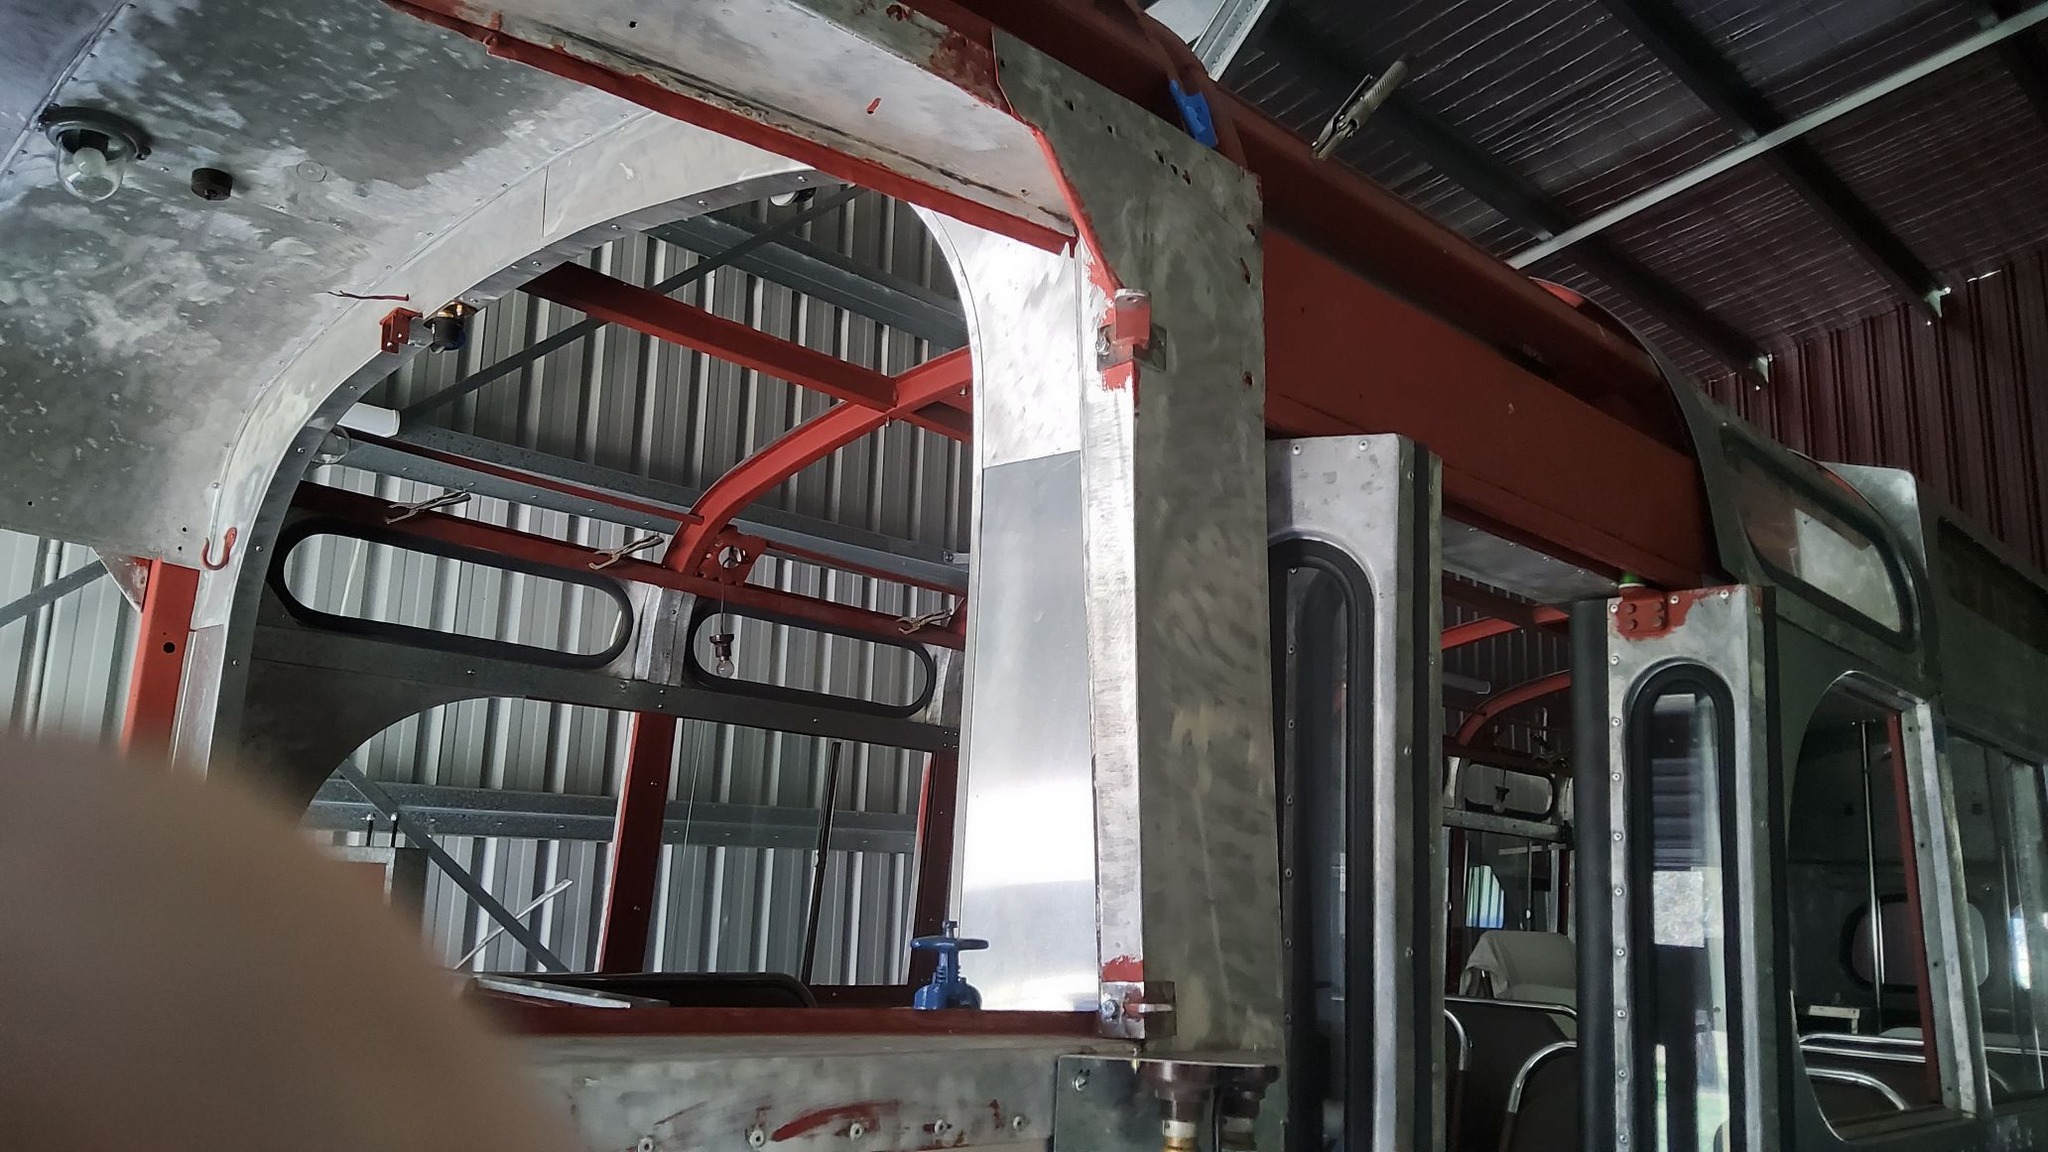
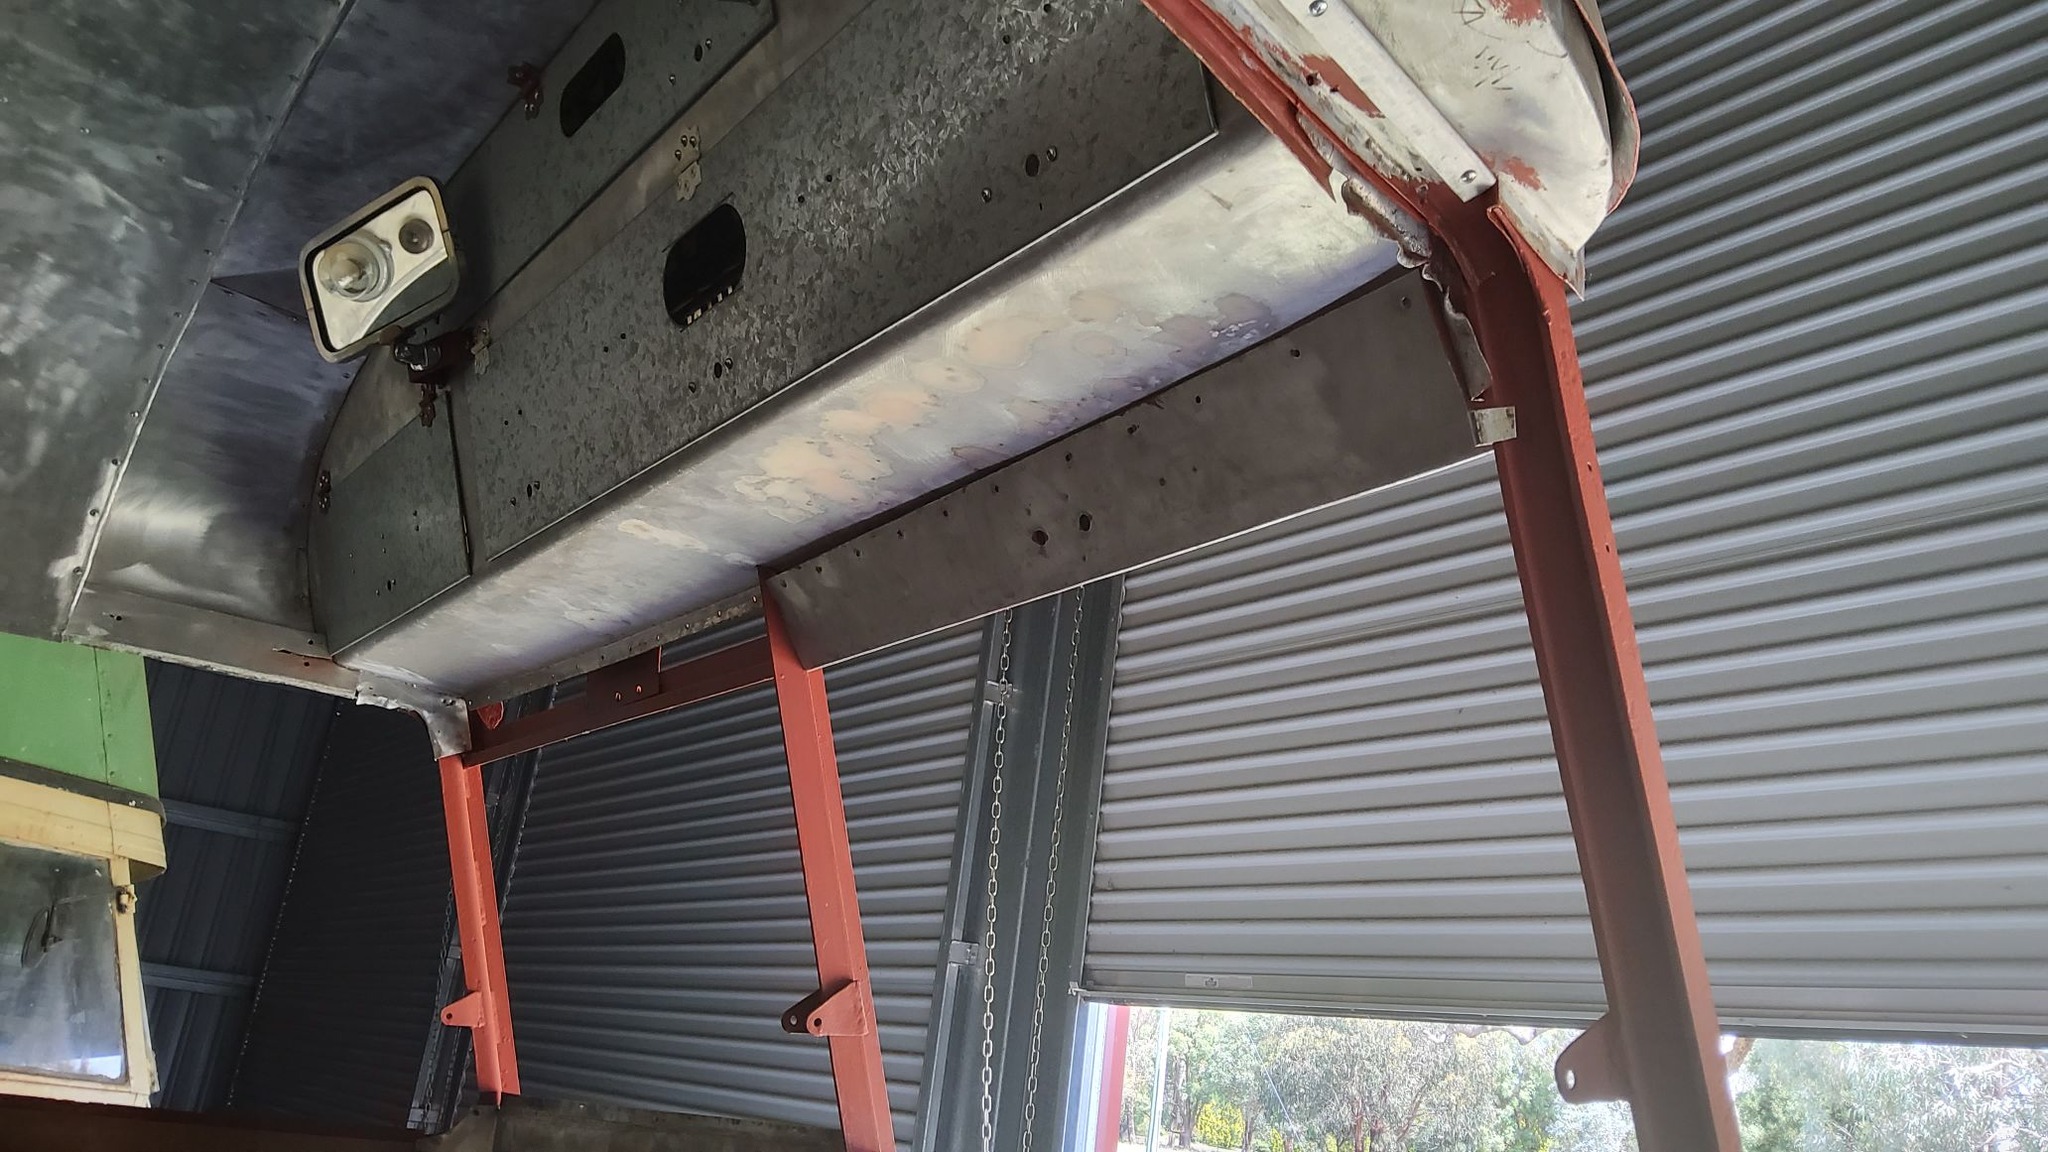
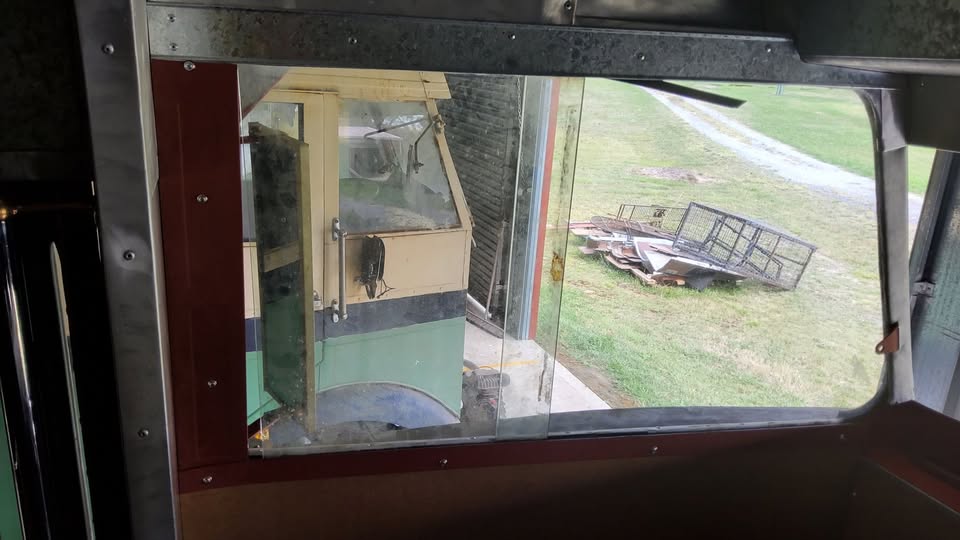
An interesting area I am about to do is all the panelling around the drivers window and on the opposite side as well as around the destination panelling.
I knew what I was getting myself into when I stripped this area clean.
Glad I did to.
3 window sections that the aluminium sits on was badly corroded.
I have to put all these panels back in the right order or there will be issues.
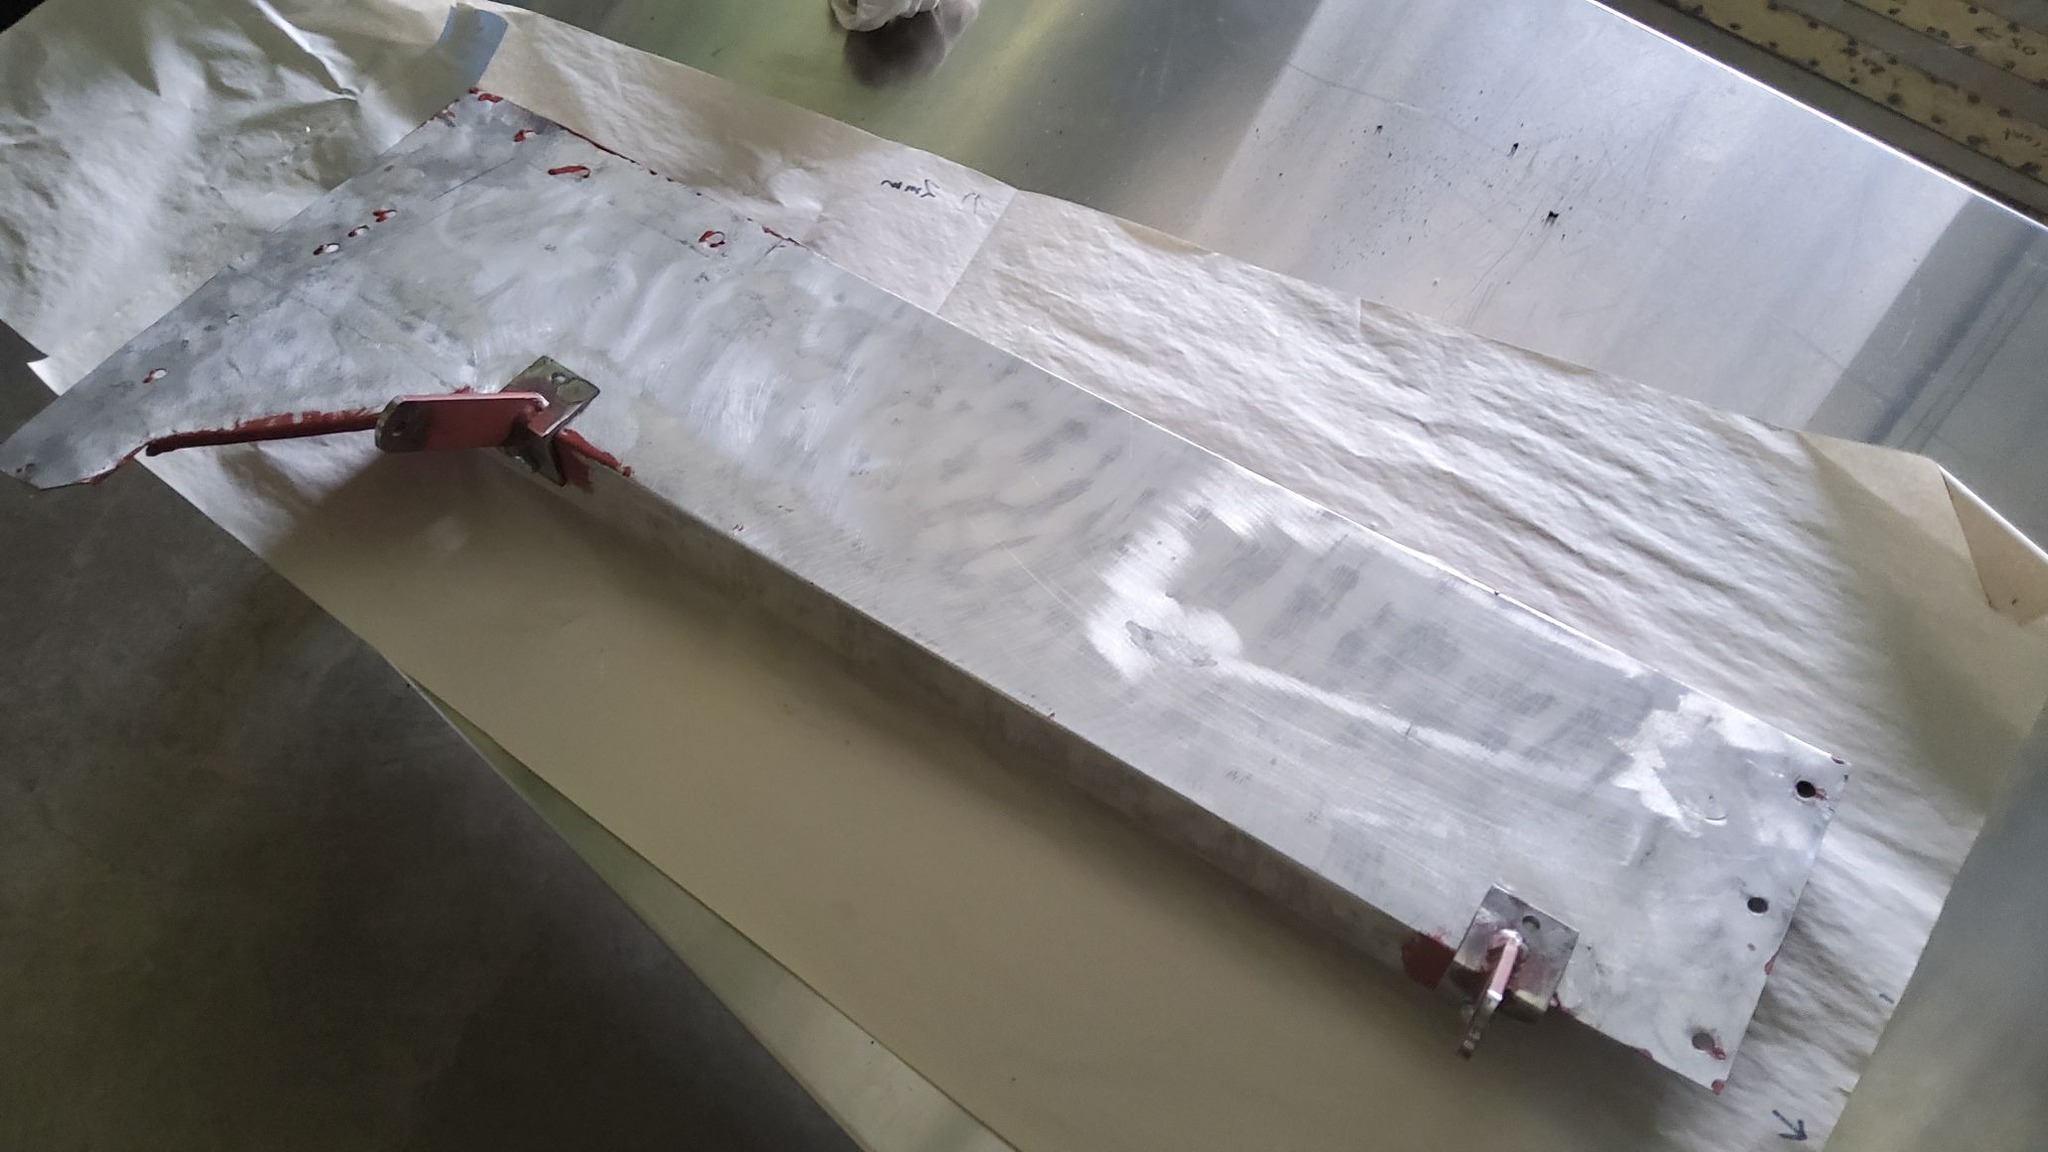
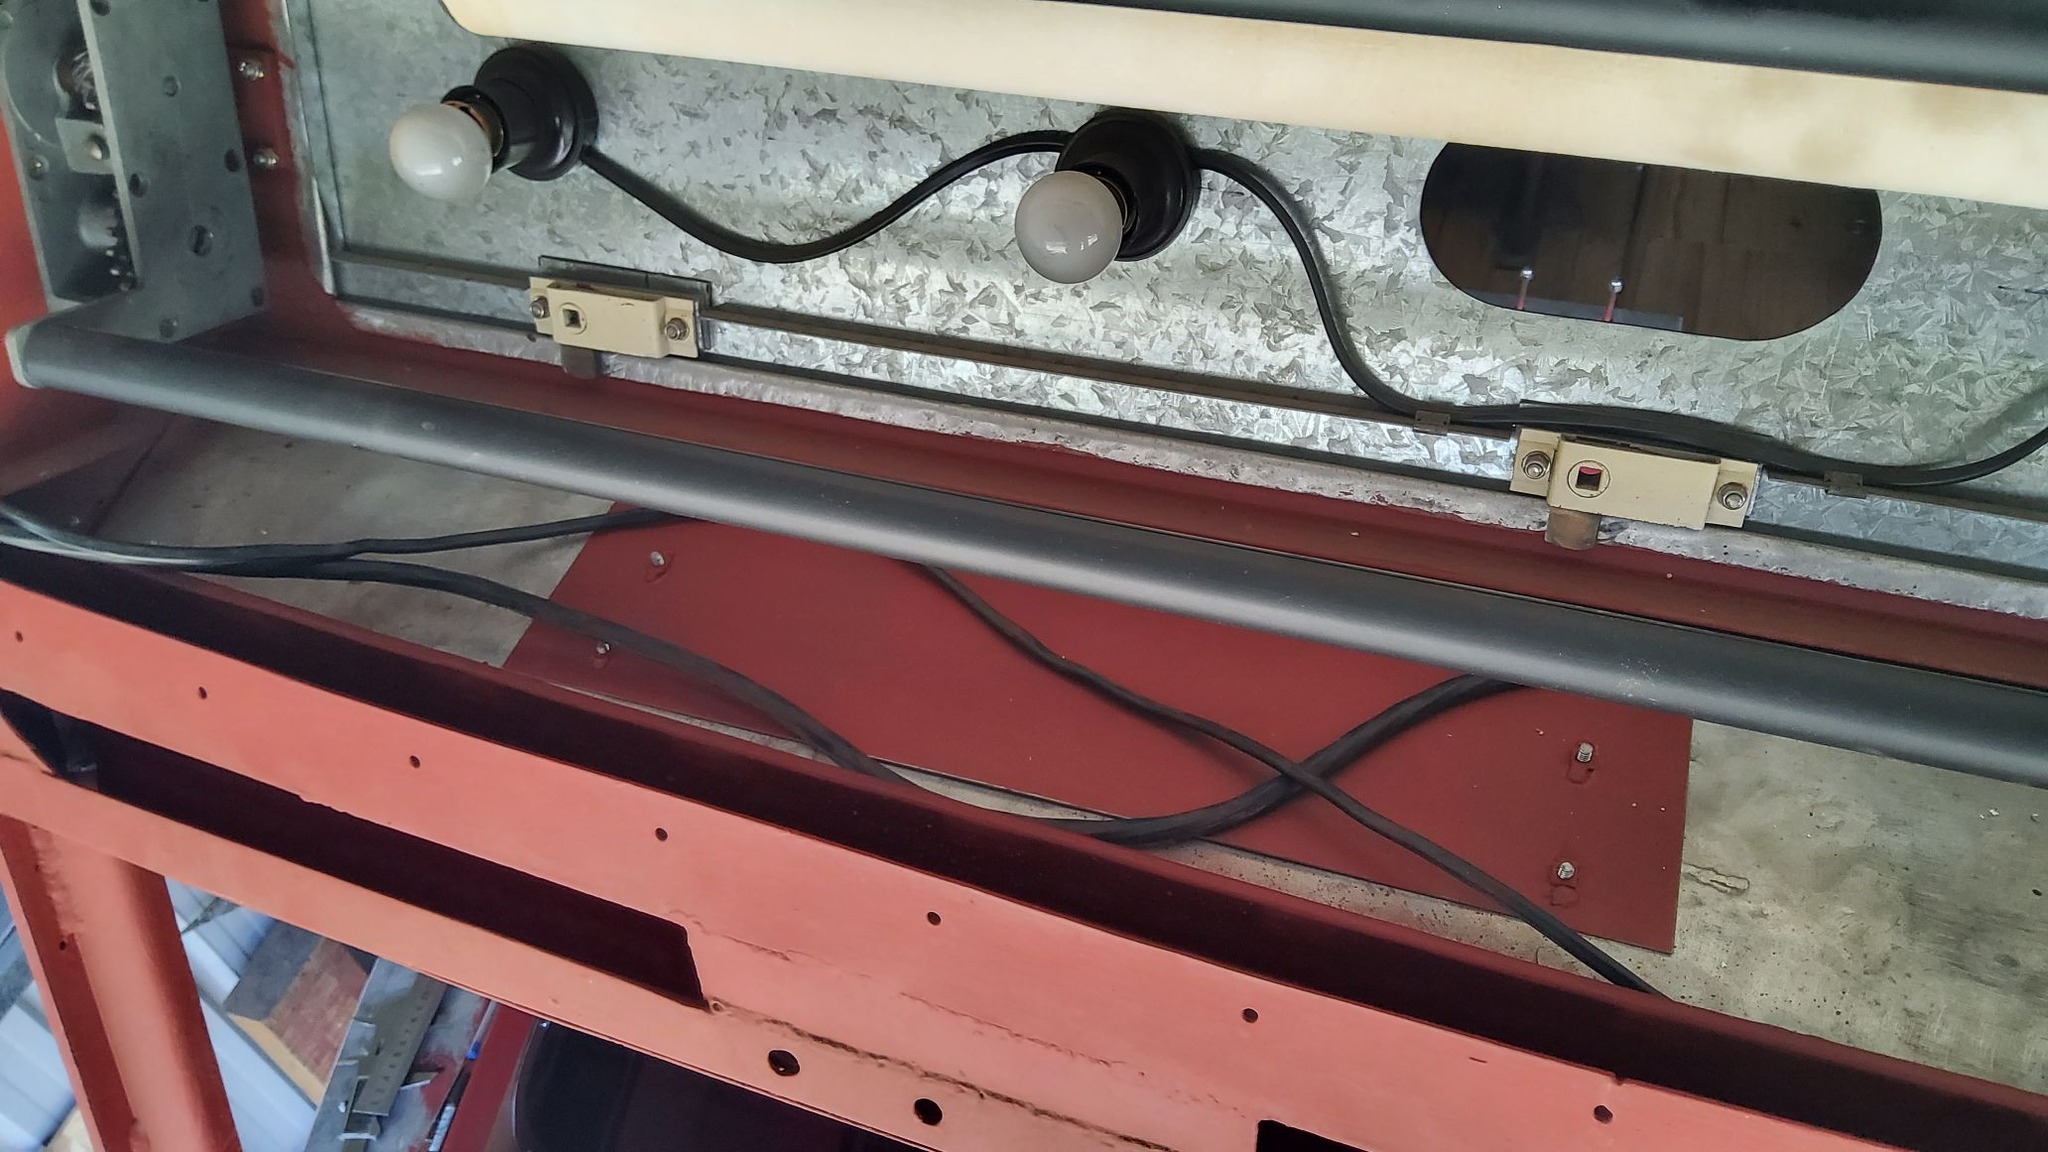
The first lot of snaps show the panel that holds the external rear view mirror.
This panel just had self tappers holding one side of the mirror holding brackets.
There is an air space behind the panel when fitted, so there is no useful fixings at all.
I reinforced the panel as you can see and used nyloc nuts and bolts to give it better anchorage to the side of the bus.
I also finished the flooring in the drivers cab area.
An interesting area I am about to do is all the panelling around the drivers window and on the opposite side as well as around the destination panelling.
I knew what I was getting myself into when I stripped this area clean.
Glad I did to.
3 window sections that the aluminium sits on was badly corroded.
I have to put all these panels back in the right order or there will be issues.
The first lot of snaps show the panel that holds the external rear view mirror.
This panel just had self tappers holding one side of the mirror holding brackets.
There is an air space behind the panel when fitted, so there is no useful fixings at all.
I reinforced the panel as you can see and used nyloc nuts and bolts to give it better anchorage to the side of the bus.
I also finished the flooring in the drivers cab area.

Norman Julian 27th Jan
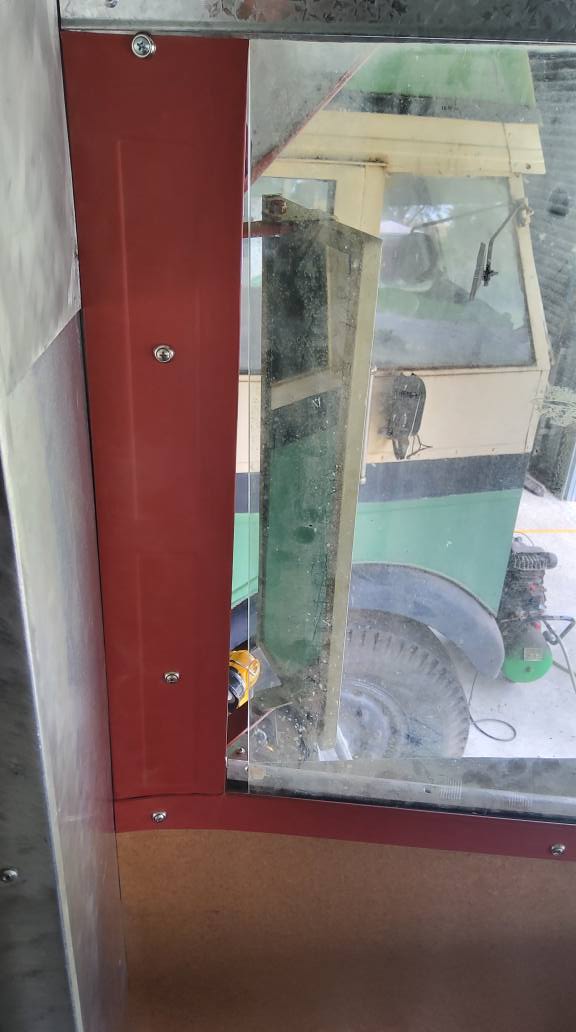
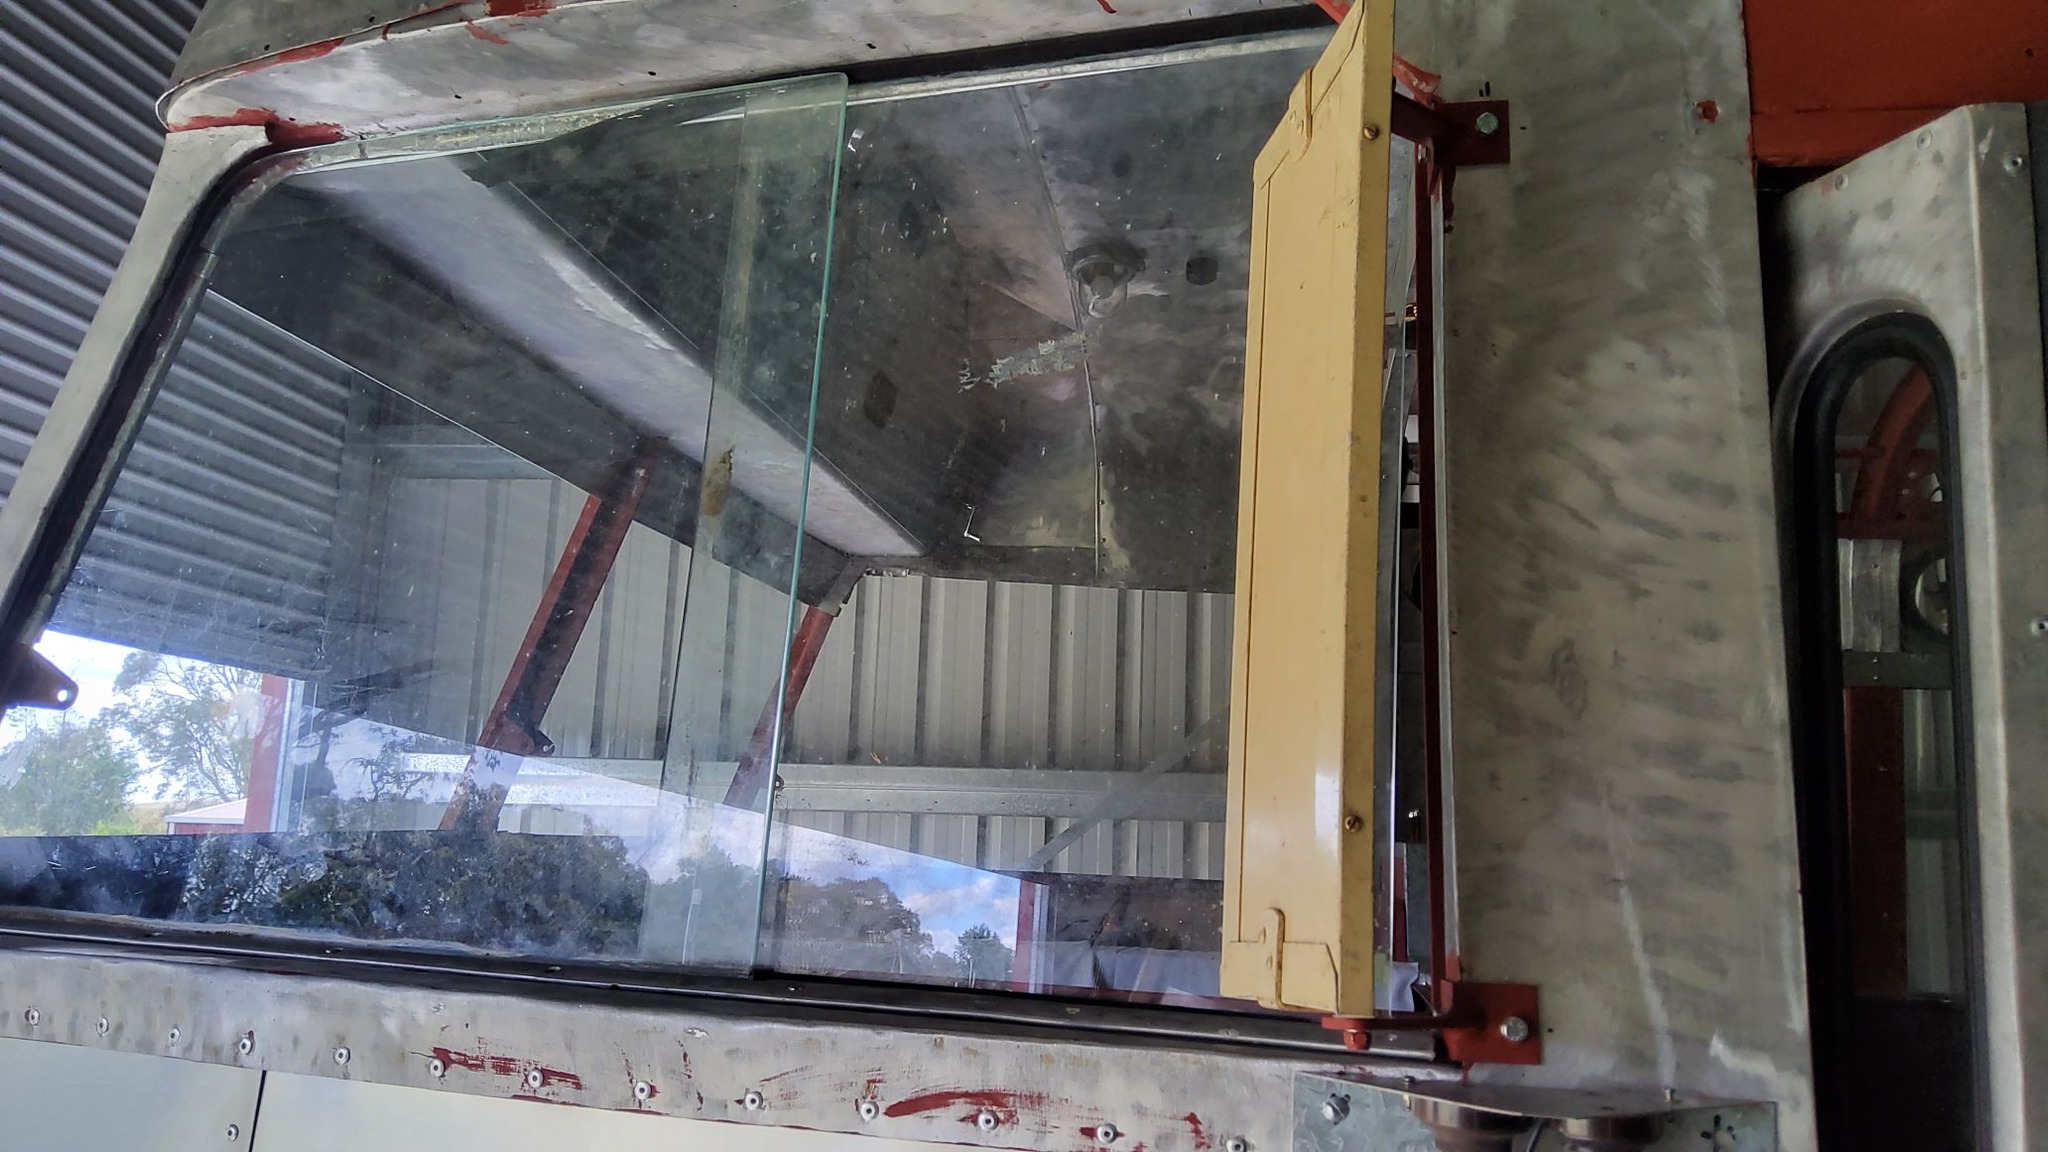
I'm at the stage of measuring the old glass that is left that I need to finish that part of the build.
Curiously, the factory settled on 6mm glass in the cab area instead of 5mm which is in the rest of the bus.
The felt glass slide that I have slides the glass smoother with the 5mm so I'm going with that size over the 6.
I still may use the 6 for the piece forward of the sliding piece.
I also will adjust the masonite pattern for the 2 side pieces that are rounded on the front edge.
They have to take the felt strip all the way round without fowling on the frame before I'm satisfied enough to get a new piece of glass made the same.
When I started replacing rusty section, I must have repaired previous bodge repairs in the dozens.
There were some small ones I left because frankly I can live with it and they were very minor.
In saying all that I missed a whopper.
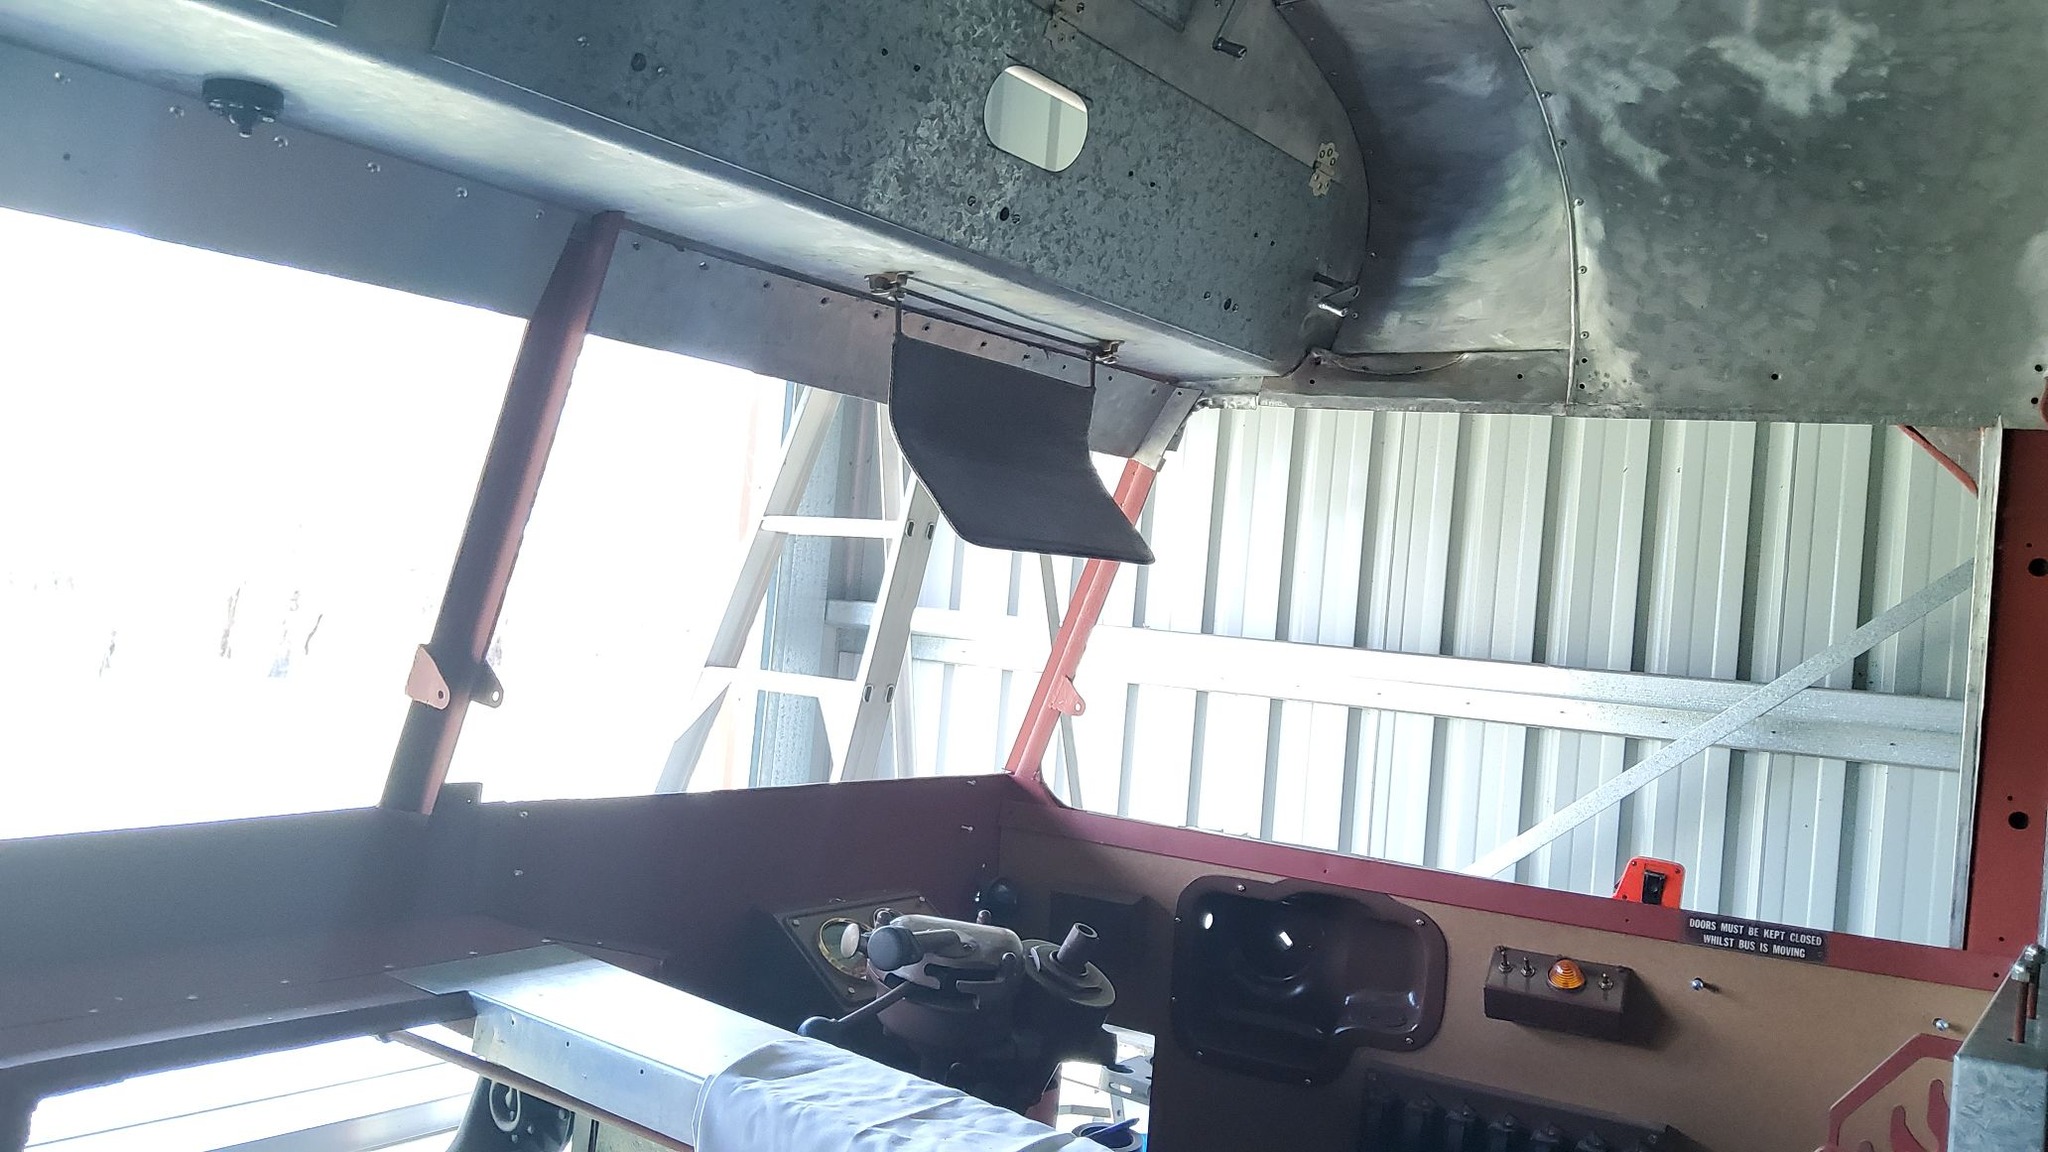
Have a look at the photo with the glass sitting in position in the near side cab area.
Have a look at the gap between the top and the bottom.
There is a difference of 20mm there.
It is very disappointing to say the least.
You can "humour" work sometimes and most people wouldn't even pick it.
I am a one man "think tank" mainly because I'm alone in this build.
I have been toying with it and I can make up about 10mm without too much effort but 20mm is a real headache.
The fault lies in a few areas.
They all meet at this point.
This to me looks like a manufacturing problem that was done in the factory.
That's my opinion.
I'm at the stage of measuring the old glass that is left that I need to finish that part of the build.
Curiously, the factory settled on 6mm glass in the cab area instead of 5mm which is in the rest of the bus.
The felt glass slide that I have slides the glass smoother with the 5mm so I'm going with that size over the 6.
I still may use the 6 for the piece forward of the sliding piece.
I also will adjust the masonite pattern for the 2 side pieces that are rounded on the front edge.
They have to take the felt strip all the way round without fowling on the frame before I'm satisfied enough to get a new piece of glass made the same.
When I started replacing rusty section, I must have repaired previous bodge repairs in the dozens.
There were some small ones I left because frankly I can live with it and they were very minor.
In saying all that I missed a whopper.
Have a look at the photo with the glass sitting in position in the near side cab area.
Have a look at the gap between the top and the bottom.
There is a difference of 20mm there.
It is very disappointing to say the least.
You can "humour" work sometimes and most people wouldn't even pick it.
I am a one man "think tank" mainly because I'm alone in this build.
I have been toying with it and I can make up about 10mm without too much effort but 20mm is a real headache.
The fault lies in a few areas.
They all meet at this point.
This to me looks like a manufacturing problem that was done in the factory.
That's my opinion.

Phil Steele
Good to see your continuing with your great project.
Don't be put off by problems, stick to your guns and it will come out great.👍
Good to see your continuing with your great project.
Don't be put off by problems, stick to your guns and it will come out great.👍
Norman Julian 30 Jan
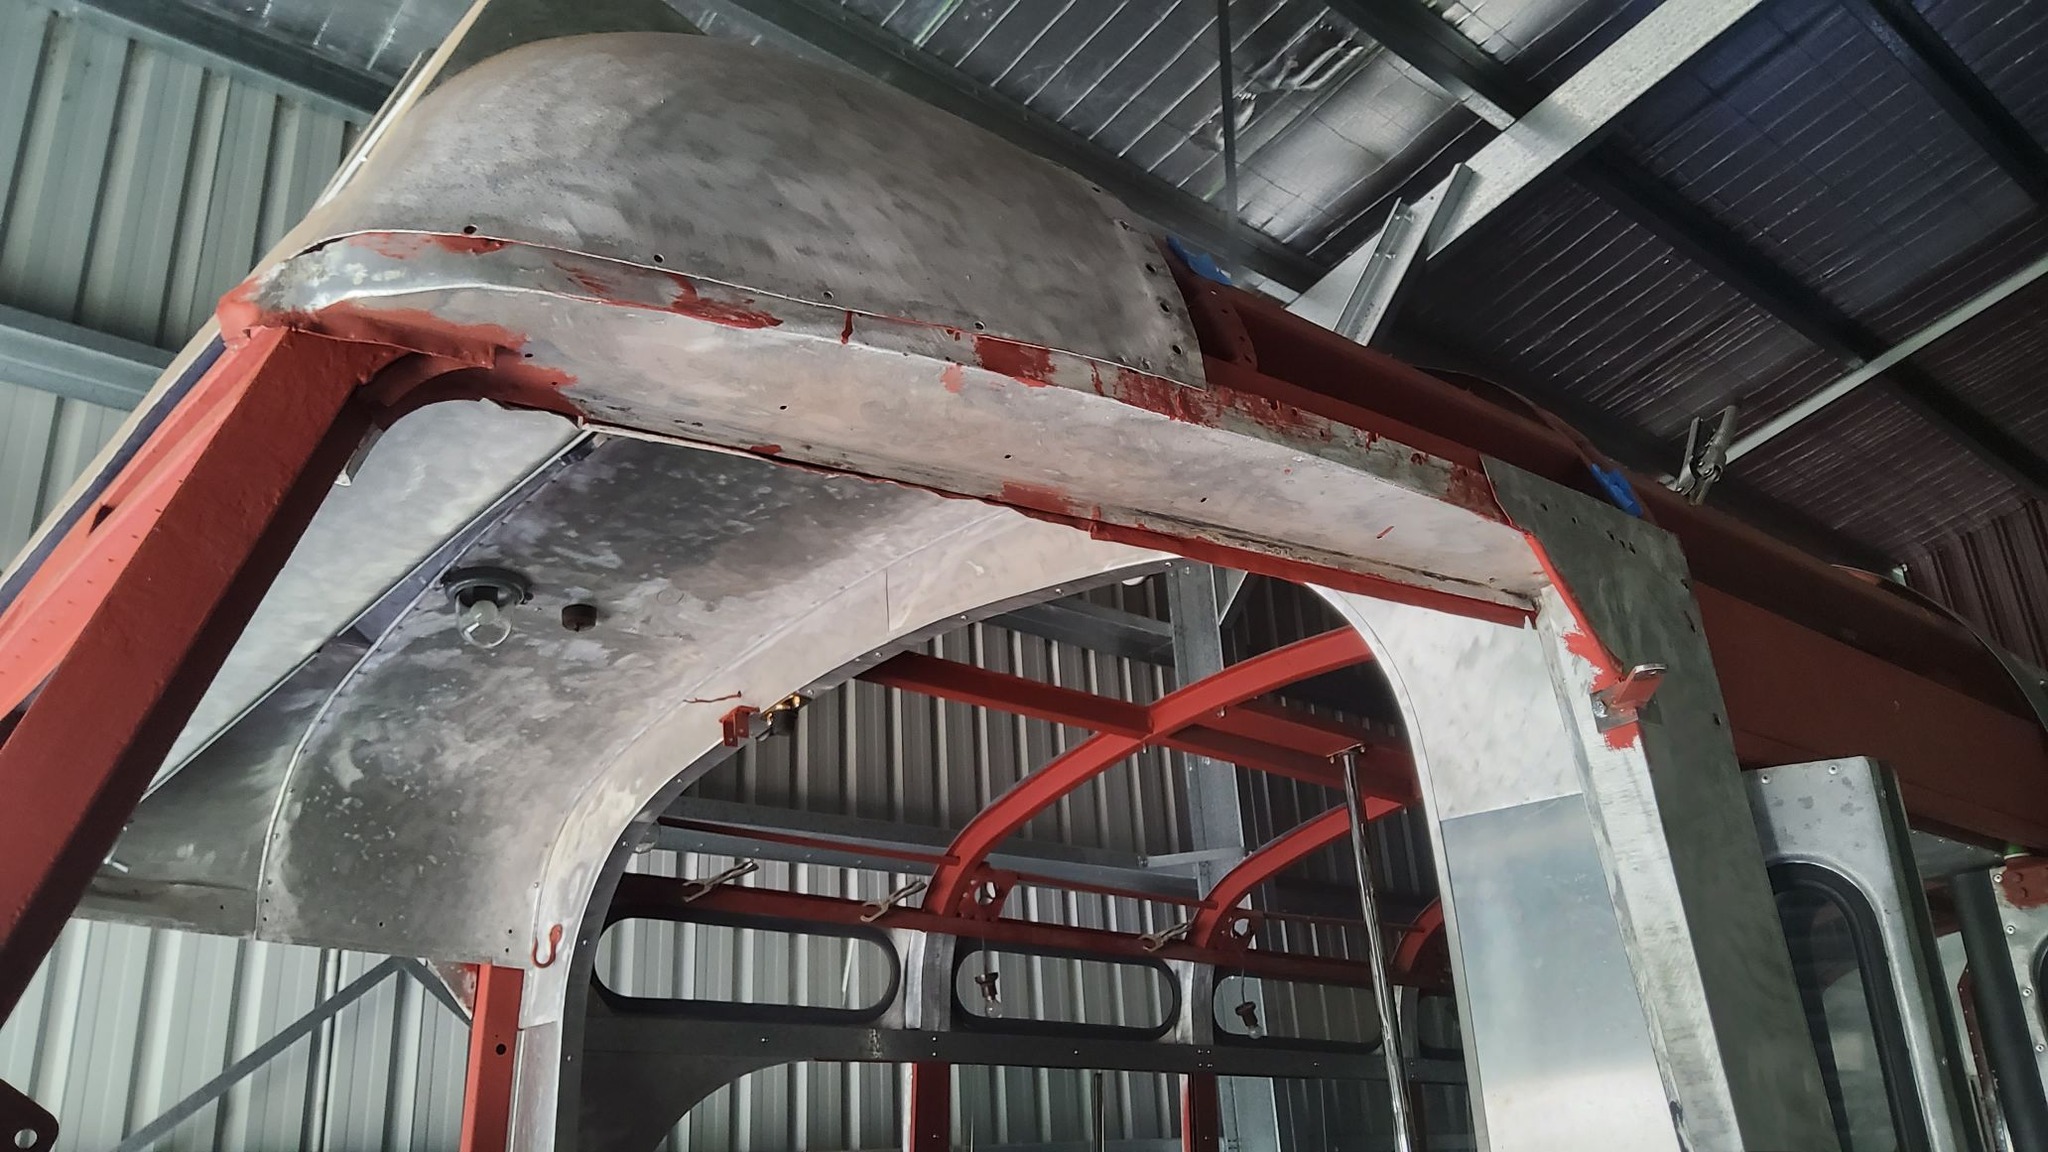
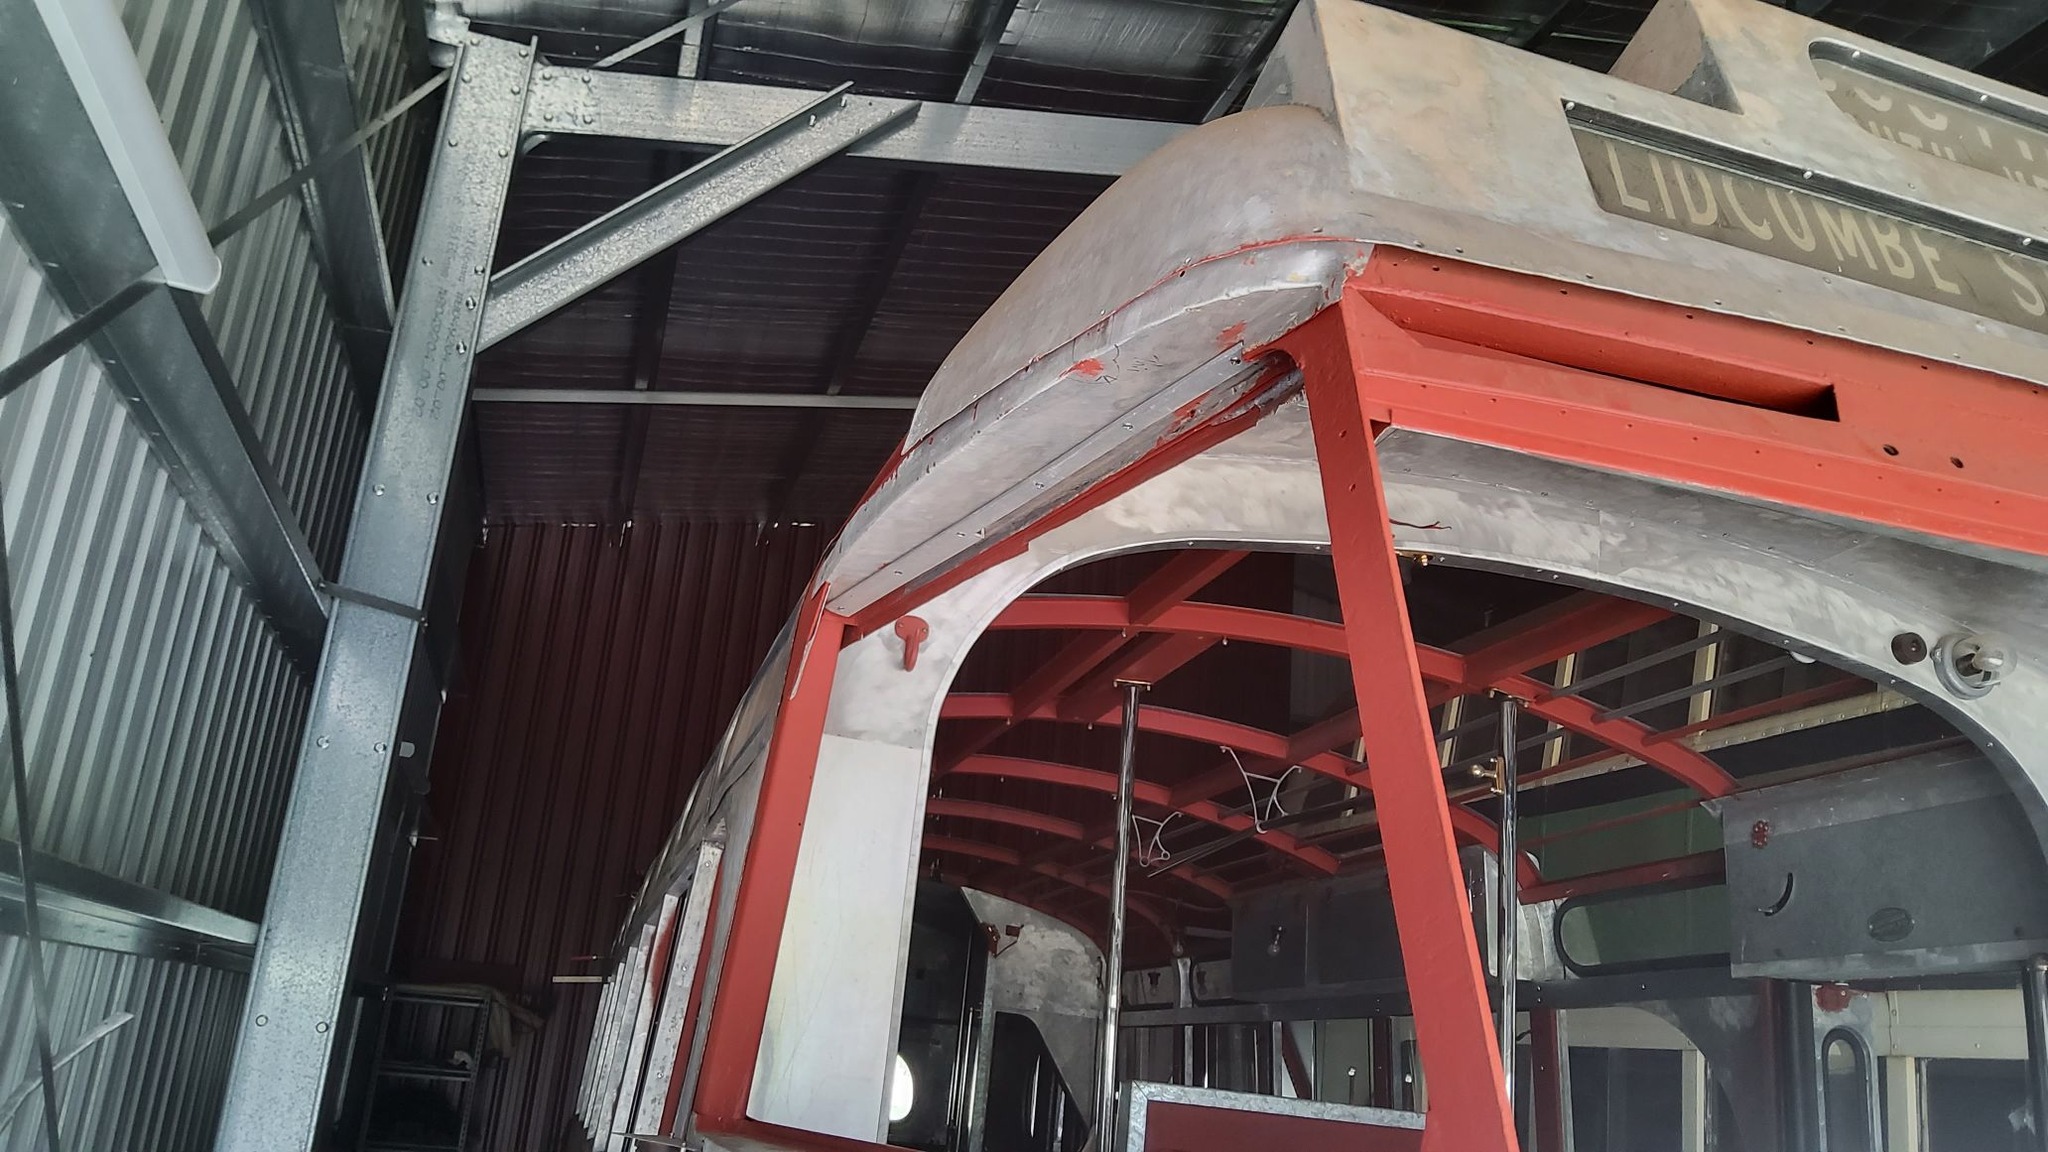
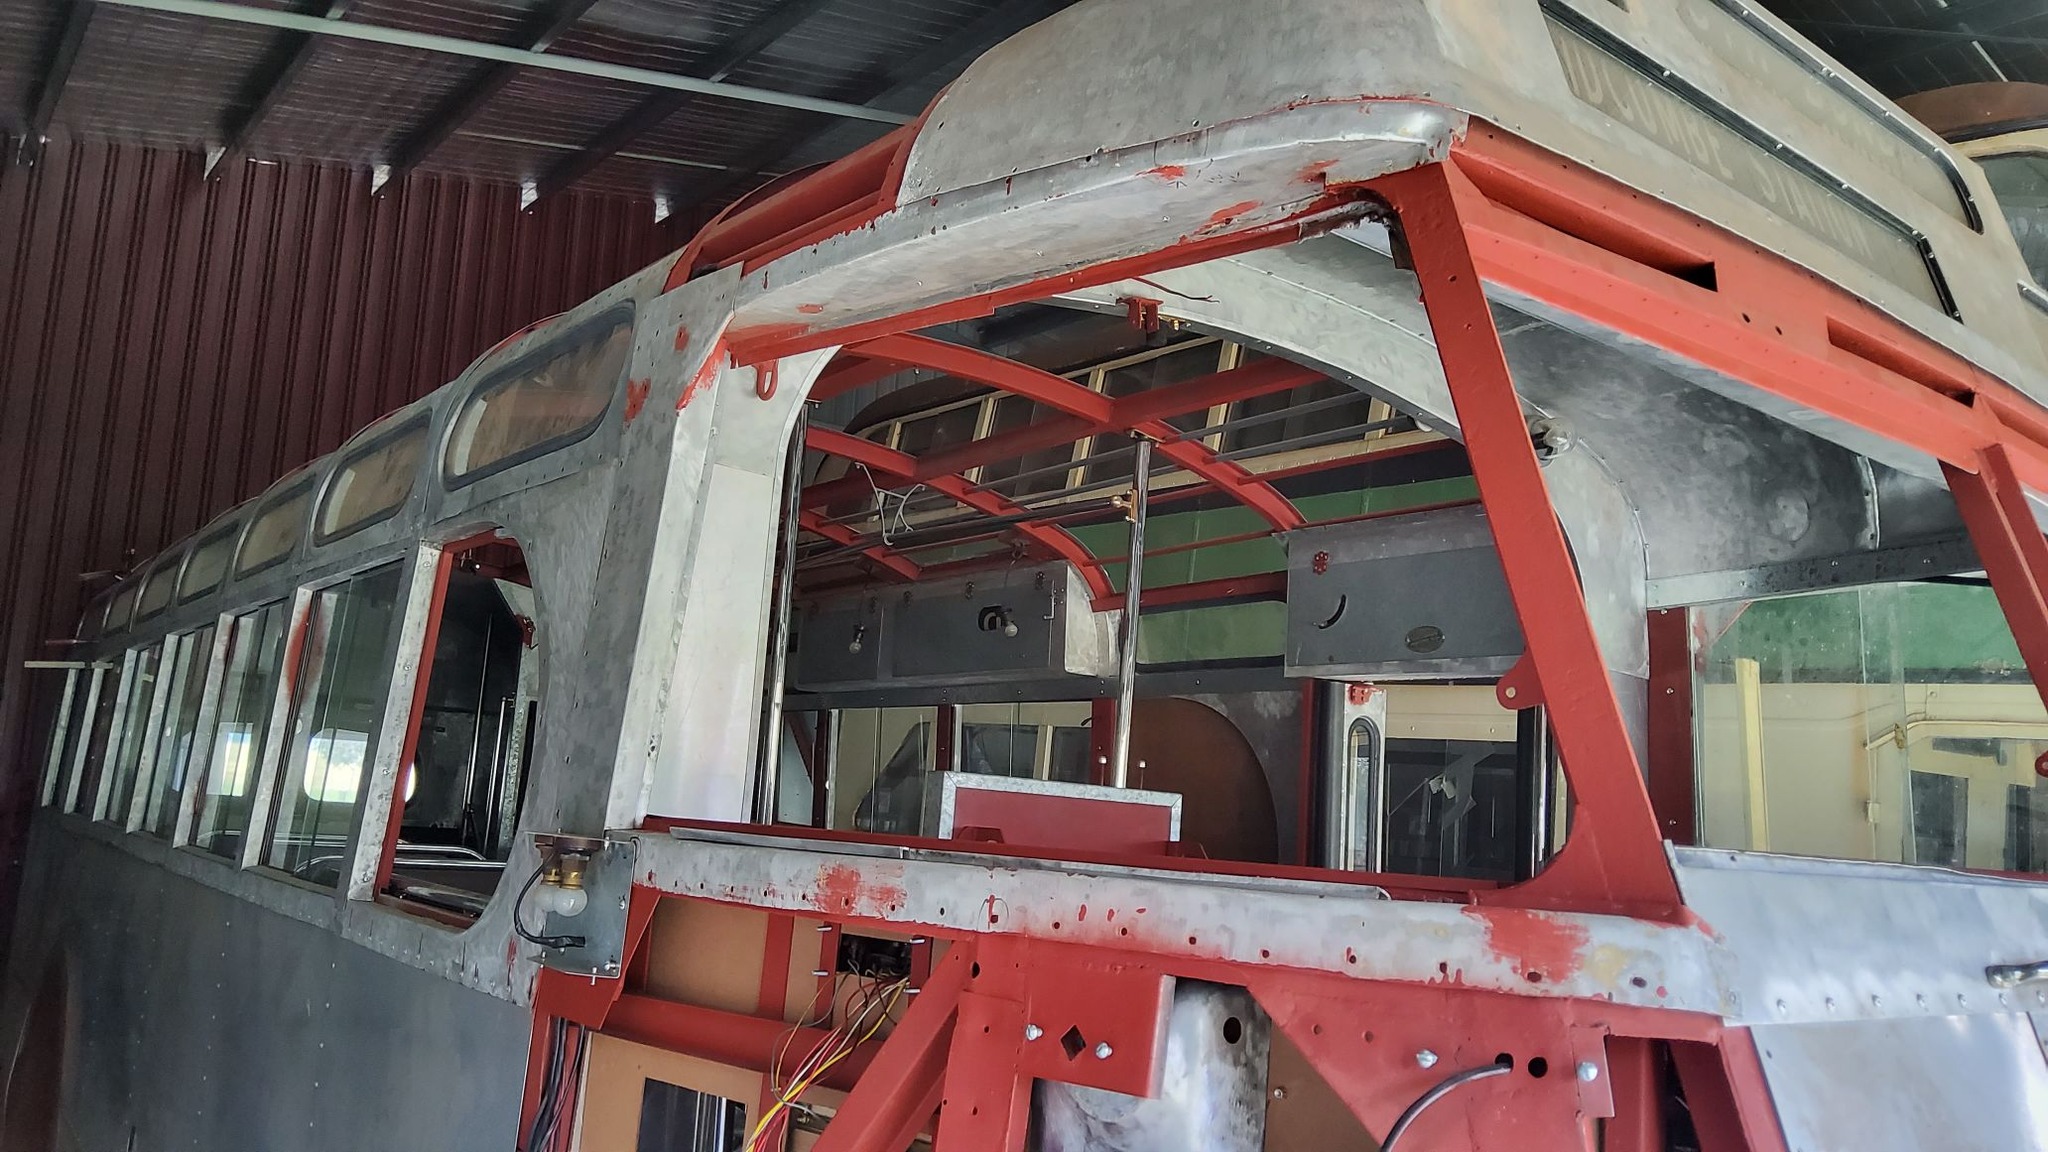
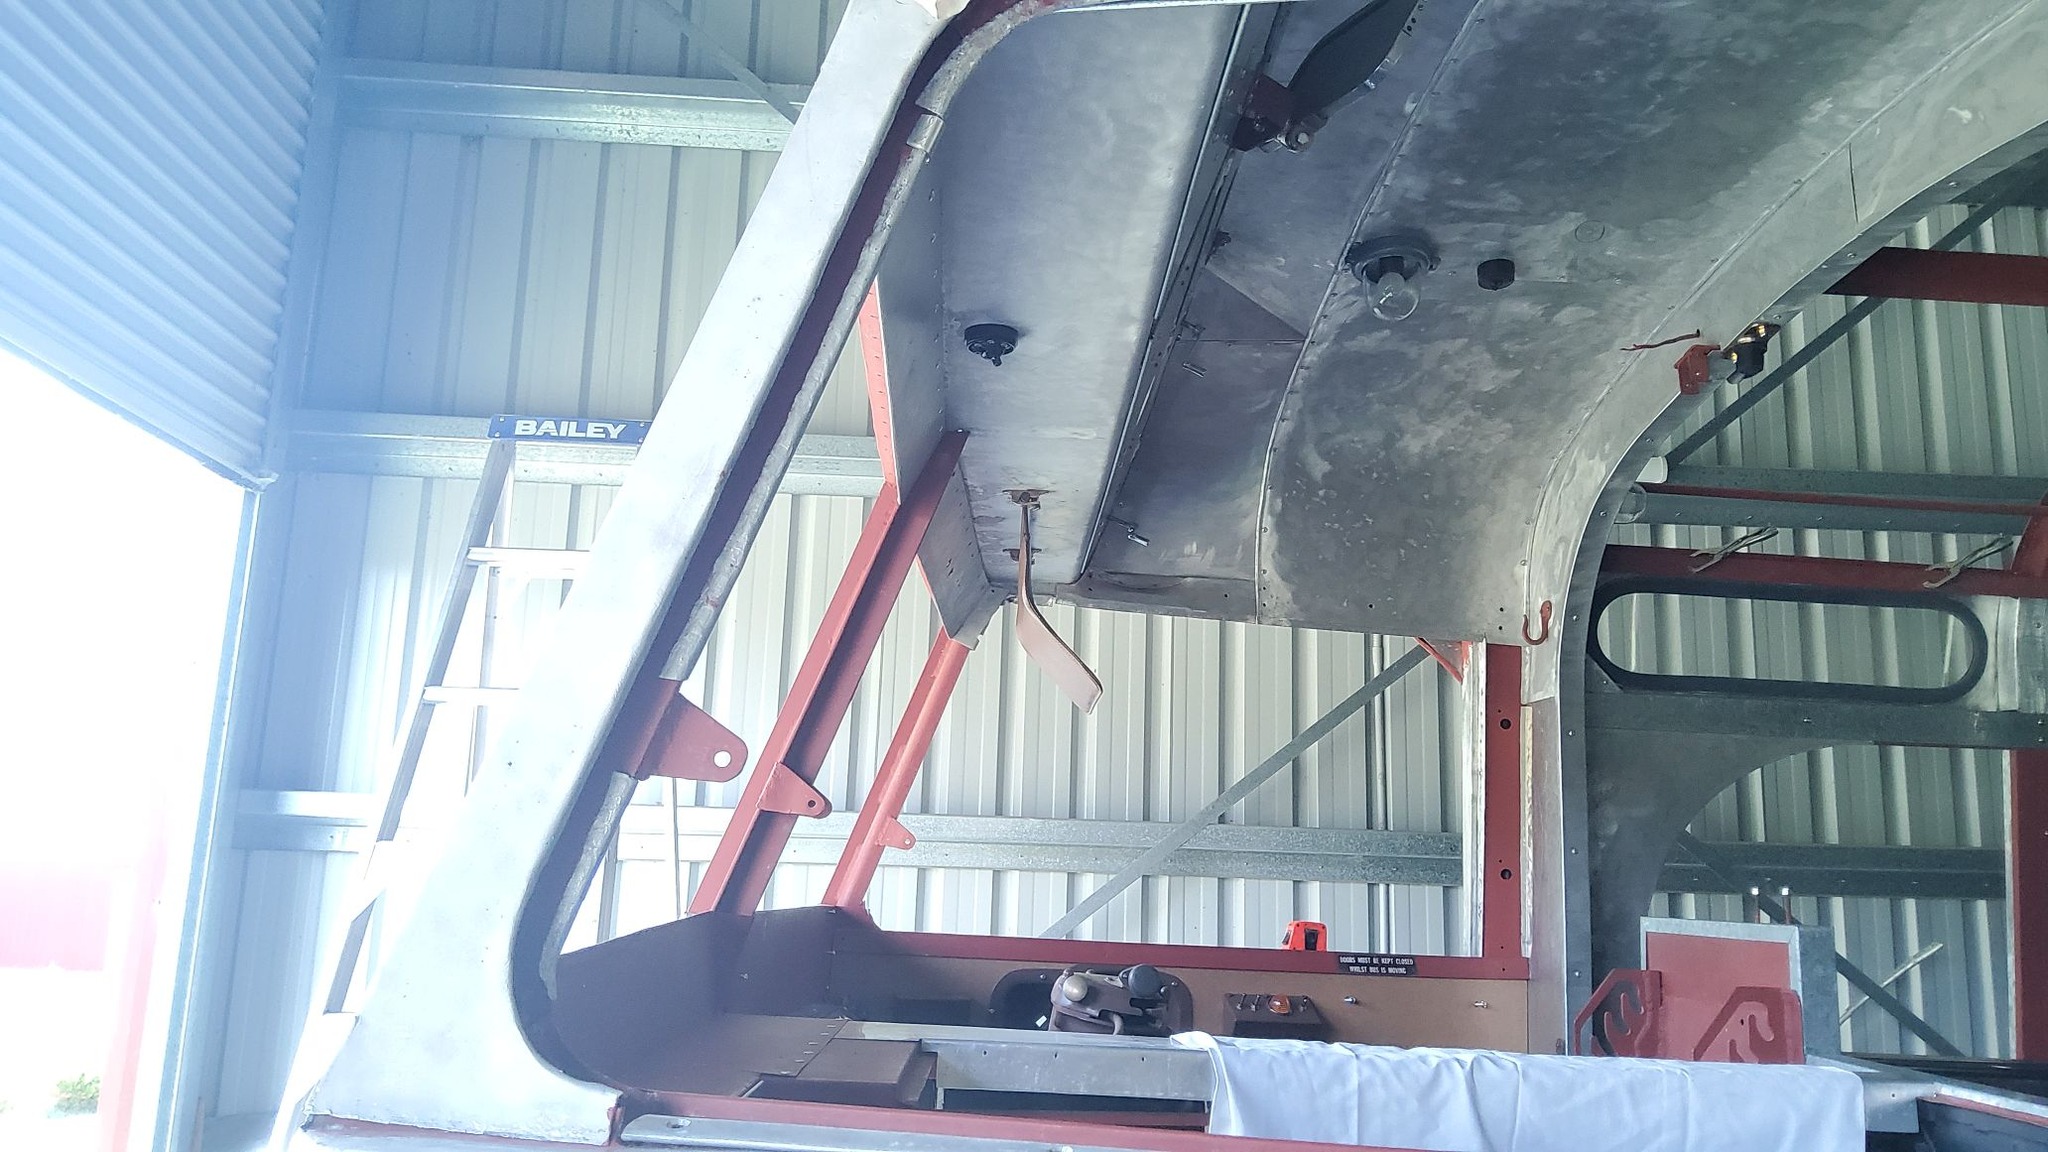
While the balance of the windows are being made, I moved onto a few of the remaining smaller jobs including the sun visor.
This area was a real mess.
The factory at some stage reinforced the area this thing is attached by pop riveting a piece to the front side of the destination panel.
There is a screw on either side of the visor frame that you can adjust the tension of the frame.
I'd say it was too tight and the poor aluminium material the panel is made from gave up the ghost and tore out the bolts.
When I took the panel out of the bus, I had to weld up a lot of pop rivet holes as well as a large fracture that spread out from that damage.
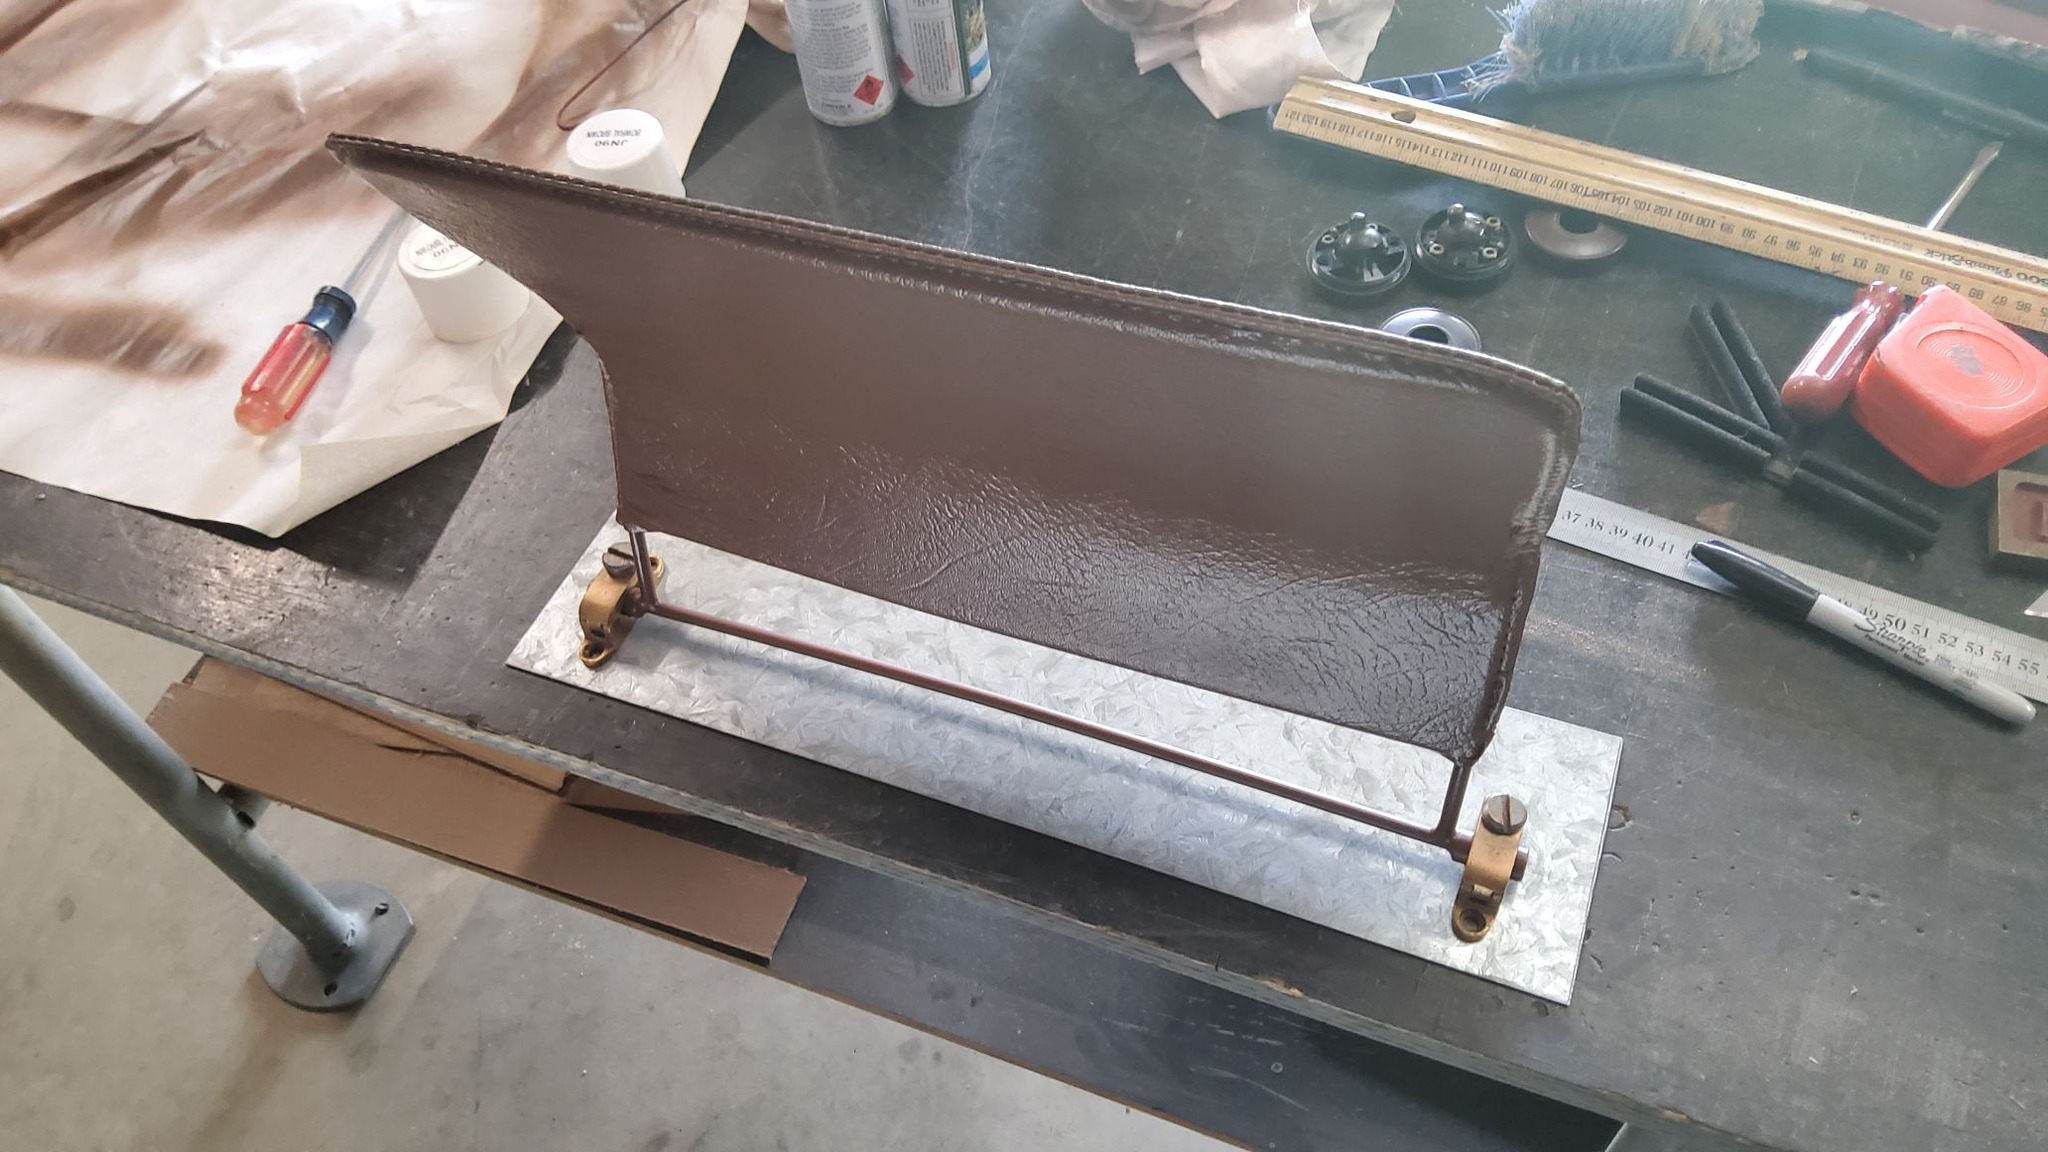
Now I made a reinforced section and put it up on the top face of the panel.
It is 1.2mm gal section.
Being spread out over a fair area it will take a bit of punishment.
I also welded some nuts on so as to screw the brackets from underneath and be easier to take on and off.
While the balance of the windows are being made, I moved onto a few of the remaining smaller jobs including the sun visor.
This area was a real mess.
The factory at some stage reinforced the area this thing is attached by pop riveting a piece to the front side of the destination panel.
There is a screw on either side of the visor frame that you can adjust the tension of the frame.
I'd say it was too tight and the poor aluminium material the panel is made from gave up the ghost and tore out the bolts.
When I took the panel out of the bus, I had to weld up a lot of pop rivet holes as well as a large fracture that spread out from that damage.
Now I made a reinforced section and put it up on the top face of the panel.
It is 1.2mm gal section.
Being spread out over a fair area it will take a bit of punishment.
I also welded some nuts on so as to screw the brackets from underneath and be easier to take on and off.


This site is hosted on
Crazy Domains & Hosting  Unlimited Web Hosting |
Last updated January, 2025 |
This web site may contain Copyright material If you find any problems with the site, please email the Web Editor  |