Norms Restoration - 31 Seater Projects & Leyland TD 5 Project |
1939 Leyland DT5 [1635 DD]
2018
Body August
- Norman Julian 2nd Aug
- The weather is warm enough today to get back into this which is I'm thinking a very time consuming job.
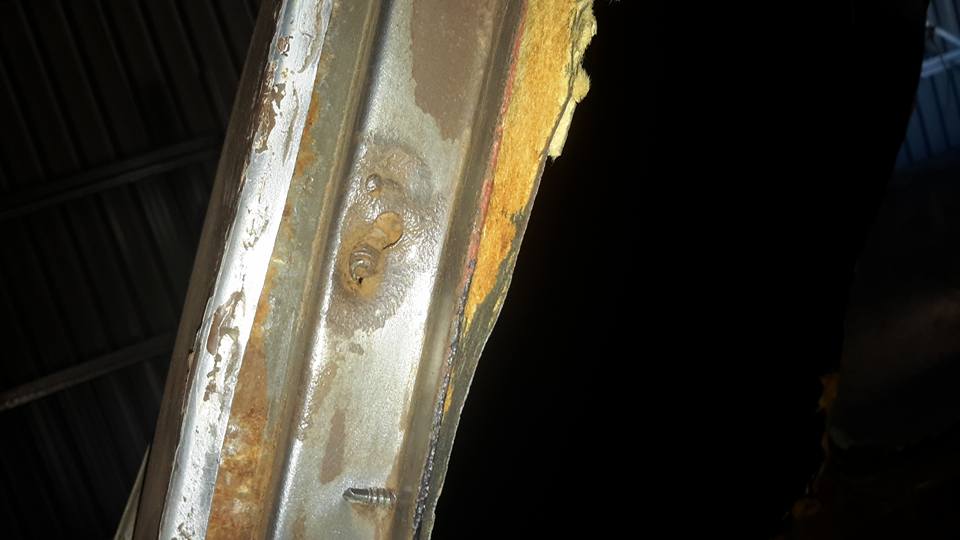
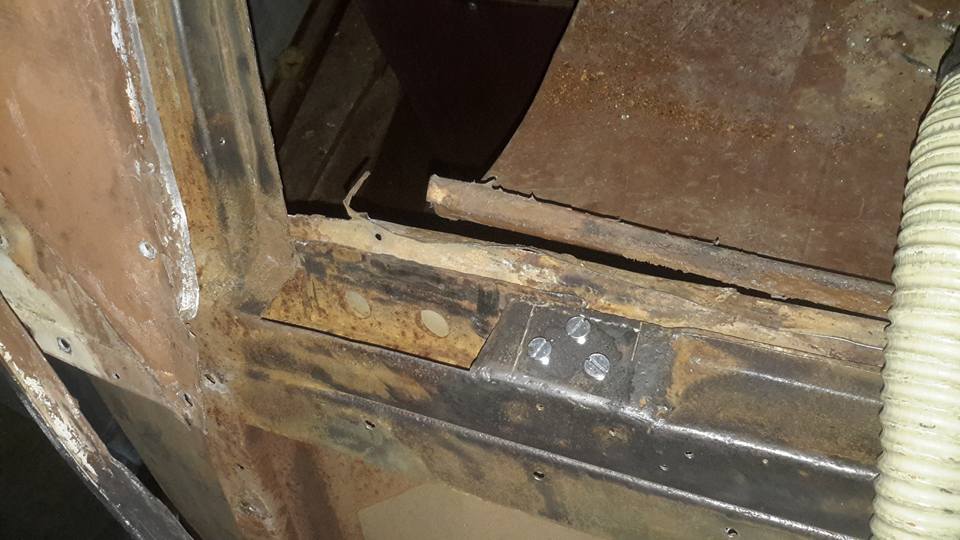
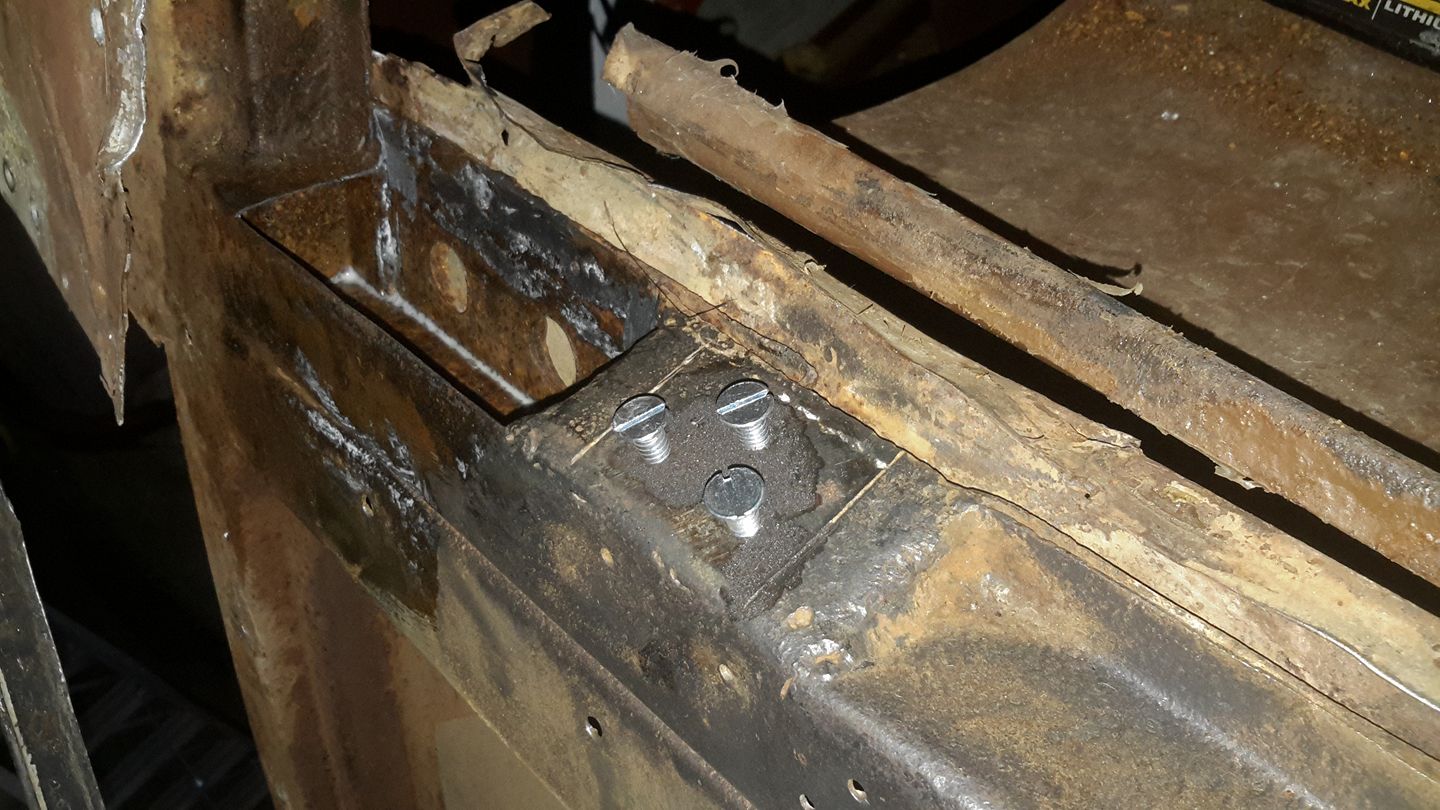
- Firstly I will drill out the old machine screws that used to hold the bottom leaf of the hinges and re-tap them.
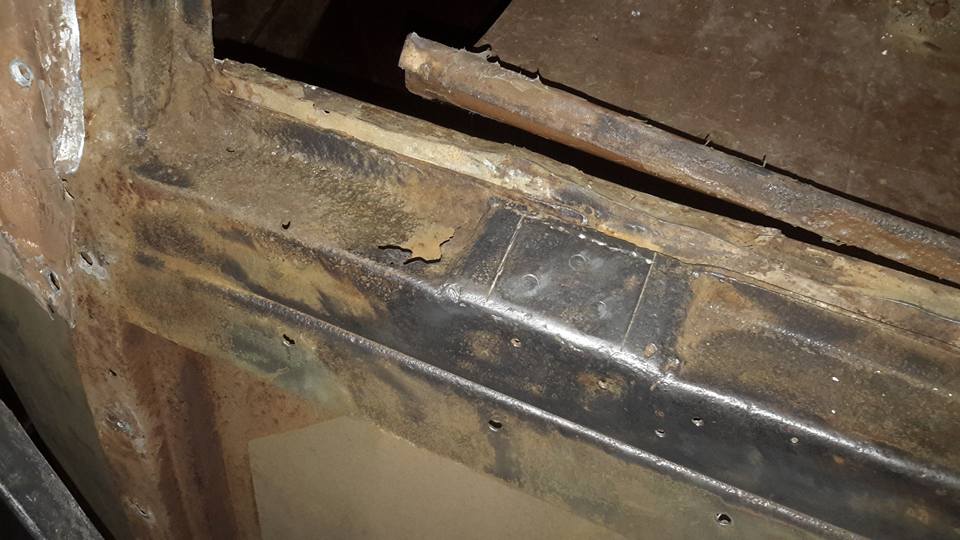
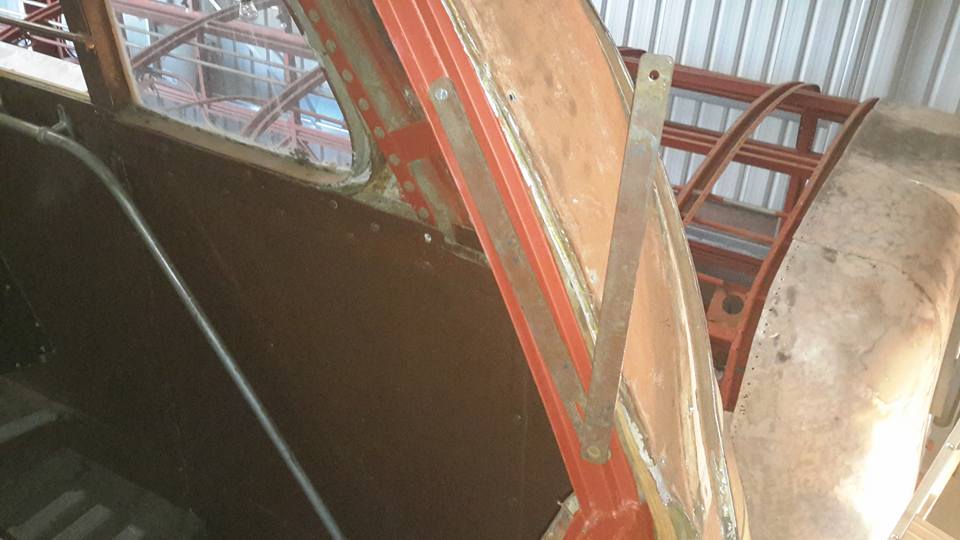
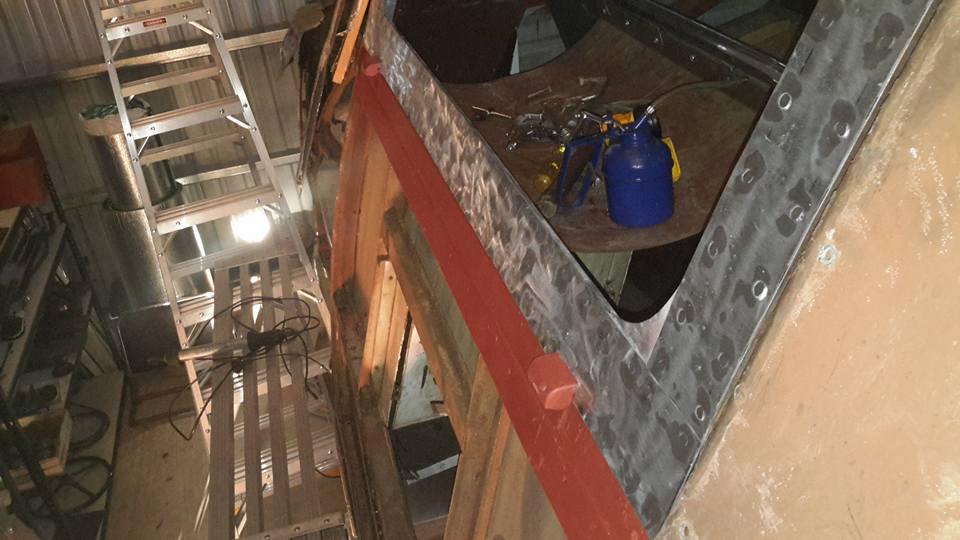
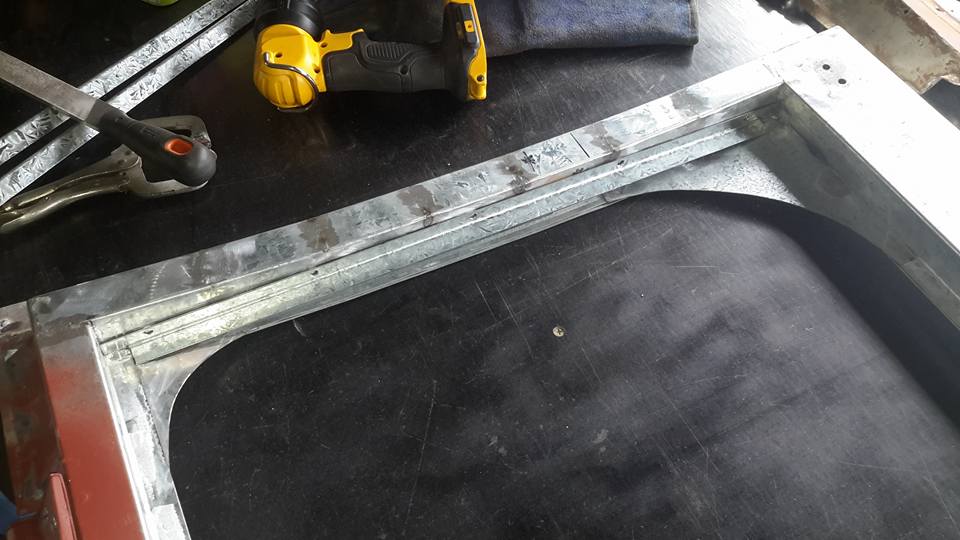
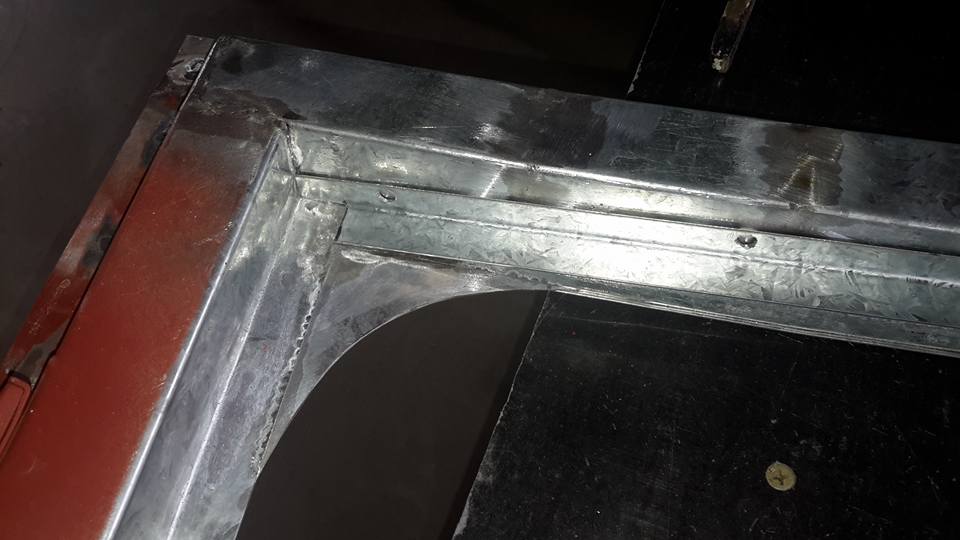
- Then the painful job of cutting out the very rusty sections of frame and weld new sections in.
- On the vertical sides where the door stays bolt on the steel plate that is inside is very loose on one side which means getting to it from the inside, I'm guessing the weld that holds that 5mm plate has let go.
- I May have to cut the flat plate on the inside to get to that.
- That will be fun and then the job I hate most, working upside down.
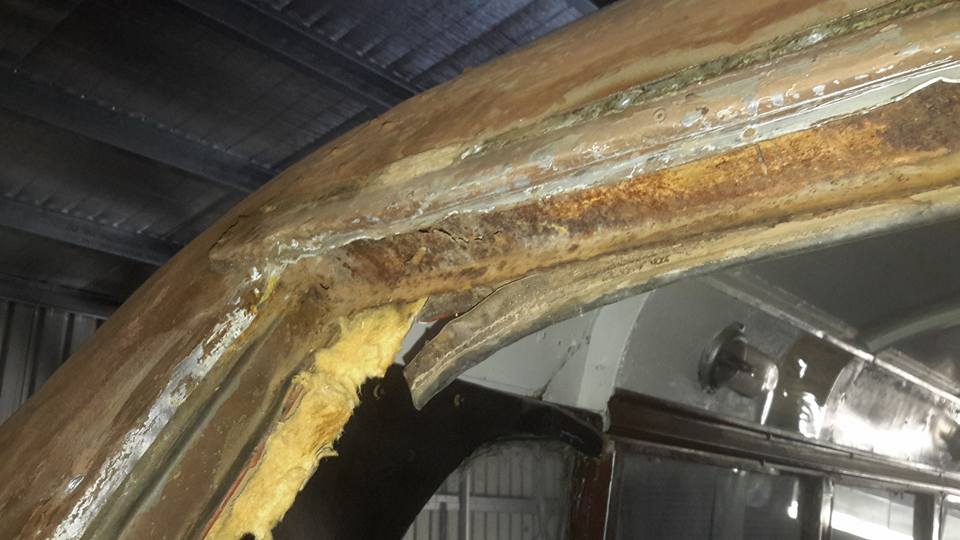
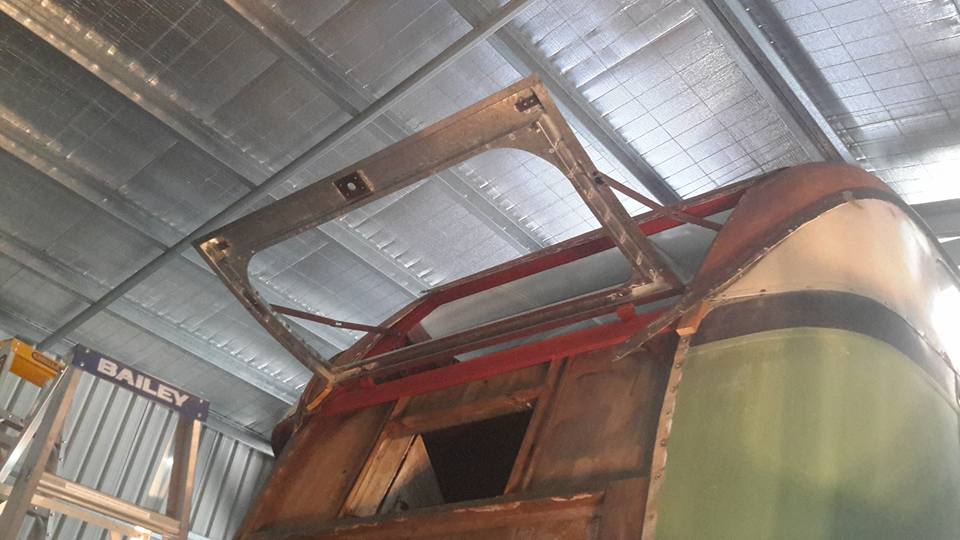
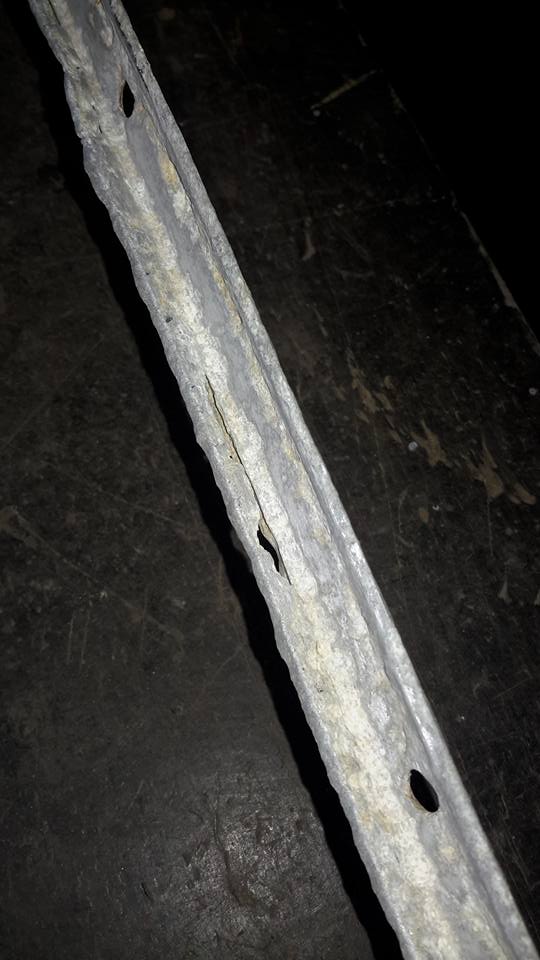
- There are rust holes on the upper frame.
- That section of roof sheeting will have to come off I think to get proper access to it.
- Who knows, I will play it by ear.
- Norman Julian
- If I can get the plate inside to sit firm enough I could plug weld it.
- What I mean is drill a hole through the thin steel till the 5mm plate behind it is exposed and weld through that hole. That would hold that plate firmly to the thein metal in front of it.
- Then just grind it smooth.
- After all it just holds a metal window stay.

- Charles Shipway
- Keep up the enthusiasm Norman
- Dave Mclaughlin
- Good Work Norm Whitaker,have you considered using a DEVCON,Liquid Reinforced Metal or fibreglass on any of the smaller difficult to get to areas?
- Septone fibreglass metal is able to be drilled,tapped,painted,quite successfully?
- Norman Julian 3rd Aug
- Norman Julian
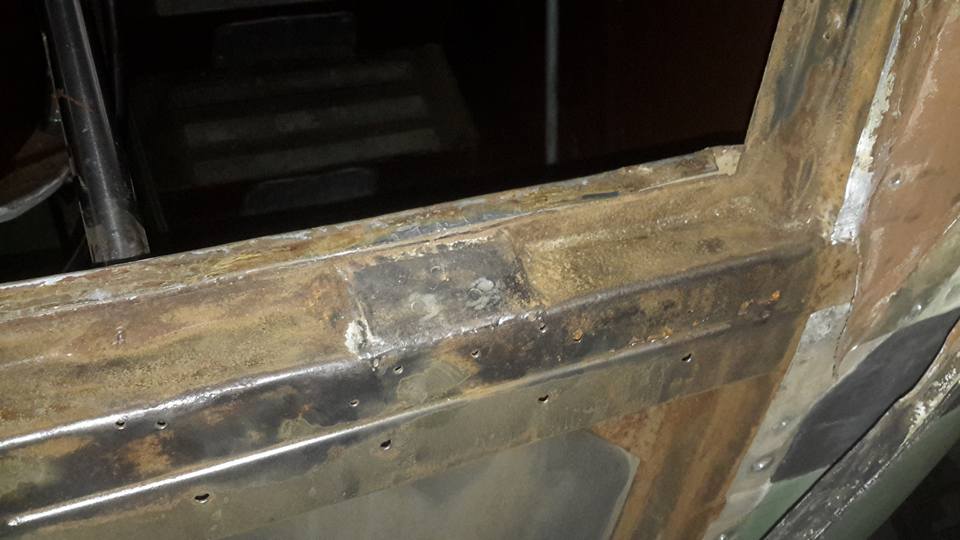
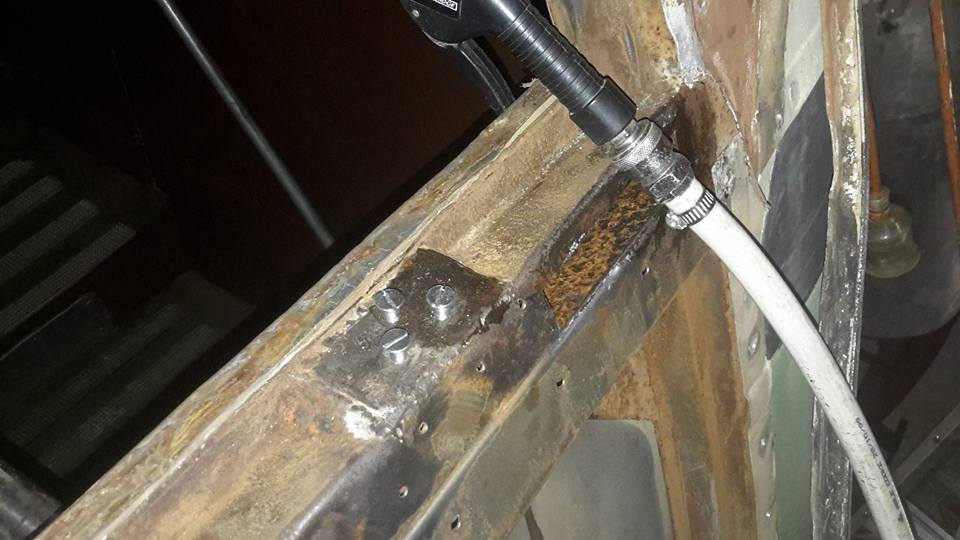
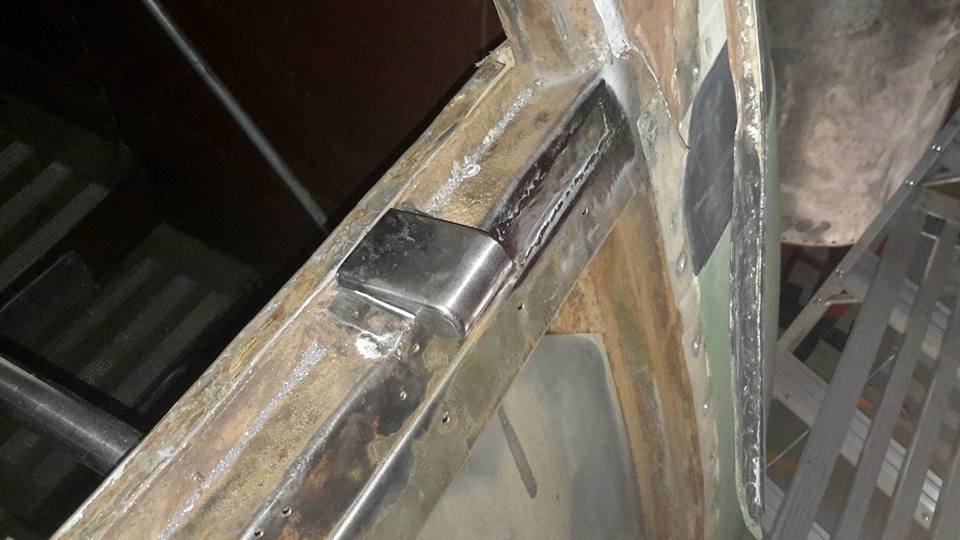
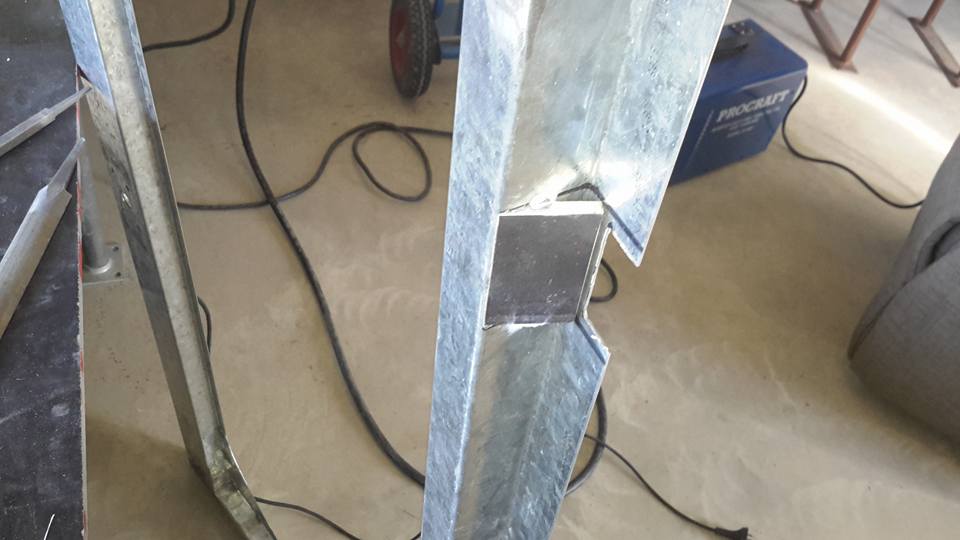
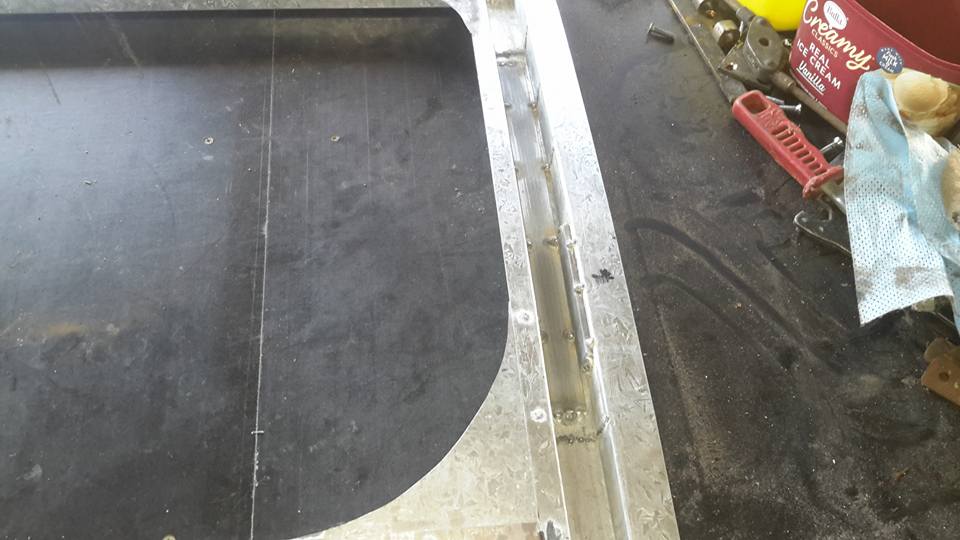
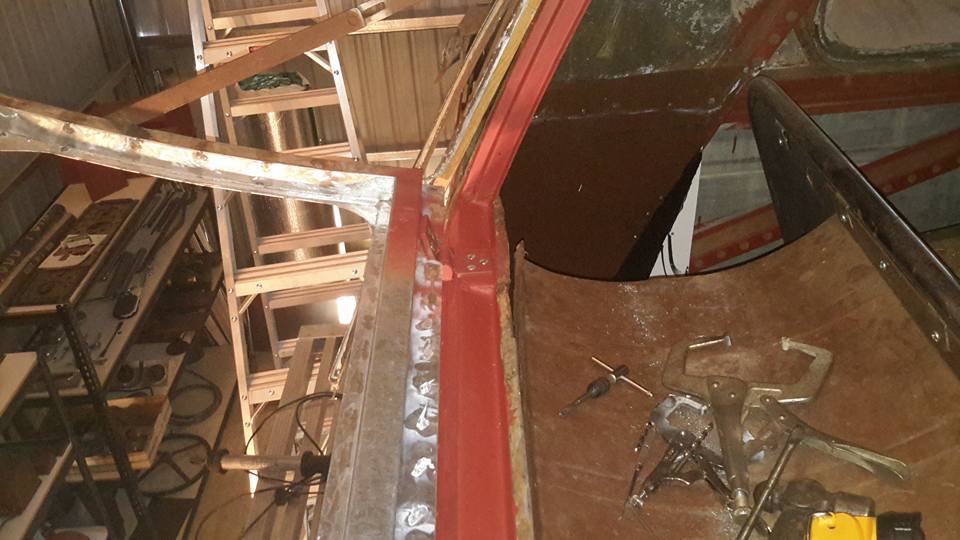
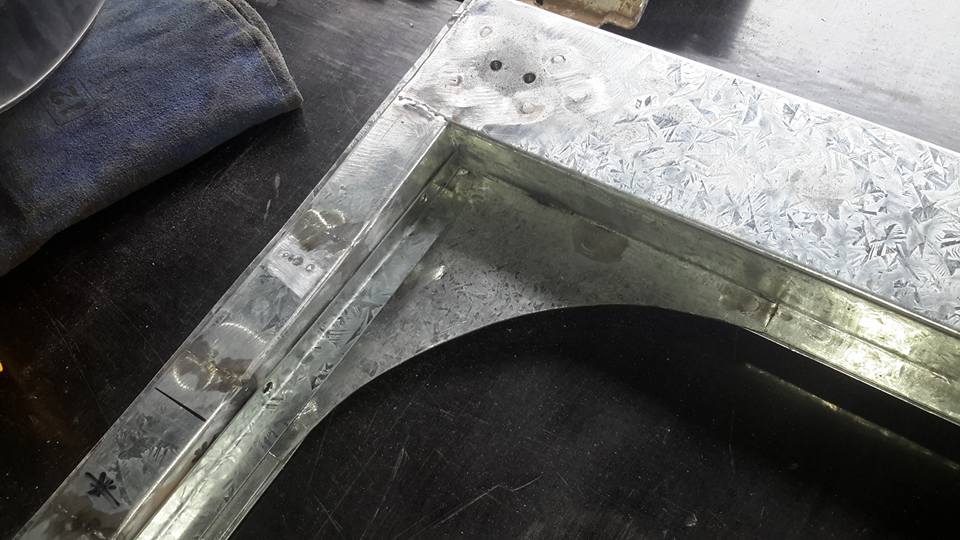
- The plate welded behind the box section has failed.
- Norman Julian 3rd Aug
- Got a little bit done today.
- Drilling out the old hinge bolt remnants and retapping was pretty straight forward except I broke a drill bit.
- I drilled out one of the door stay bolts on the side and retapped that.
- Though the other is as I suspected and the welds failed inside the piller.
- You can see the remains of a rusted away bolt in one picture.
- Will deal with that tomorrow.
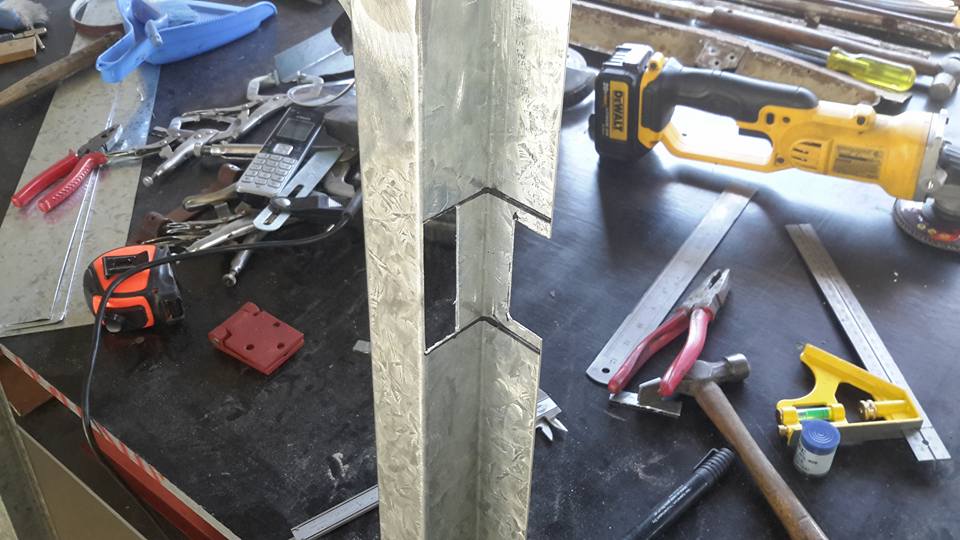
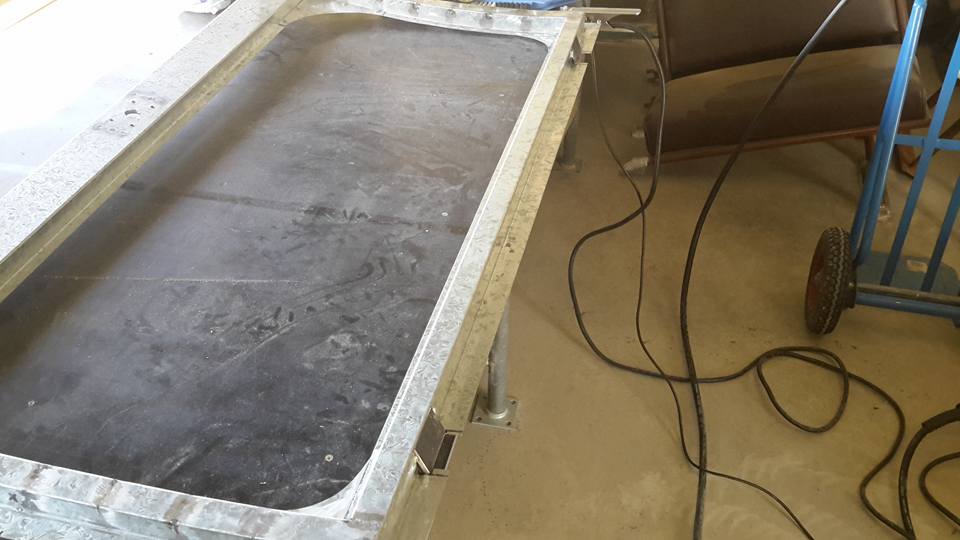
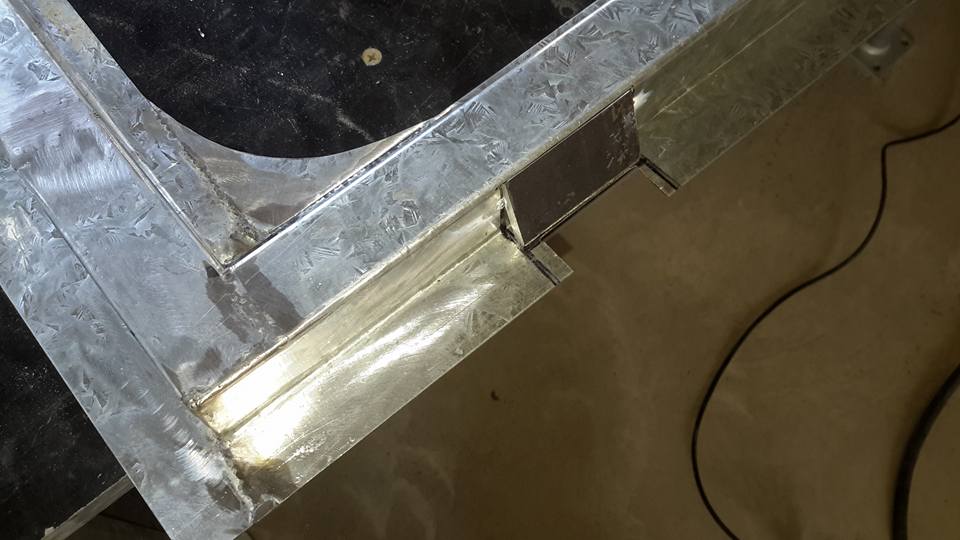
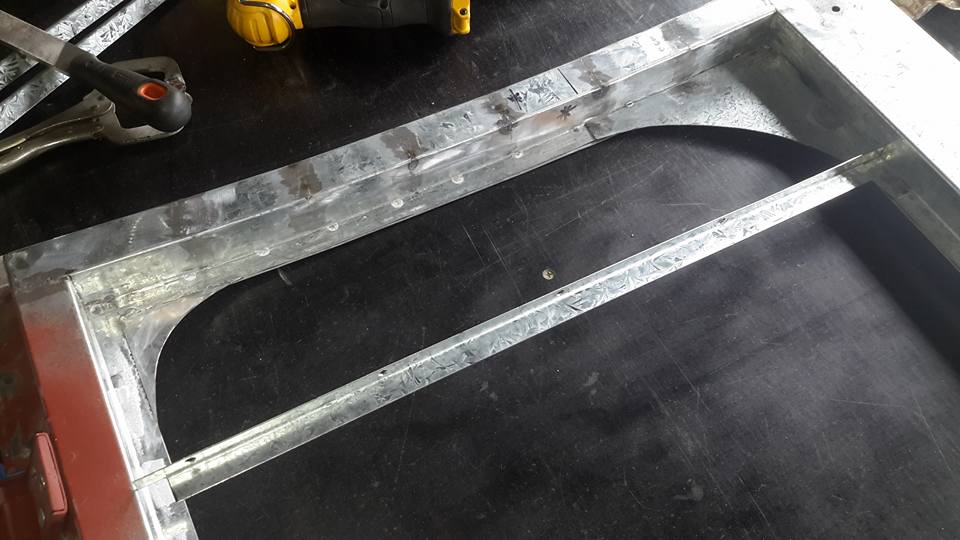
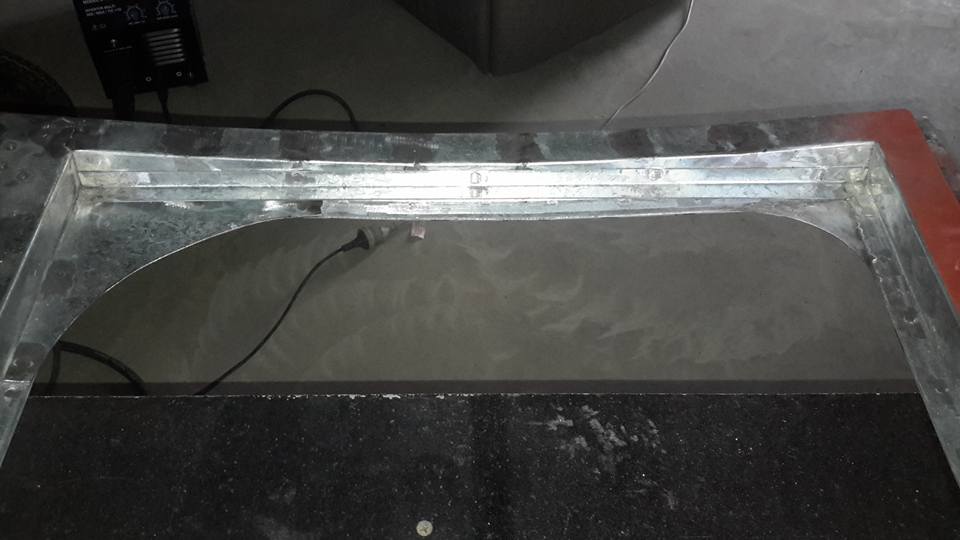
- There are 2 sections I cut out in the bottom of the frame.
- The one on the left was made a little bigger then I needed mainly because where I cut it is near an edge on 3 sides. More strength on an edge.
- Near the backside of that section I also cut off the bit going at 90 degrees.
- There were 3 skins spot welded together.
- Mainly because it is hard to get a good weld finish in a corner, so I will fold a piece to suit.
- There was a lot of rusty metal remains trapped inside the box section.
- I used the vacuum cleaner up one end while the other had the air hose blowing it in that direction so as to not blow too much dust throughout the shed. Because that section is open I treated it with rust converter even though I'm wasting my time.


- Norman Julian
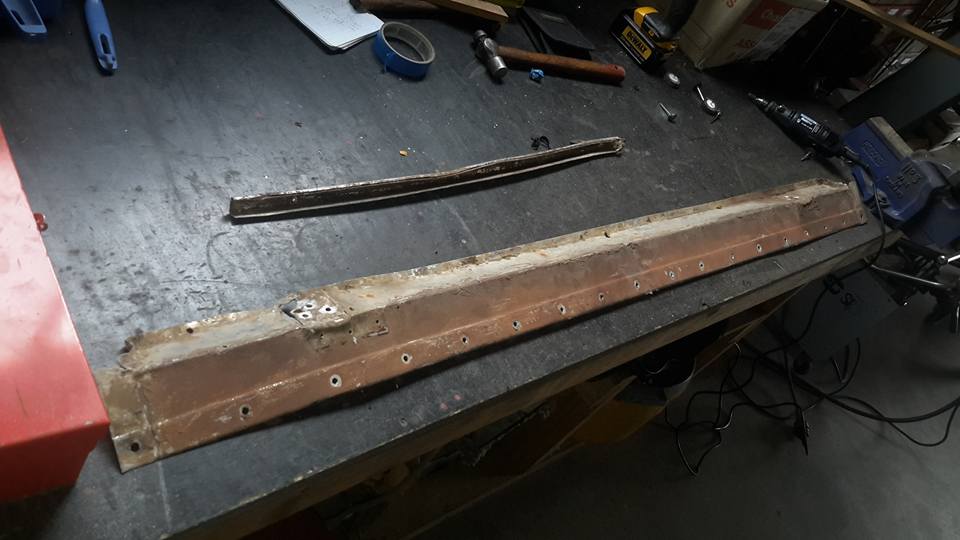
- I didn't mess around with the AEC with this bottom rail, I just replaced it.
- On this bus though I am sticking to what I said and only replace what's needed.
- Norman Julian 5th Aug
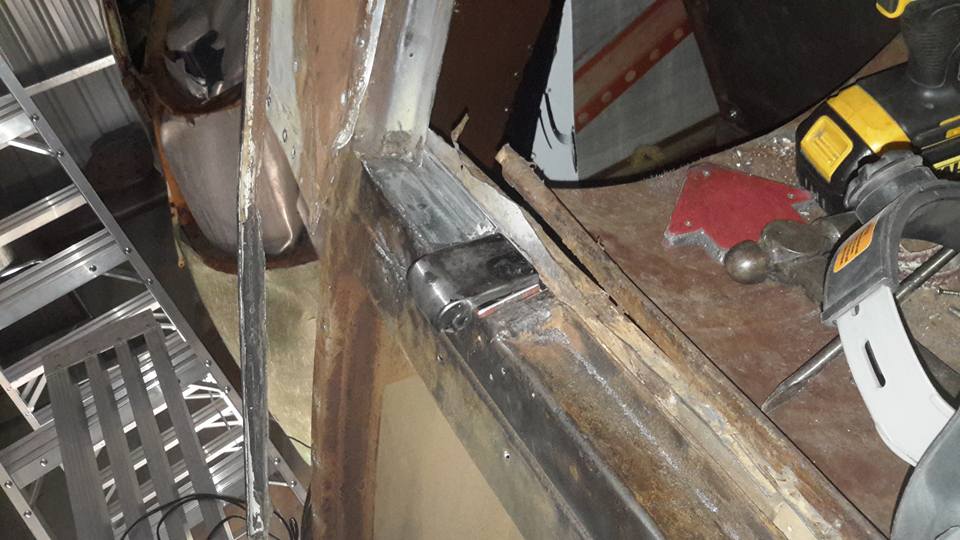
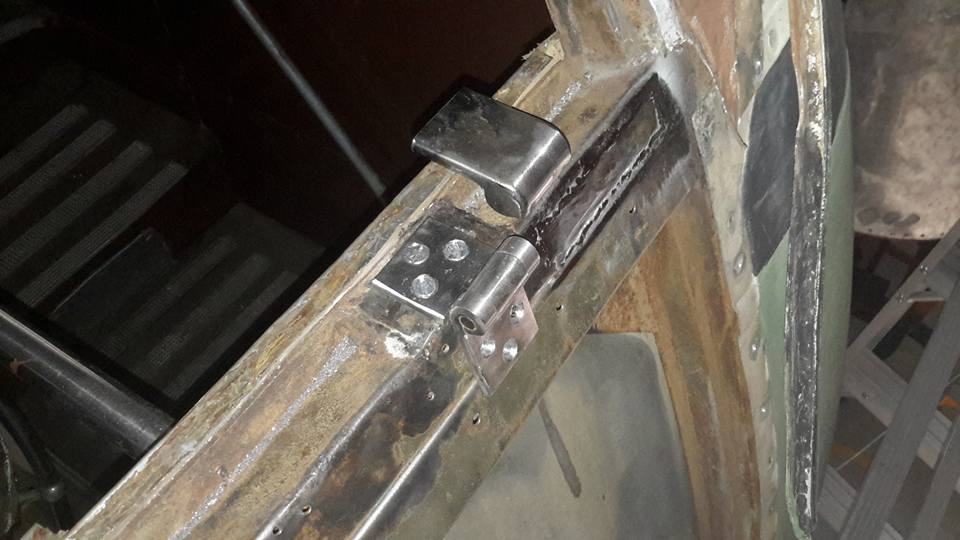
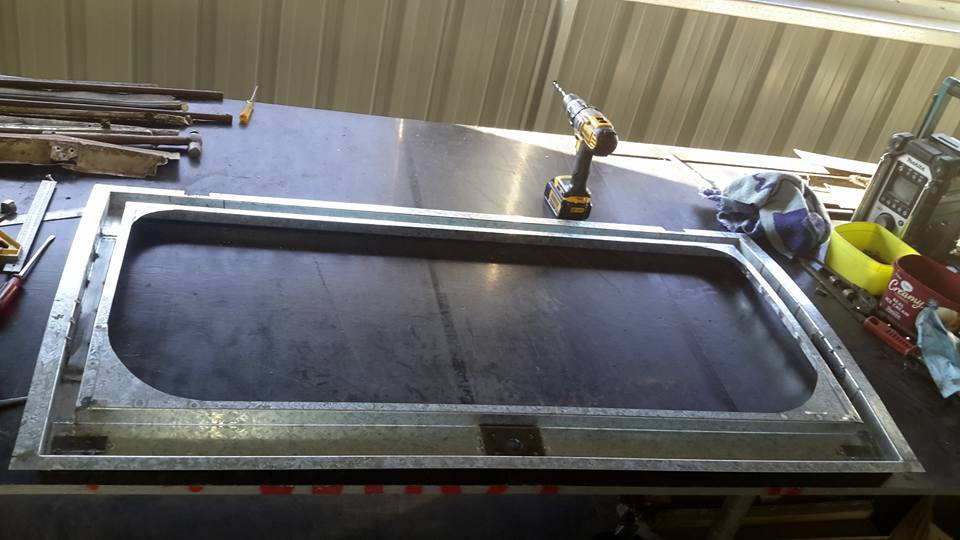
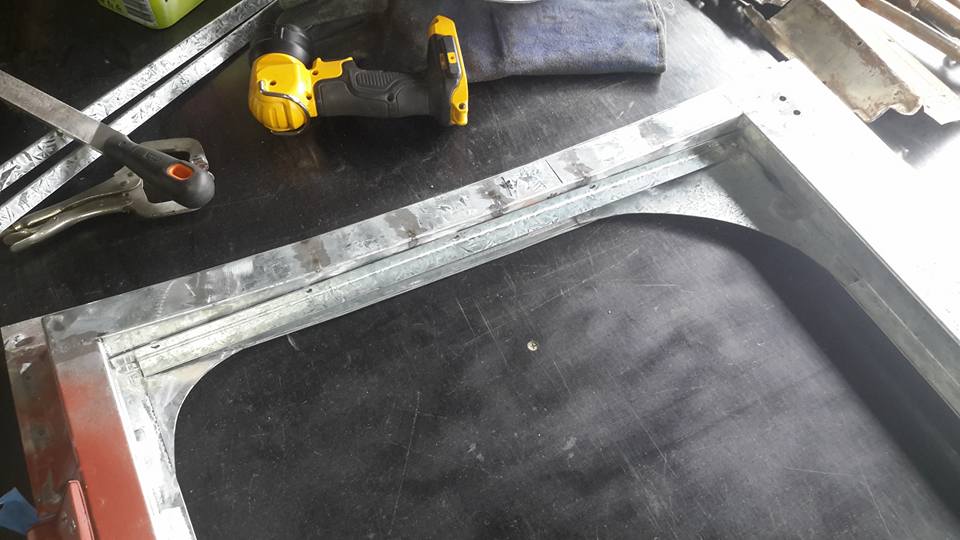
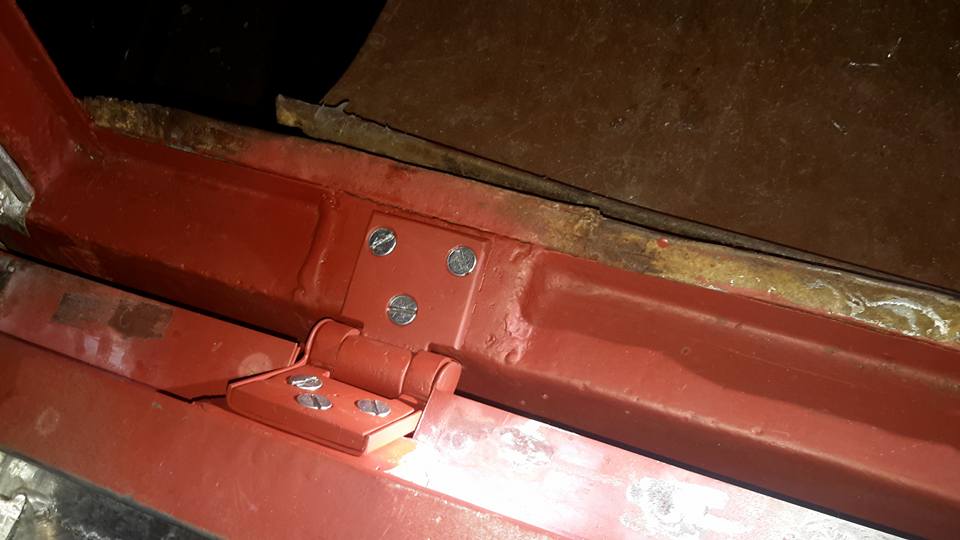
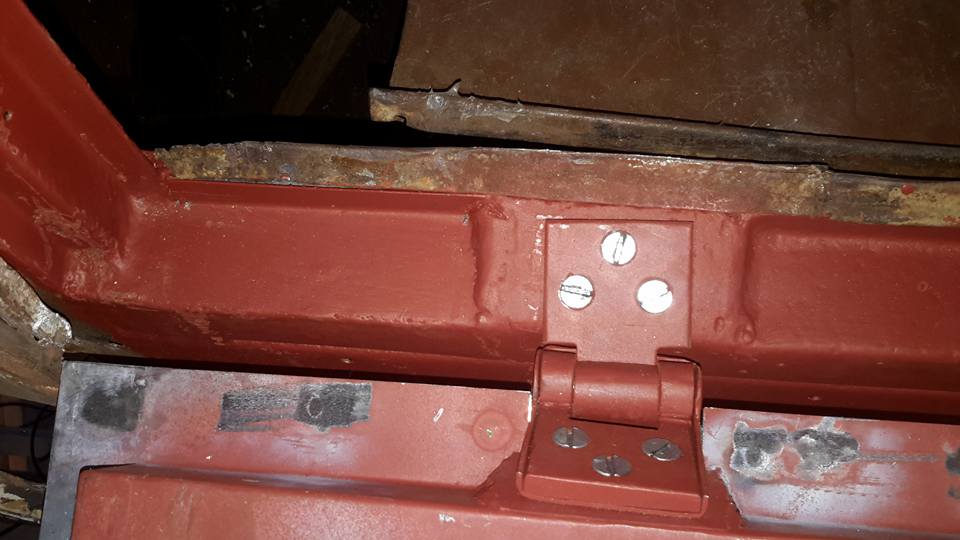
- Wasn't feeling great today but I did finish the second hinge and then mount them both.
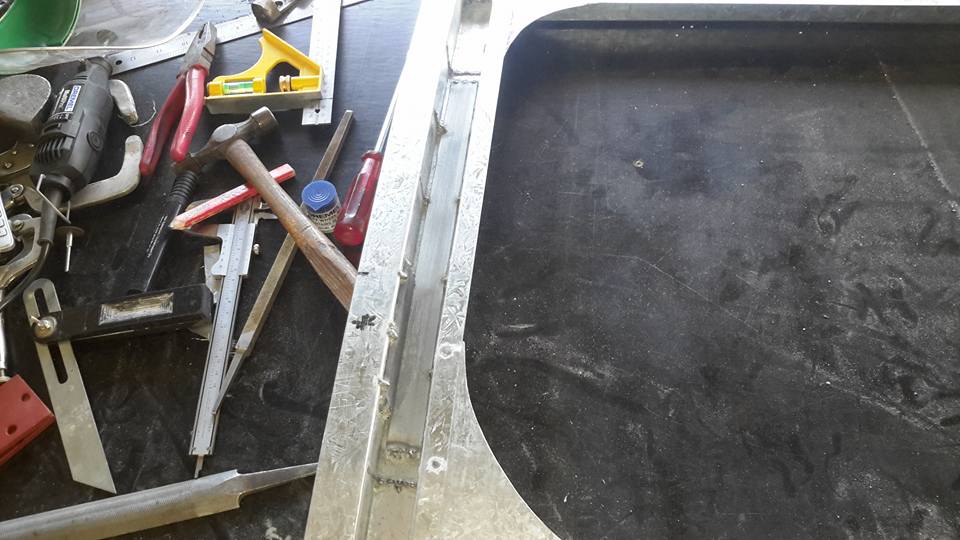
- The next job is to clean, sand and get rid of surface rust in this area and prime.
- I have to work out the mounting of the top leaf of the hinge to the door frame.
- I have inspected other examples and have a few ideas on what to do.
- You would know that the original emergency door had no bottom rail because of rust so I didn't know how it worked.
- Norman Julian
- What makes this job tedious is the back of the bus is angled and so is this bottom rail of the emergency door frame where the hinges are.
- The place where the hinges are bolted onto have been angled back to 90 degrees.
- The panel that covers all this up is also 90 degrees to the rest of the frame.
- The reason is obvious.
- If it wasn't then rain water would be dammed behind the bottom of the door.
- The trouble is the frame of the emergency door sits in the frame of the bus.
- Now the hinges leafs both sit at 90 degrees.
- I have to make the leaf of the hinge at an angle on the bottom of the frame.
- Norman Julian
- This awning covers the bulk of the hinge.
- Dave Mclaughlin
- Good work Norman Julian,looks better than factory, be lasting into the 22nd century!
- Charles Shipway
- Norman Im watching you this restoration is becoming the best restoration of the best in the bush
- Norman Julian 12 Aug
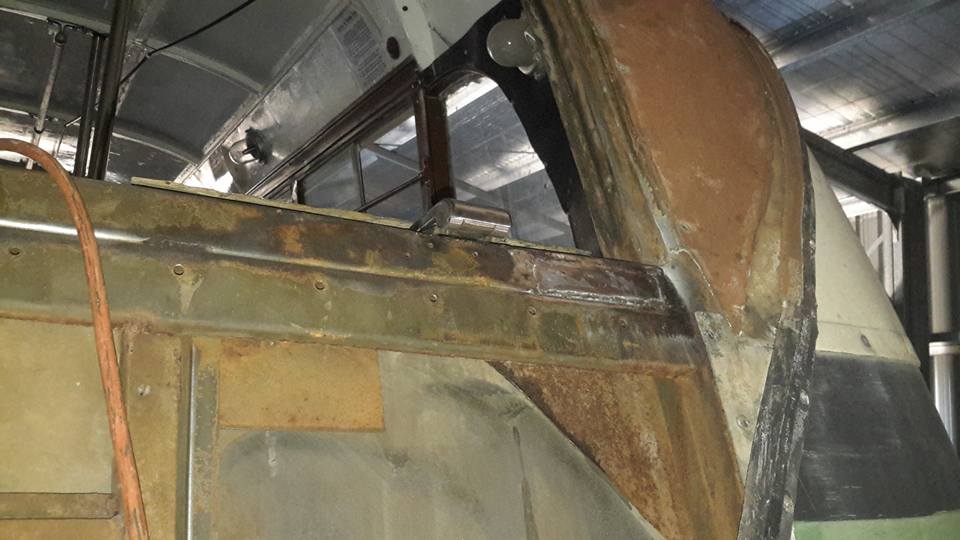
- With the weather being cold one day and freezing the next, it's hard to make progress.
- Yesterday though I did manage to repair a little more rust I found in the head horizontal beam and paint the entire section with 2 coats of primer.
- This was after using a wire brush on the angle grinder and sander and more rust treatment just to make sure it was all done.
- The hinges are also ready.
- When I get a better day I will be back into it.

- Norman Julian
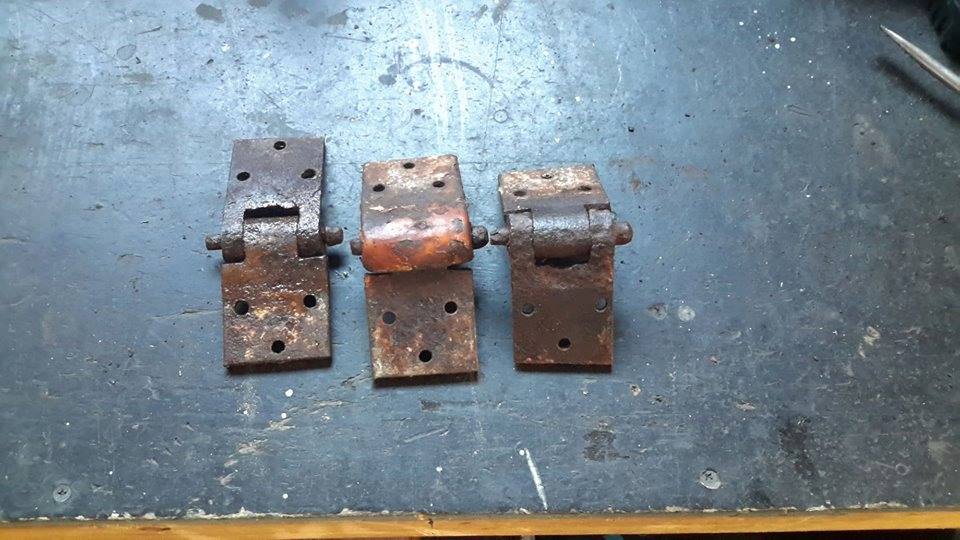
- I am particularly proud of these.
- These hinges came from the Leyland 31 seater and they were a basket case.
- Charles Shipway
- They look pristine Norman
- Norman Julian 15 Aug
- To make it easier to get the hinges ligned up, I will put the stays on the door to help support it so as to lign up and mark the holes for drilling.
- Norman Julian 15 Aug
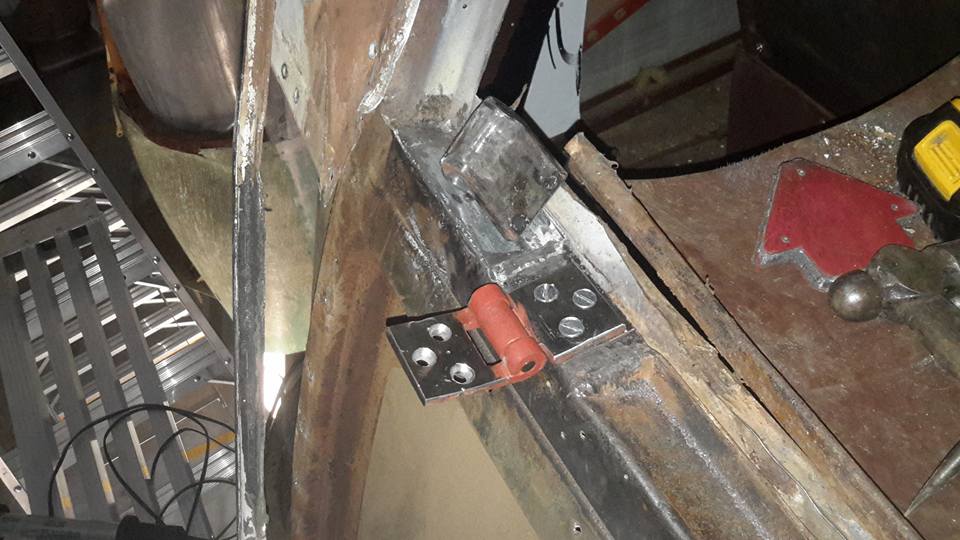
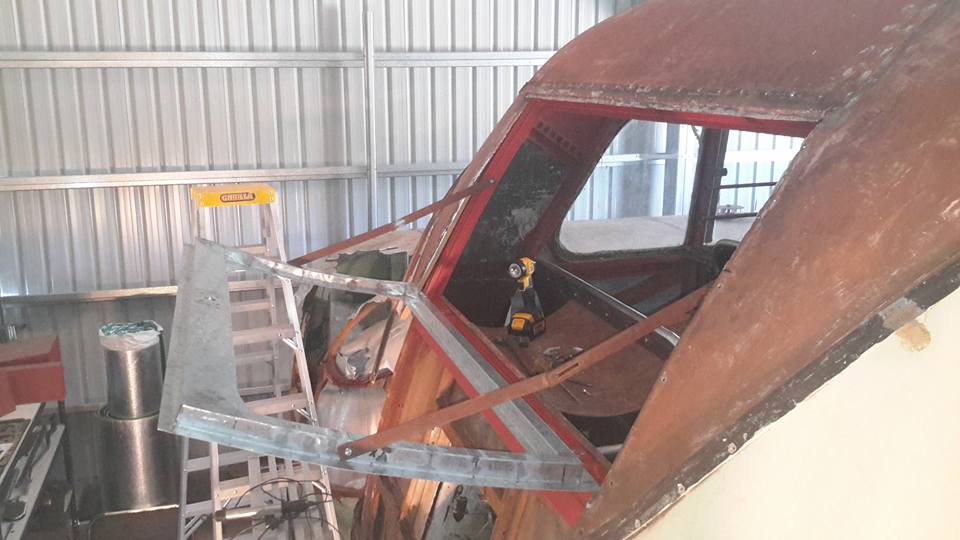
- Today was a headache trying to get the position of these hinge brackets on the emergency door exactly where it needs to go.
- The bracket that is welded to the bus and carrys the hinges is level in relation to the ground.
- The bus as you know slopes towards the front.
- The hinge top leaf has to sit at the bottom of the door frame, so for the whole thing to work the door frame hinge base plate that the top part of the hinge sits on has to be exactly right.
- I will give you a couple of minutes to absorb that statement.
- I am happy now with the position of the brackets.
- In these pictures I have tack welded them on and when I have tapped the holes for the hinges I will weld them properly.
- Norman Julian
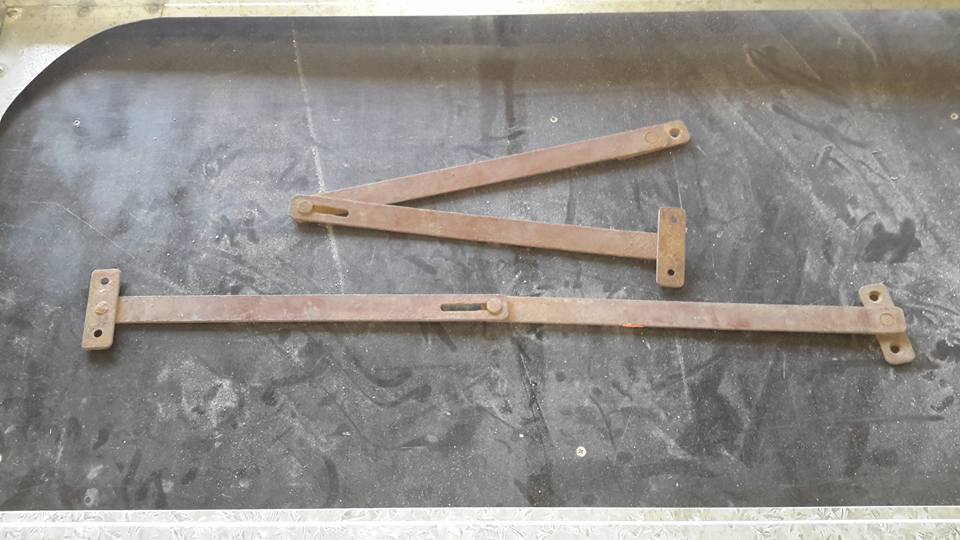
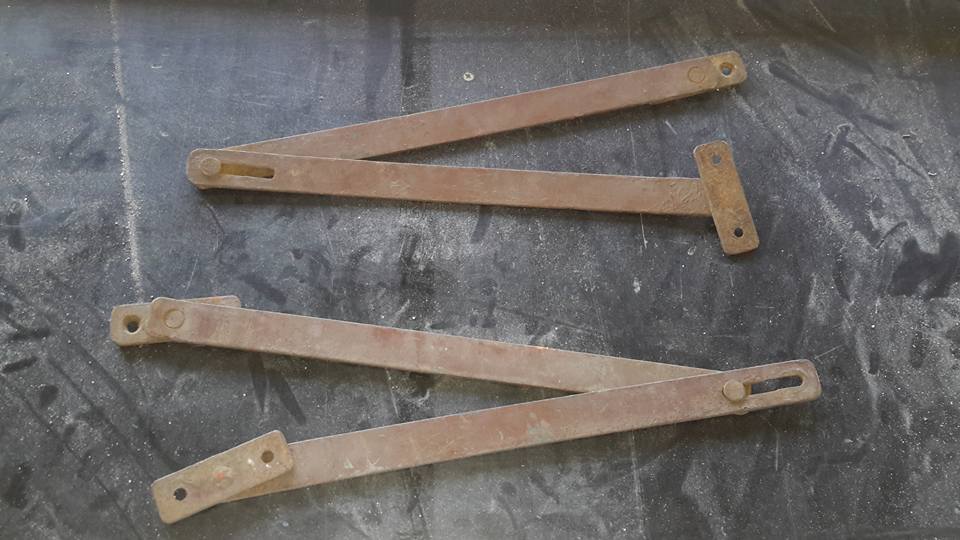
- These window stays which were kindly donated by the museum will do nicely for this door.
- I took off the 2 swivel pieces because they are not needed.
- Charles Shipway
- Seems you have got on top of this window Norman Good on you mate
- Norman Julian
- Sort of Charles!
- Norman Julian 16 Aug
- I'm glad this stage is over.
- The hinges close well.
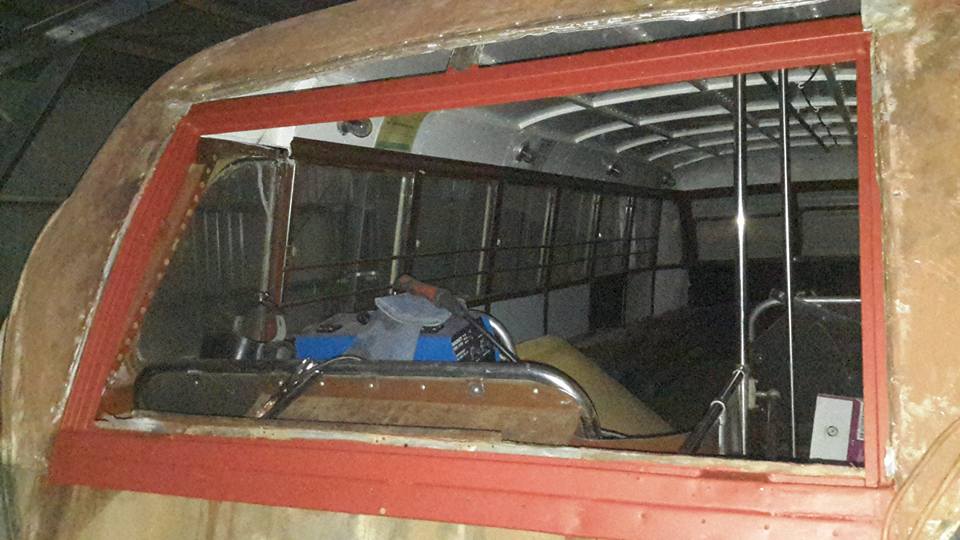
- About half way through this rebuild.
- Still have to make a flat piece of glass sit in a curved frame and then make an aluminimum skin.
- Now though I have to weld the brackets holding the top leaf of the hinge in properly and put the capping in to seal of the top hat frame.
- Norman Julian 17th Aug
- Capping done and hinges painted again and hinge pin greased and put back on. I'm happy with the way it is sitting at the moment but there is aluminium skin to go on as well as all the body skin that I took off to treat the rust. Tomorrow I will make a frame for the glass to sit in.
- Norman Julian
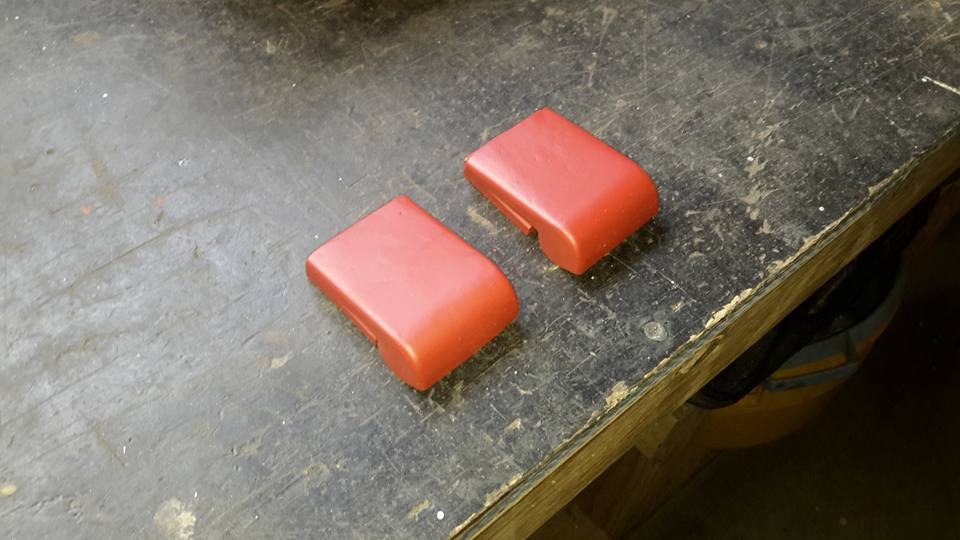
- You can see in this picture the awnings (that's what I call them) over the hinge.
- Originally the pin went through and came out both sides of these awnings and mushroomed over.
- Because I didn't have the right diameter pin I used the original pins, but to take the hinges apart I had to cut off the mushroomed ends to get the pin out.
- Needless to say they were too short to use in this manner again.
- I then capped off the awnings so the pin couldn't slide out.
- Looks better but not original.
- Norman Julian
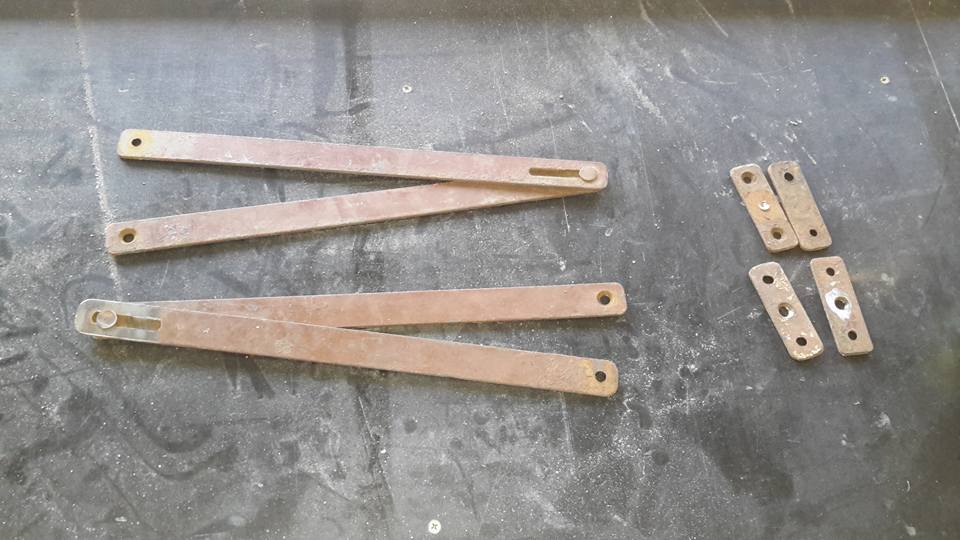
- These are what the original hinges would have looked like.
- The one in the middle is the only one here with that awning.

- Charles Shipway
- Oh well Norman this job I can see its finish is on the way
- Greg Scott
- looking good norm !
- Laurence Glenn Bowmaker
- very impressive every step of the way.
- loving your workmanship.
- Norman Julian
- Thanks boys!
- Norman Julian 18th Aug
- The weather has turned sour but I did manage to get these angled brackets I got made up in position.
- This with the aid of a rubber sealer will hold and seal the glass in against this door.
- When I pulled the glass out of the old door there was nothing holding the glass on the end panels just loads of silicone.
- They must have just relied on the top and bottom parts of the frame holding it in.
- I'm assuming they used bits of timber back in the old days. I haven't as yet thought about what I will use to fill the gap.
- When this is done the aluminium skin that goes on will hide whatever I use.
- Norman Julian
- Dont have one
- Brian King
- ANY SNOW YET NORM ? OR JUST CHILLY WINDS
- Norman Julian 22 Aug
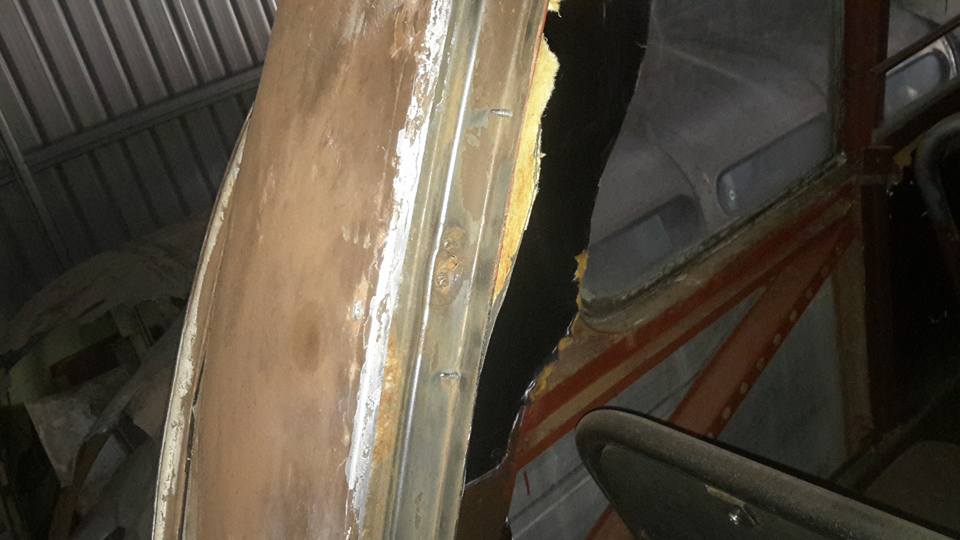
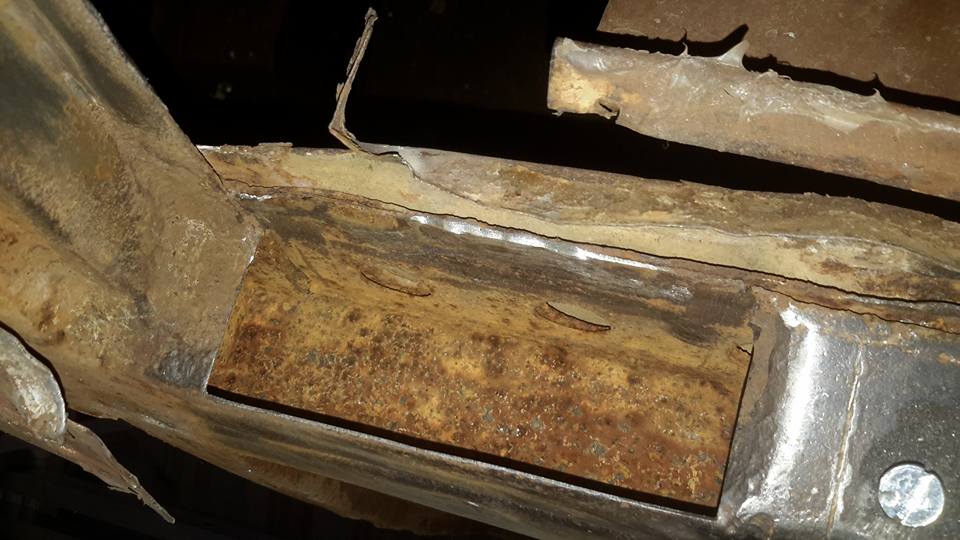
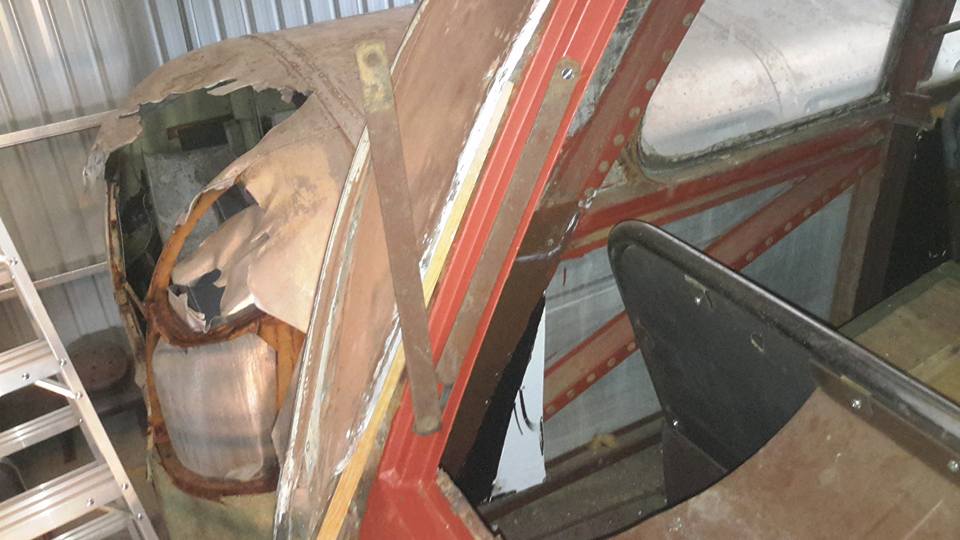
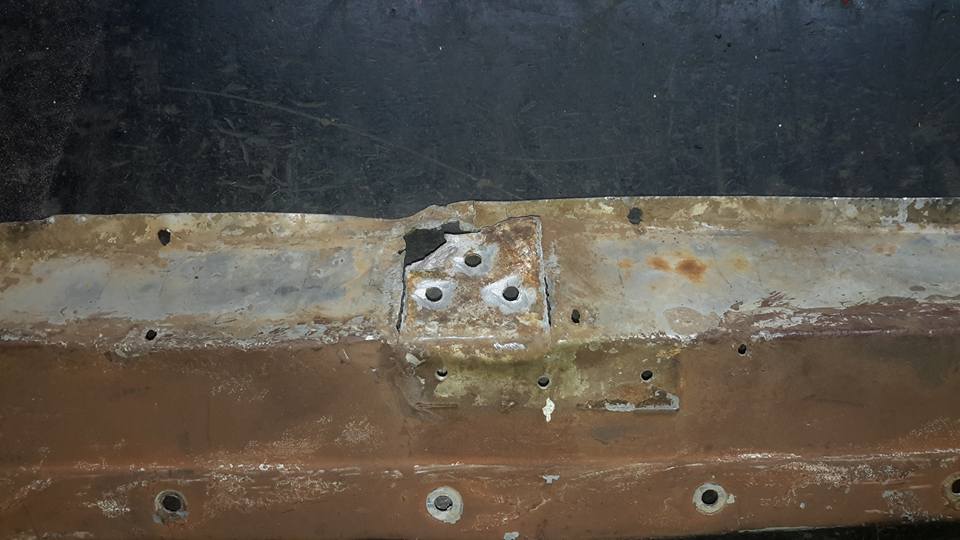
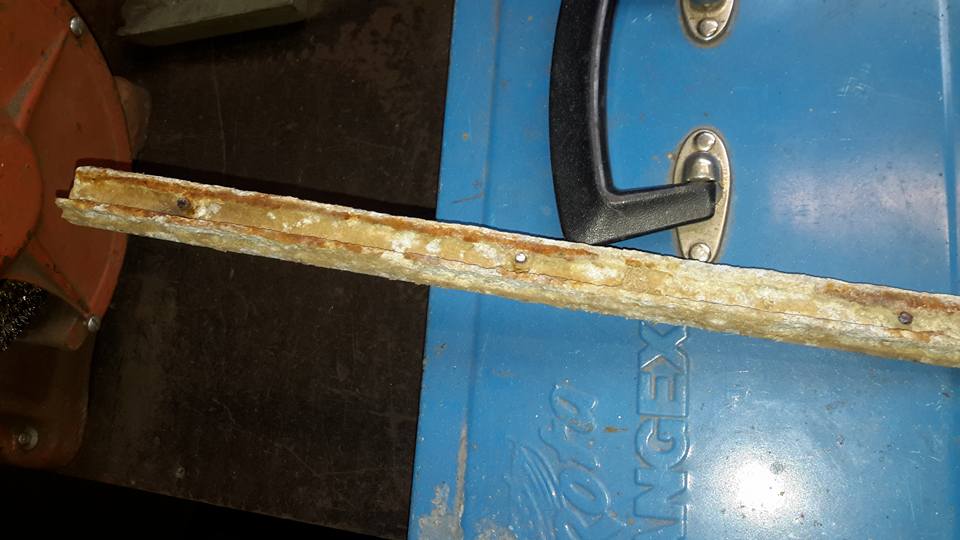
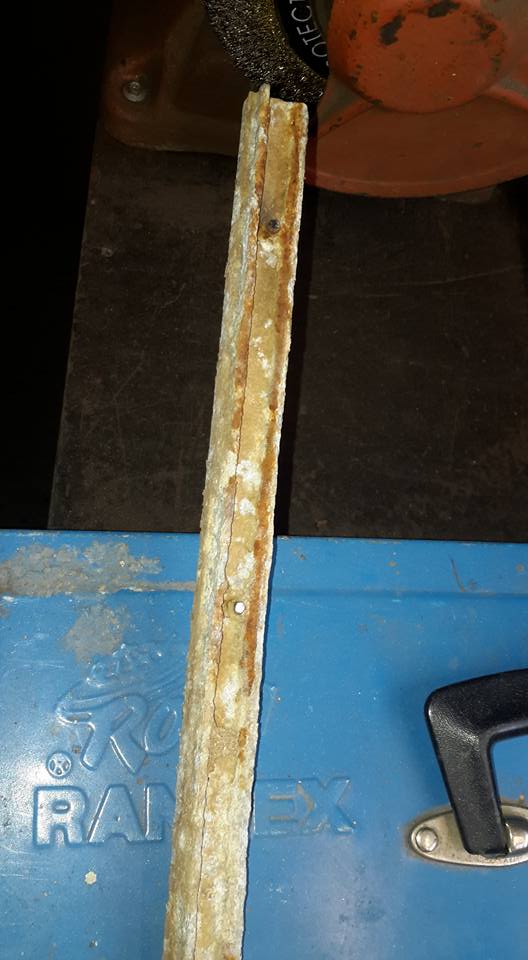
- This is the aluminium panel that sits under the hinges with the emergency door.
- Any wonder there was a huge rust hole in the box panel.
- Norman Julian 22 Aug

- Norman Julian
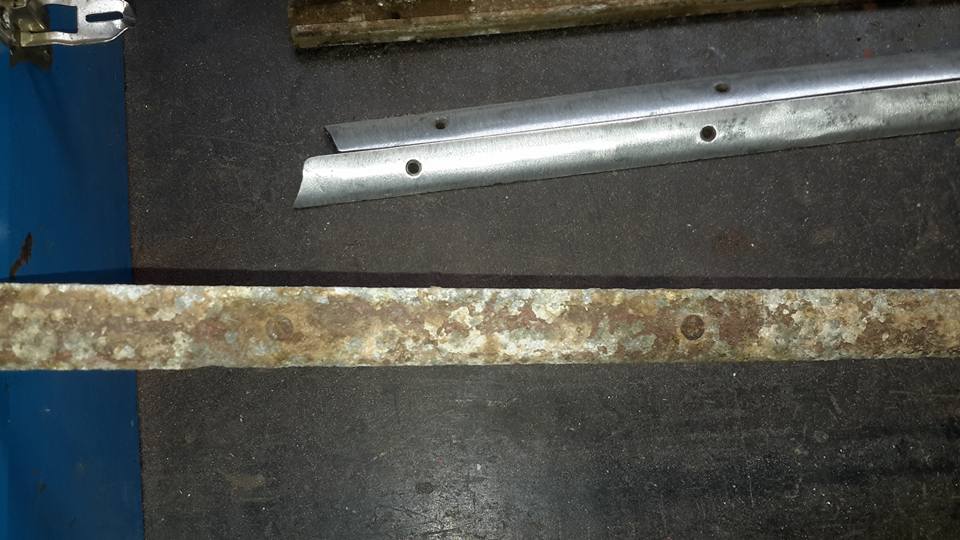
- There are more holes in this panel then there are in most strainers.
- There are 27 holes in this panel that are not needed.
- Norman Julian 24 Aug
- Today was a day fortunately I don't have very often, but it was a day that was wasted on something that I did wrong that had to be put right.
- I wasn't satisfied with the alignment of the door in relation to the body.
- I wanted it close to flush.
- I thought if I moved the hinges in a little that would solve the problem.
- I took the hinge off and marked where the hinges were and then welded up the holes.
- I sanded them flat then tried to re-drill the holes in the new location.
- Didn't work.
- I had ordinary bits and cobalt drill bits.
- None worked.
- I then remembered something from the past.
- You can't drill through weld especially after a quick wash down which I do to avoid warping.
- It makes a weld stronger then a drill bit.
- I thought for some time how I was going to fix my blunder.
- Then it hit me just relocate the bolts, so in both pictures you can see the holes in reverse.
- Day wasted I'm affraid l least the door is now a little closer to being ligned up.
- Charles Shipway
- Im pleased to know there Is another person in this world who comes across problems ( They recognise as a mistake )
- after a while solve the problem and when its fixed move on but with a little caution for a little time Norman it takes GUTS Keep moving on
- A lot of People are interested sincerely in the project Where right behind mate
- Norman Julian
- Mistakes . . . we all make them Charles.
- Rusty Ian Holton
- Nice,
- Norman Julian 26 Aug
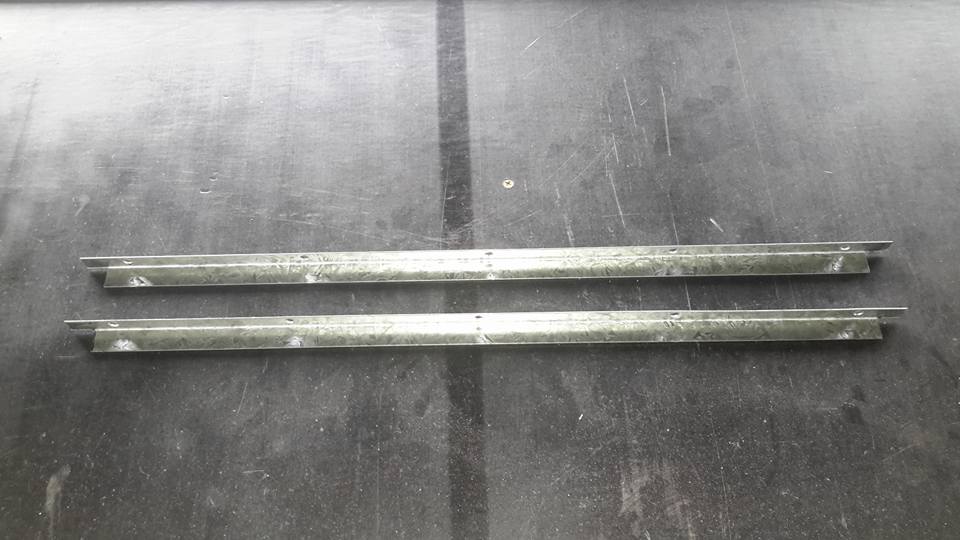
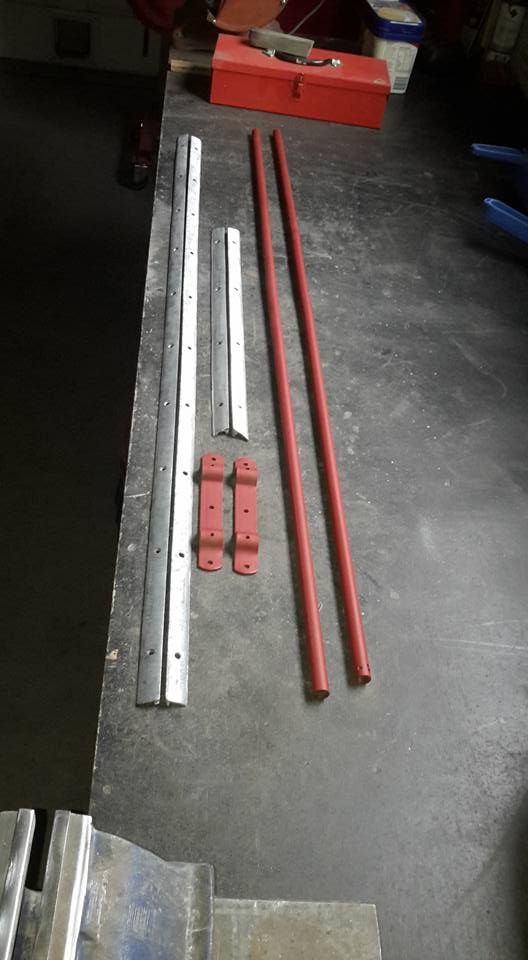
- Today I cleaned up the aluminium quad that holds in the glass.
- The bottom piece was so close to being so corroded that it still maybe too far gone.
- The primed pieces are the bars that go across the middle of the window.
- Norman Julian
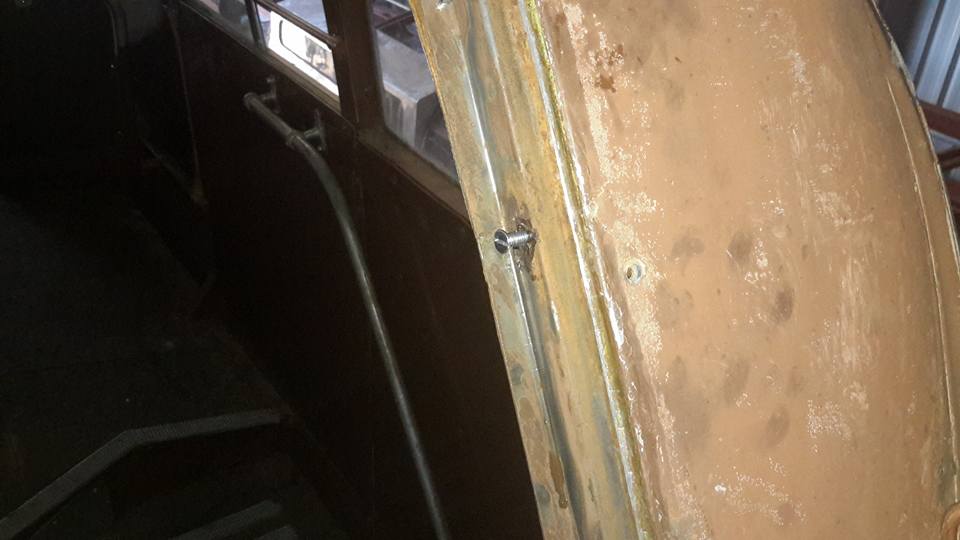
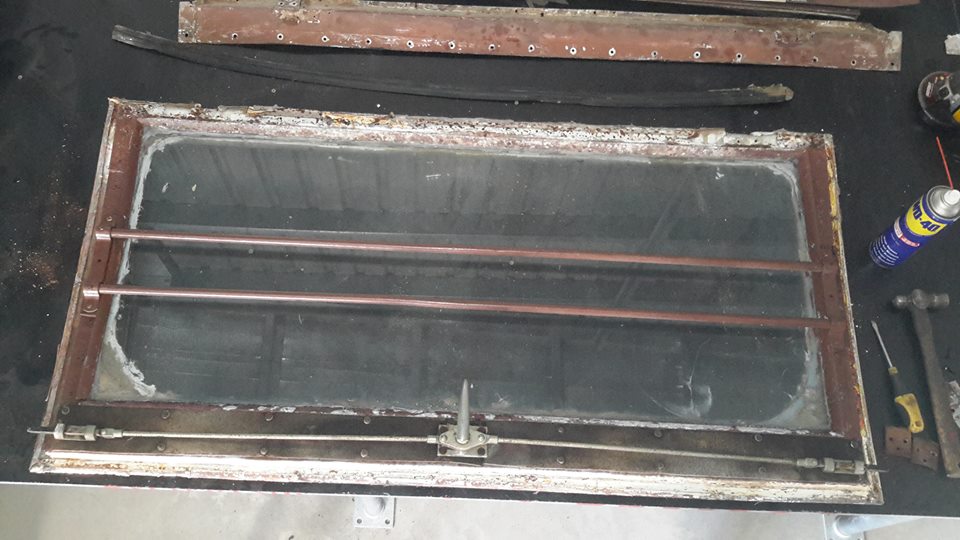
- The door before it was pulled apart
- Norman Julian 26 Aug
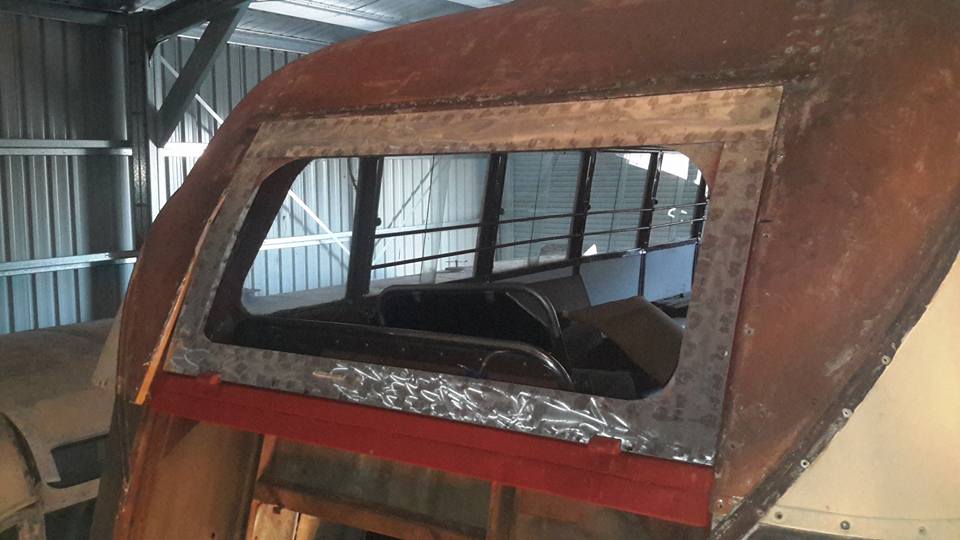
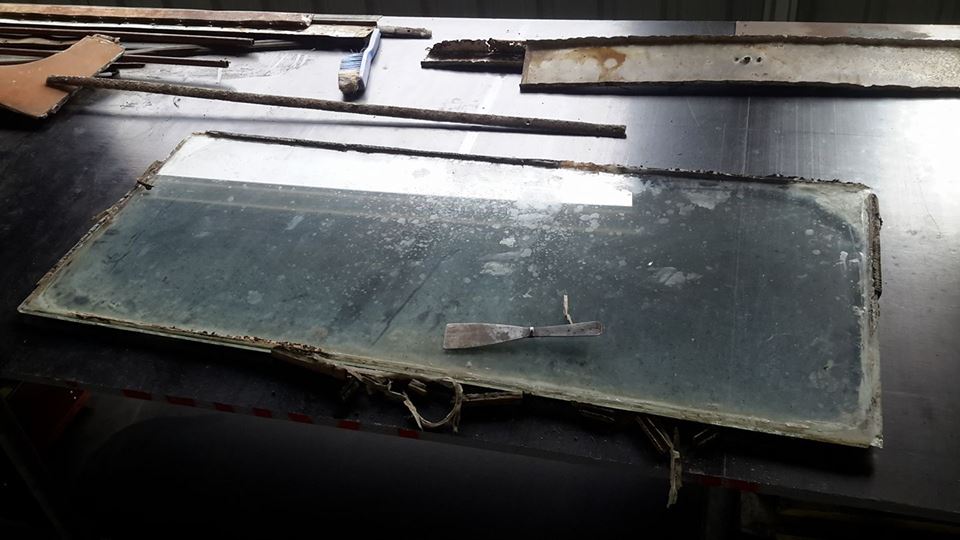
- I cleaned up the edges of the original glass of old sealant etc and checked the size against the new door frame and the new sealing rubber I will be using.
- The new glass will have to be a little larger all the way round.
- This piece is too badly marked for me to reuse.
- Laurence Glenn
- Bowmaker to remove water and mineral marks from original glass, try washing with vinegar, letting soak, then rinsing.
- Norman Julian
- Its got all sorts of scratches as well.
- A new piece of toughened glass is in order.
This site is hosted on
Crazy Domains & Hosting  Unlimited Web Hosting |
Last updated August 2018 |
This web site may contain Copyright material If you find any problems with the site, please email the Web Editor  |